Hey everyone!
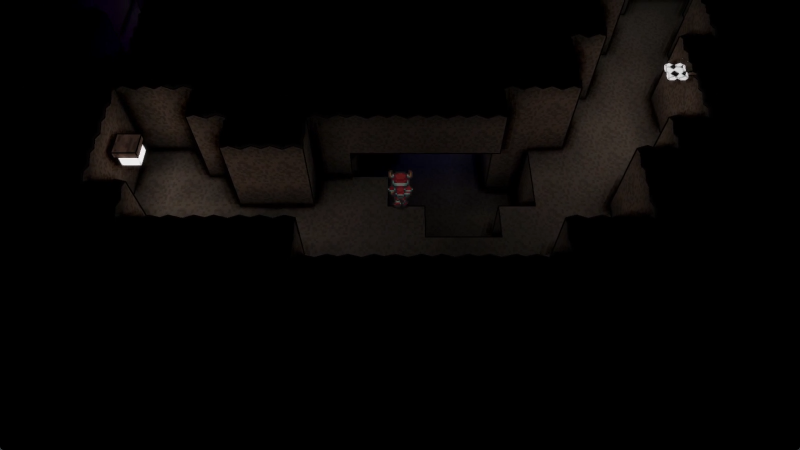
Let's play Crystal Project!
Released in March of 2022 by the single person dev team of Andrew Willman (aka River Running Games), Crystal Project is effectively a love letter to the classic RPGs of the SNES era, but designed from the ground up to evoke a sense of first-time exploration of a vast and sprawling world full of secrets. Gameplay involves finding different crystals across the land of Sequoia, each of which imparts us with a new class, the abilities of which we'll use to build our four adventurers to handle any fights we come across. The most direct inspirations are FF5 for the combat, of course, and a few things for the overworld: Super Mario RPG style voxel-ish platforming, the huge amount of space and directionless wilderness one might expect of any given open-world title, and a few other things. Point being: this game is huge and it's a delight to explore and I want to show all of you that.
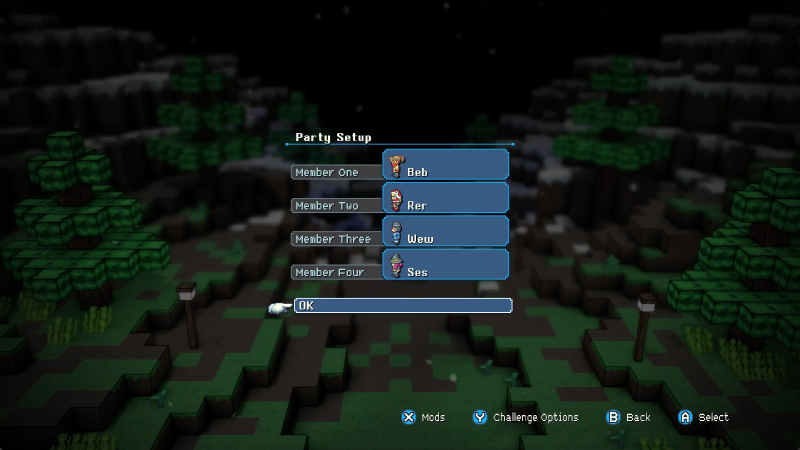
For the first update, I'm going to play through the intro section, Spawning Meadows, with this party to give you a good idea of how things work, but at the end of this post I will follow it up with a class list, since we start with six different classes, and I'd like YOU, the reader, to pick for our four characters a name, gender, and class each. Starting class isn't a huge huge deal, but, well, you'll see in a bit. Gender teeeechnically has some stat changes to it but only extremely barely (male characters get a slight bonus to HP, Spirit, and Luck, female characters get a slight bonus to MP, Speed and Agility, and even then it's hardly enough of one to care about).
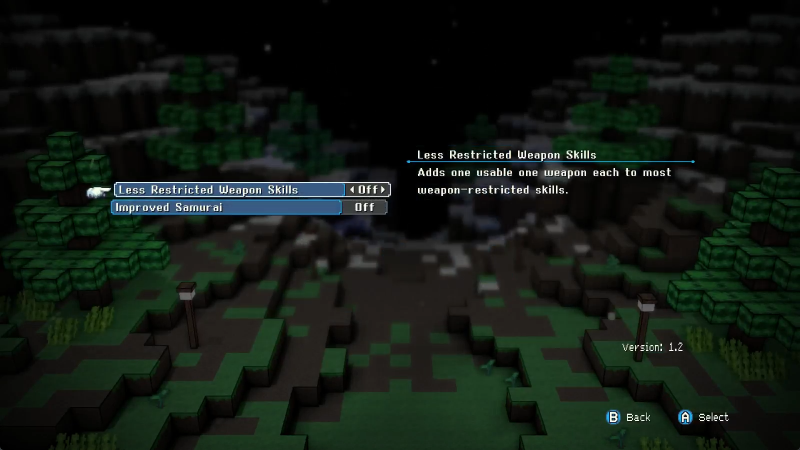
Also: I'm considering running this mod and this mod only, for the LP. The long and short of it is that physical classes can, with a few exceptions, only use their attack skills with one or two compatible weapons (so for example, Rogues can only use daggers and rapiers, and even then they prefer daggers). This mod, done by a friend of mine, expands the list for each class to add one other compatible weapon for each class so limited (so Rogues would now be able to use rapiers with all of their skills, and swords with the ones that previously allowed rapiers). It doesn't give any extra proficiencies with those weapons, but it does open up the different classes a LITTLE more to freeform customization. Please tell me whether you want to use this mod or not.
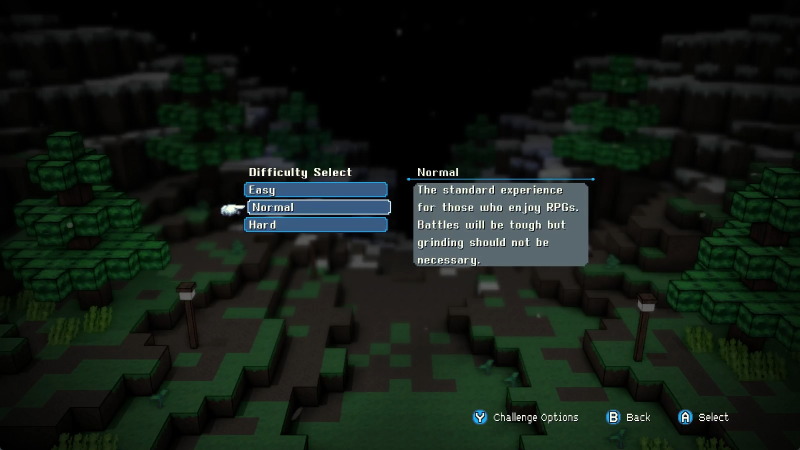
Finally: difficulty selection! I've only ever played this game on Normal and I'm not about to change that up now, but you can tune it more one way or the other. Note that Hard says that "grinding will be necessary", but in my experience the game really gets difficult once you've hit level cap and are playing around with late/postgame, so grinding isn't an option there anyway. Still, it's there if you want it.
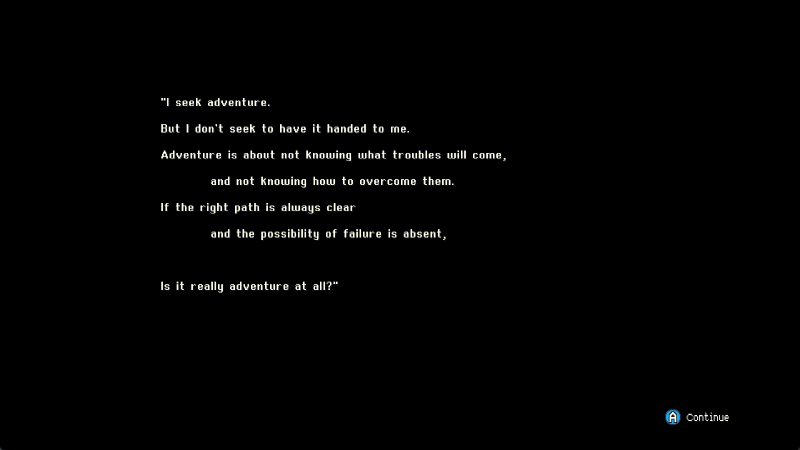
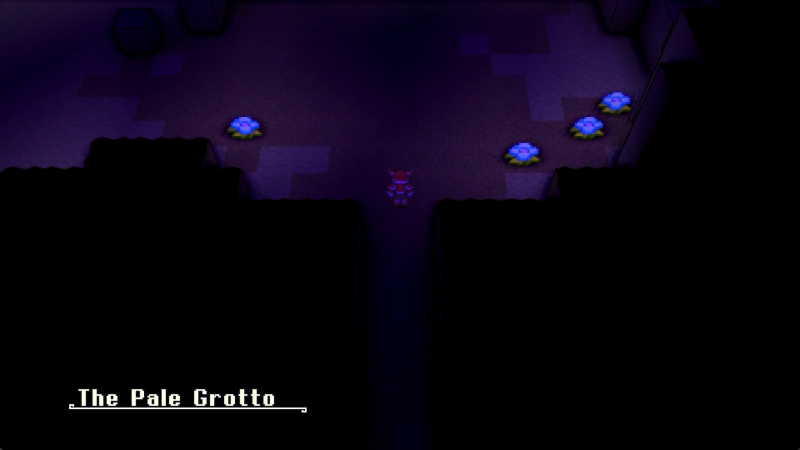
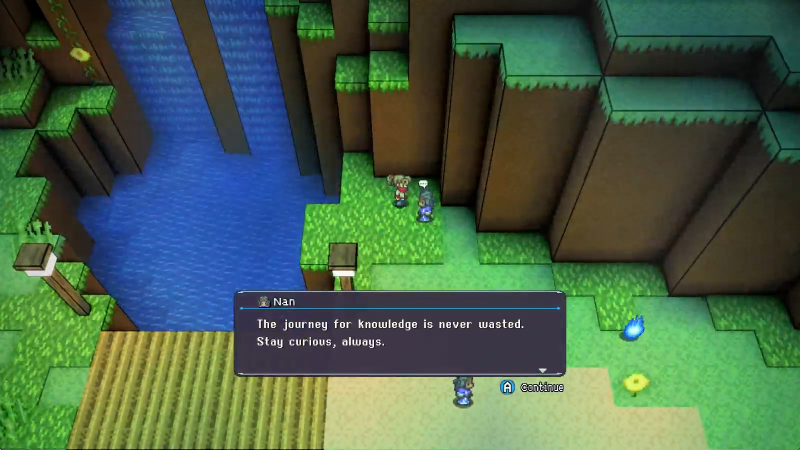
We'll start off with some quiet music and this quote, unattributed.
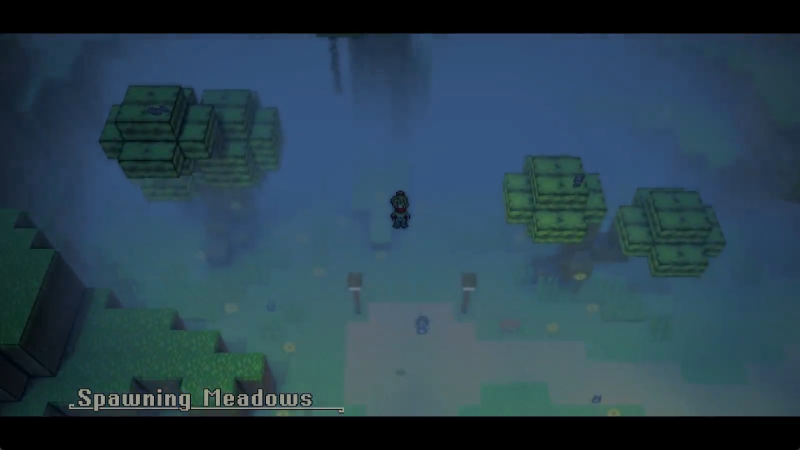
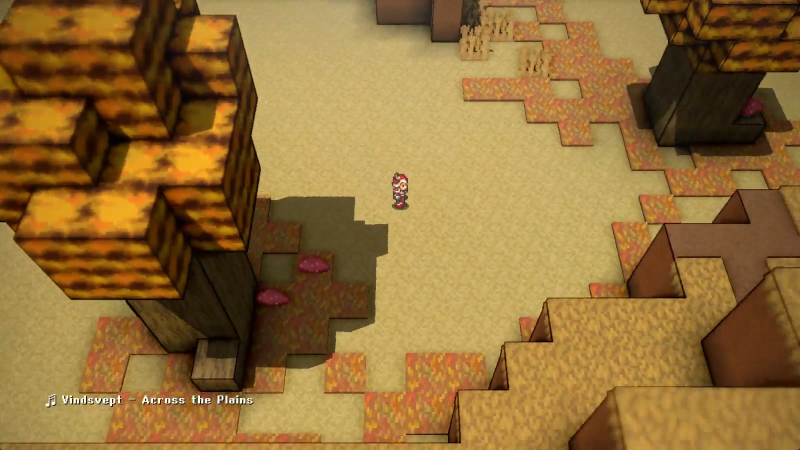
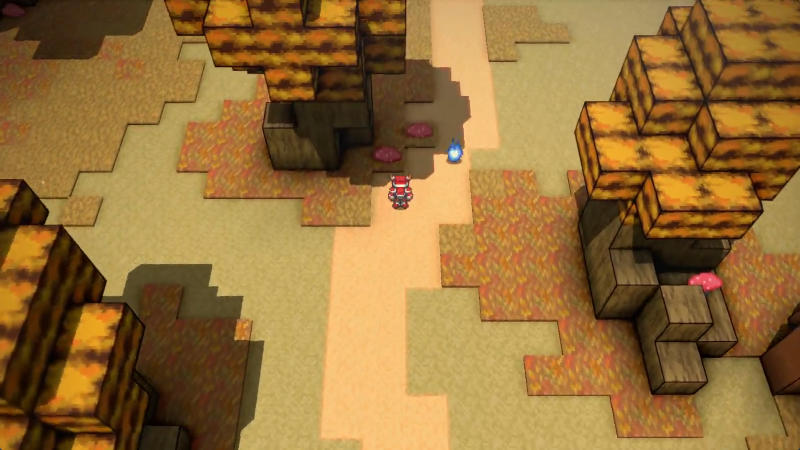
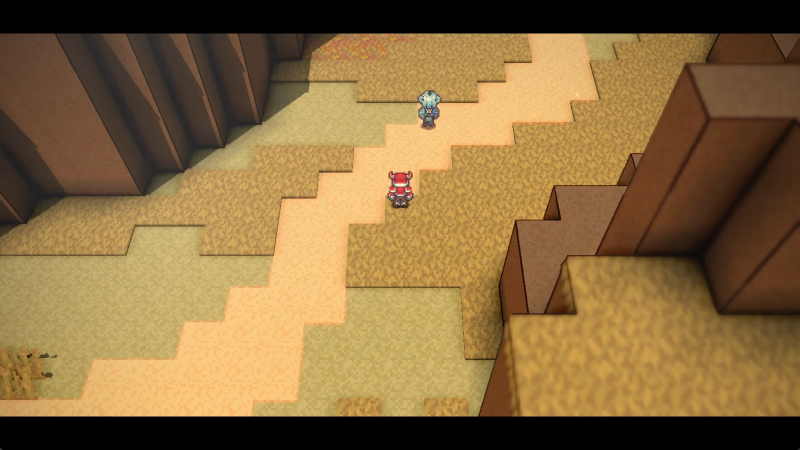
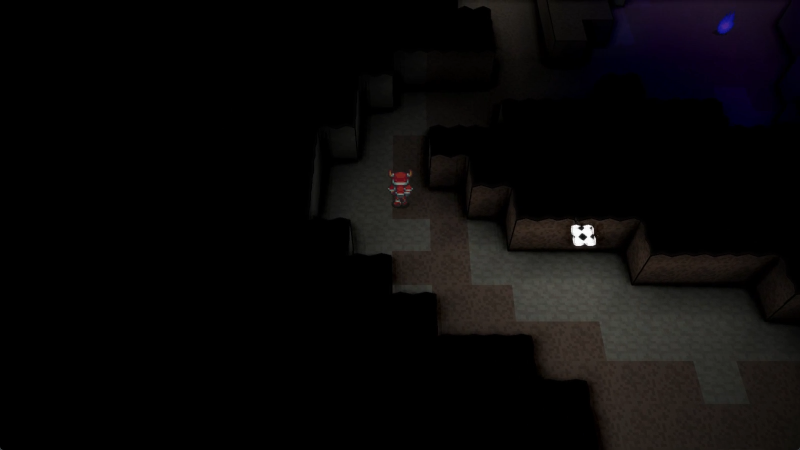
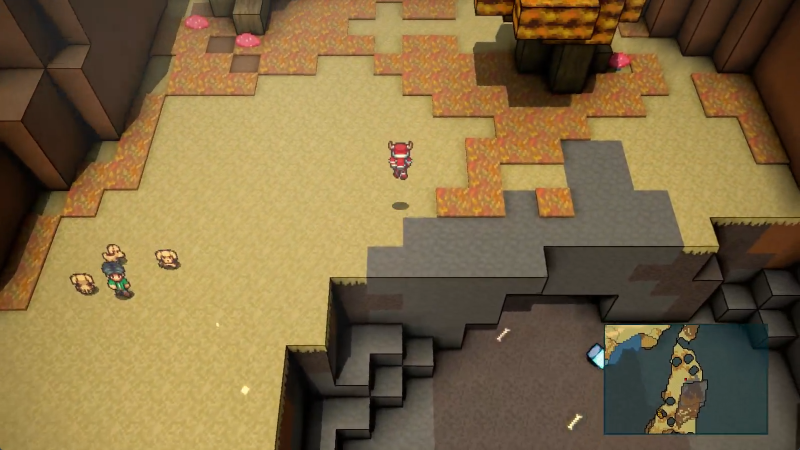
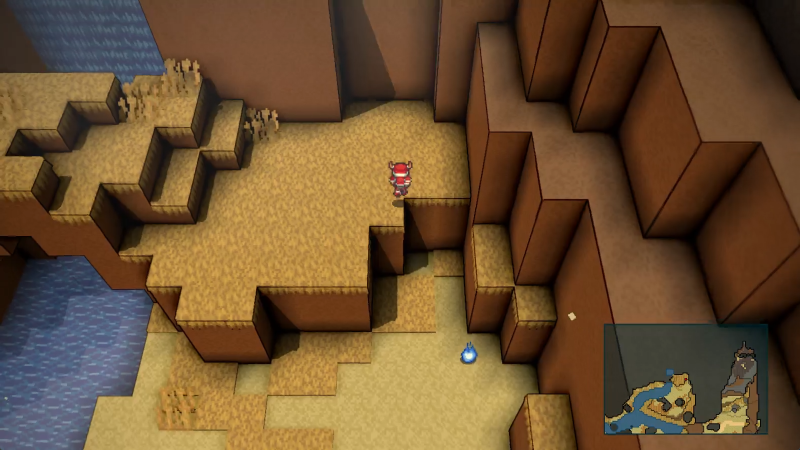
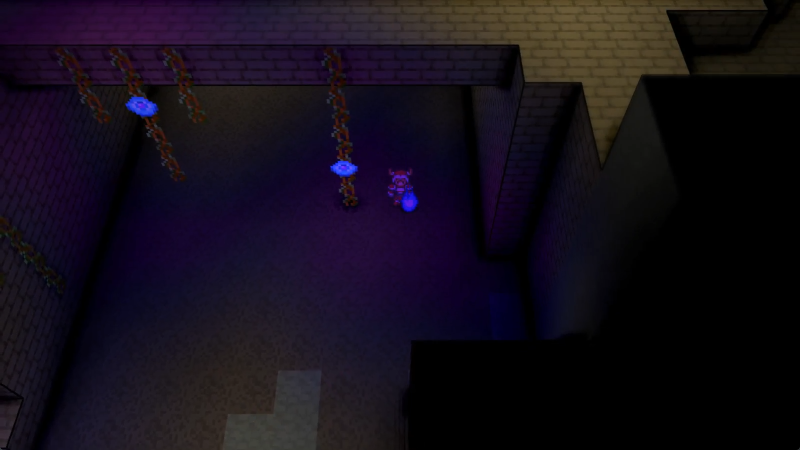
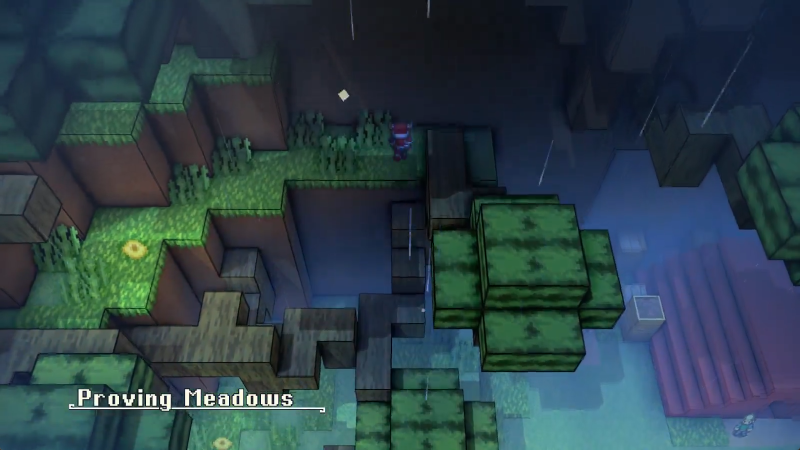
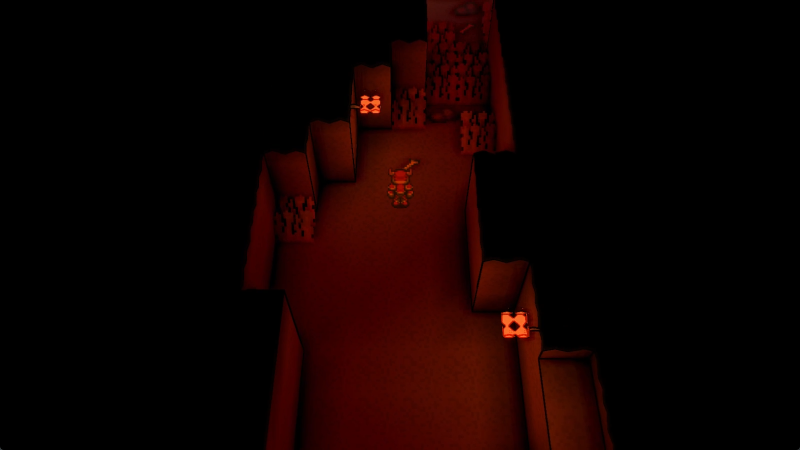
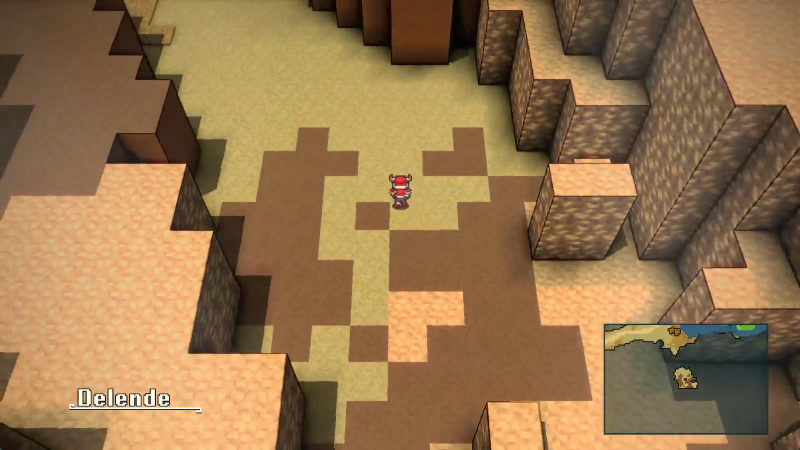
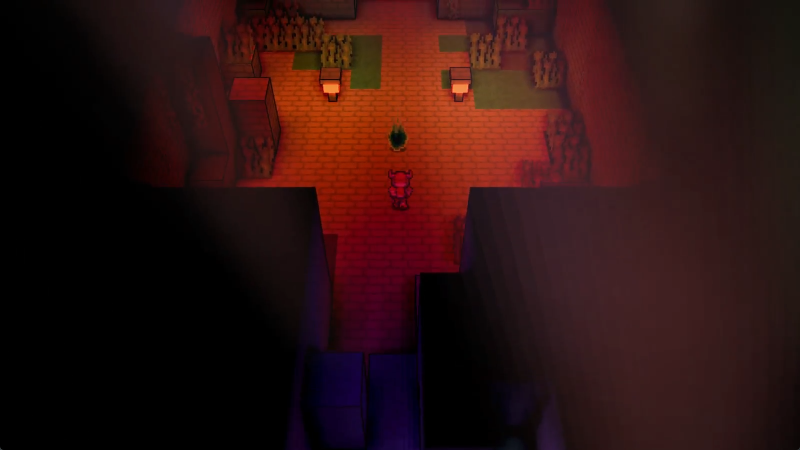
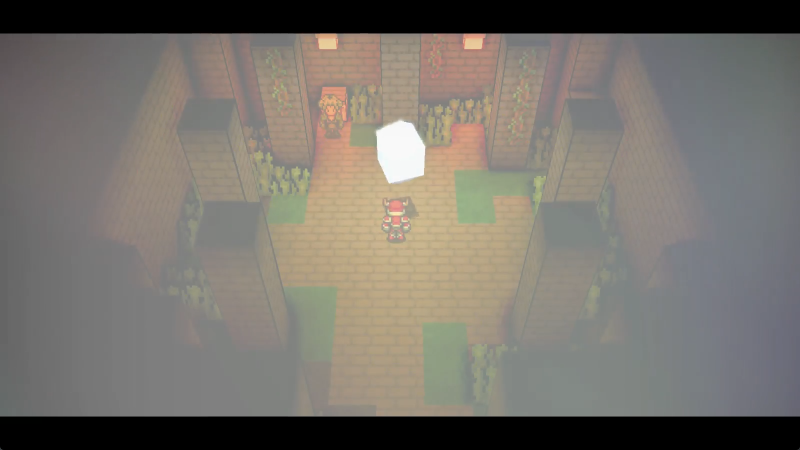
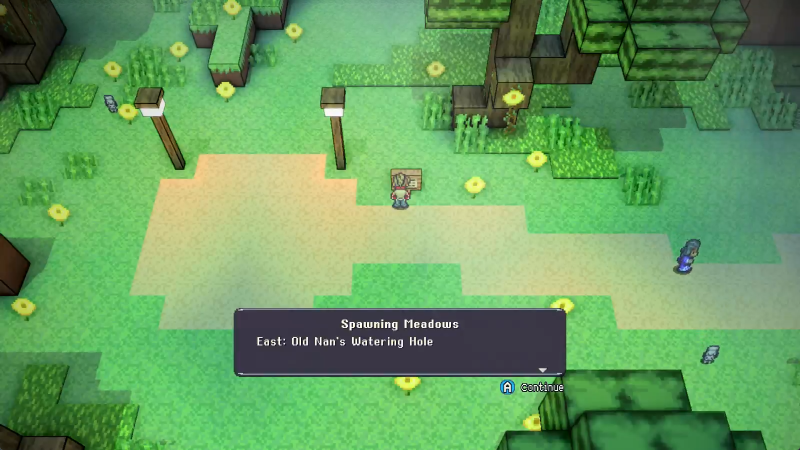
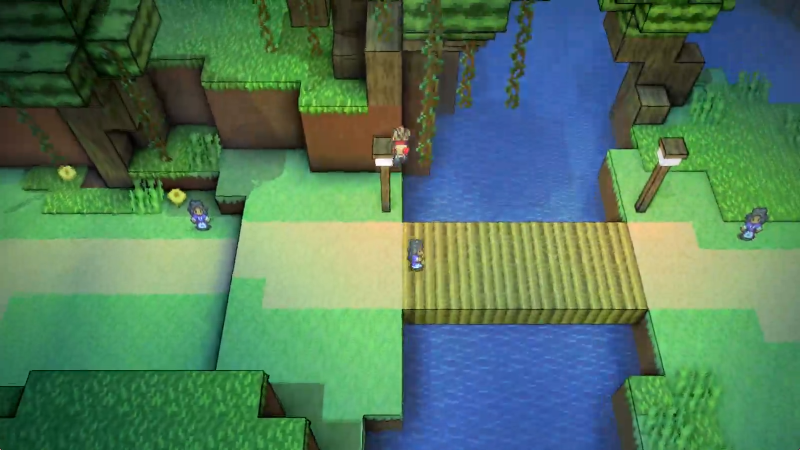
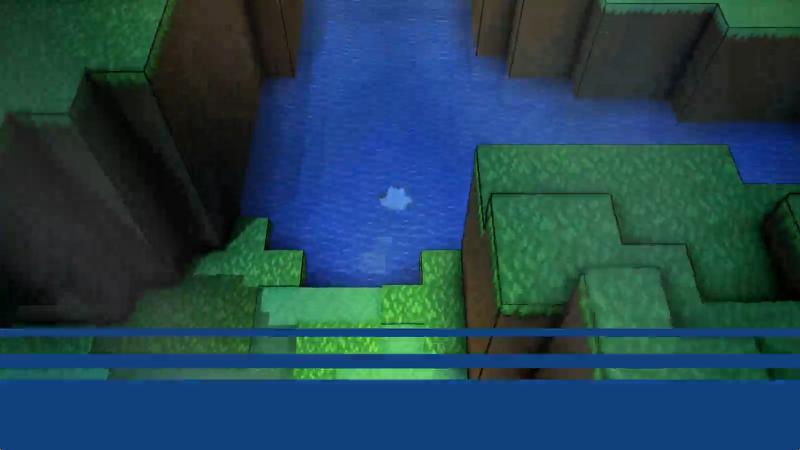
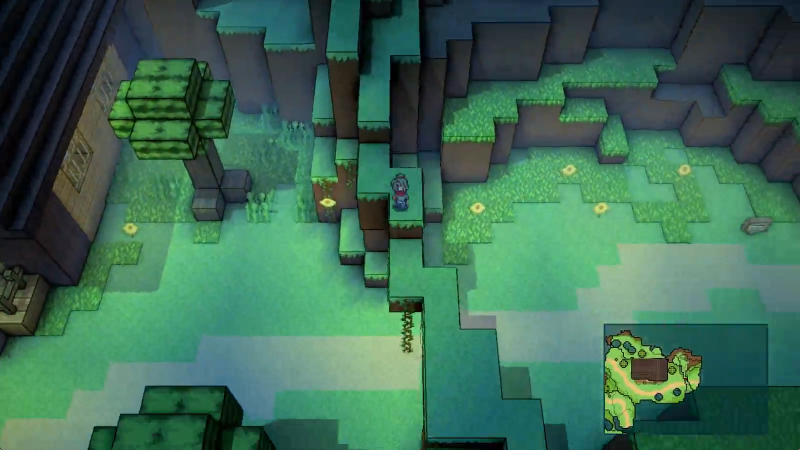
And then we descend from space into the first area of the game, Spawning Meadows.
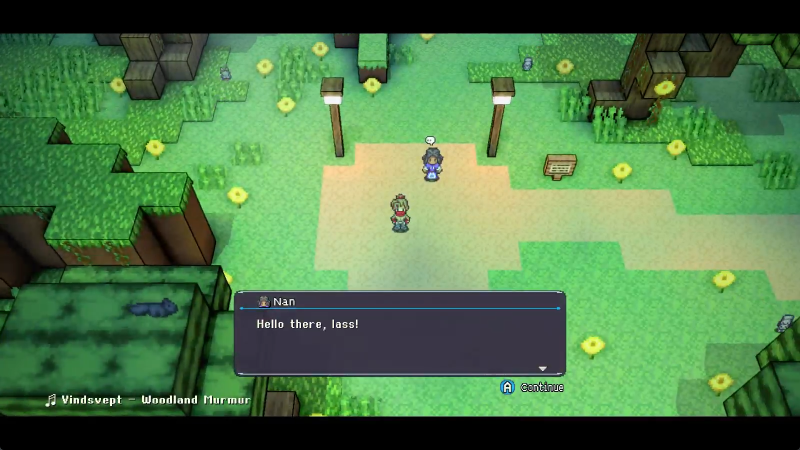
Hello!
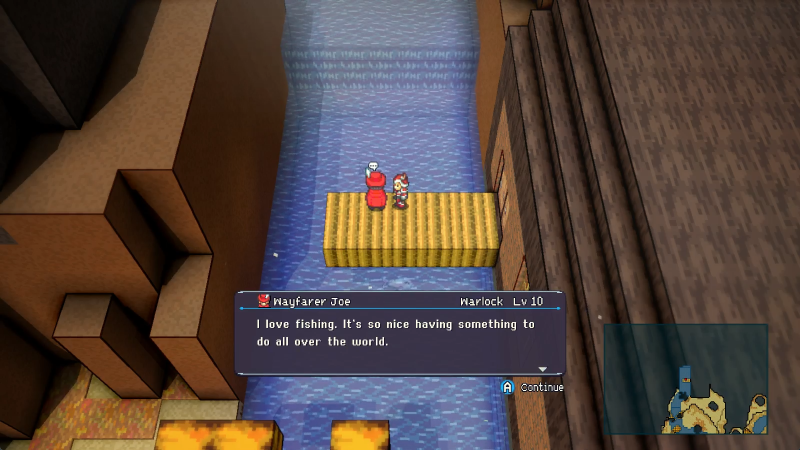
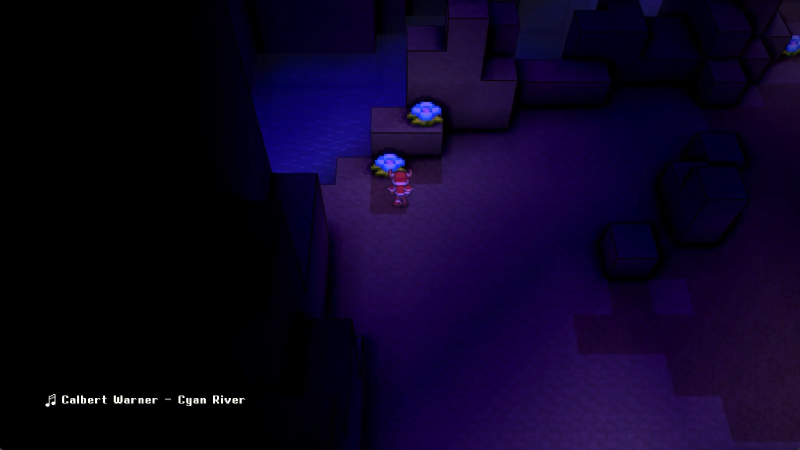
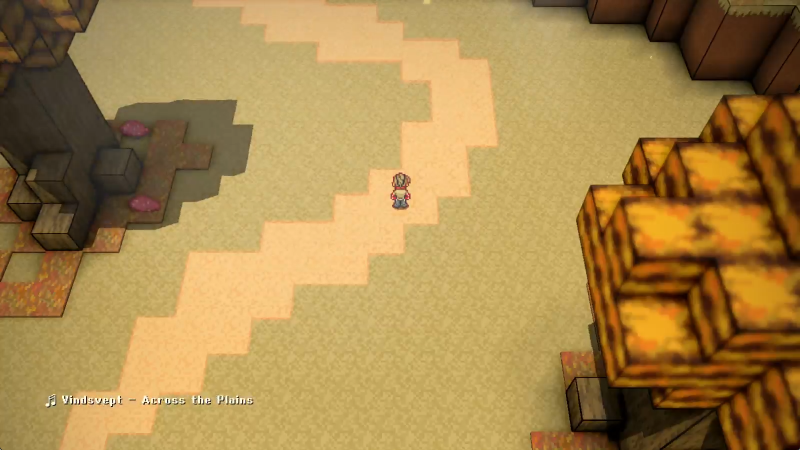
Oh, yeah, the music credits are always displayed bottom left when we encounter a new track. All the media assets for this game, be they spritework, effects, or music, are basically general use packages. Andrew Willman didn't really make anything save for some of the more unique sprites. If you want to listen along, the three main music artists in my experience are Vindsvept, Calbert Warner, and Aaron Krogh.

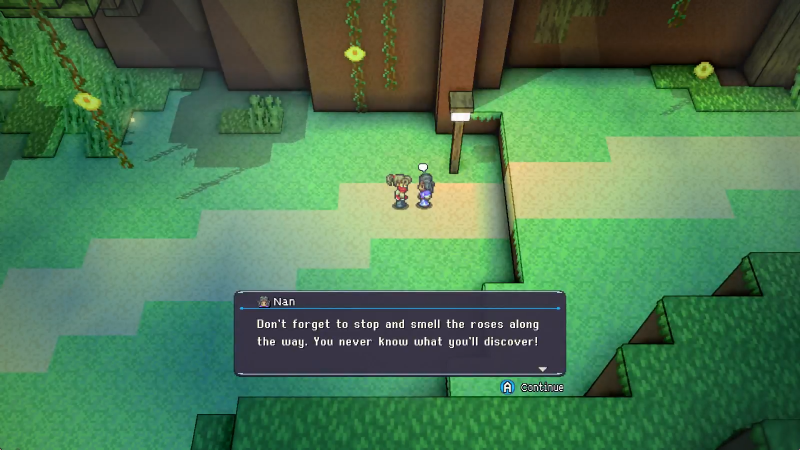
Don't worry, this isn't a very text-heavy game. Transcriptions won't be much longer than this, and very infrequent. The meat and potatoes of the game is exploration.
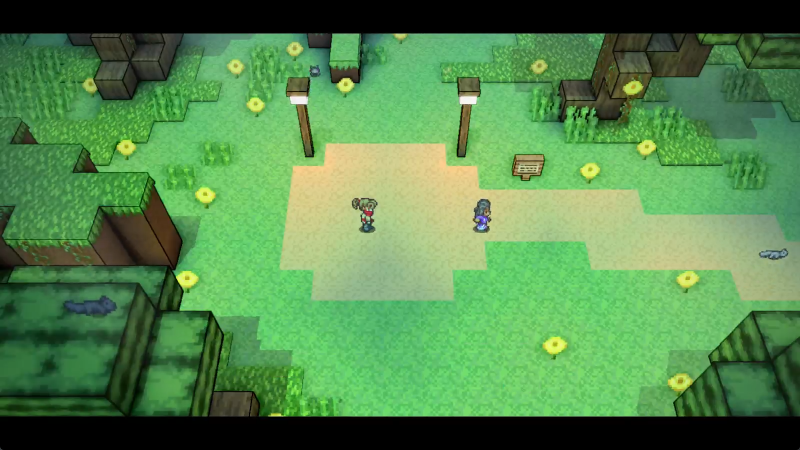
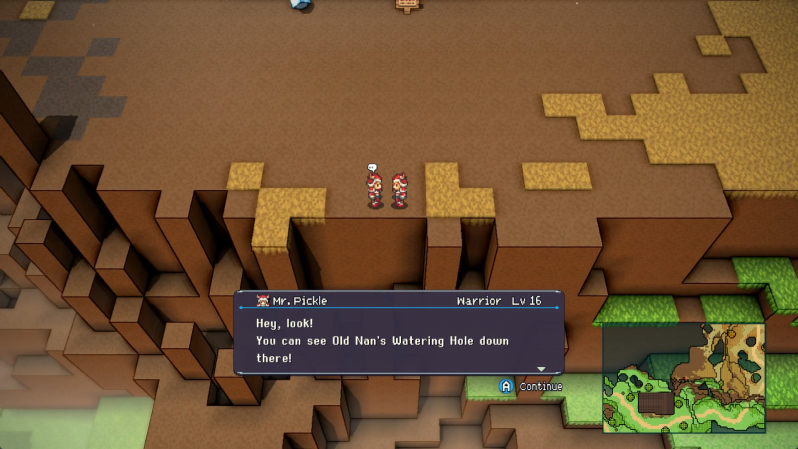
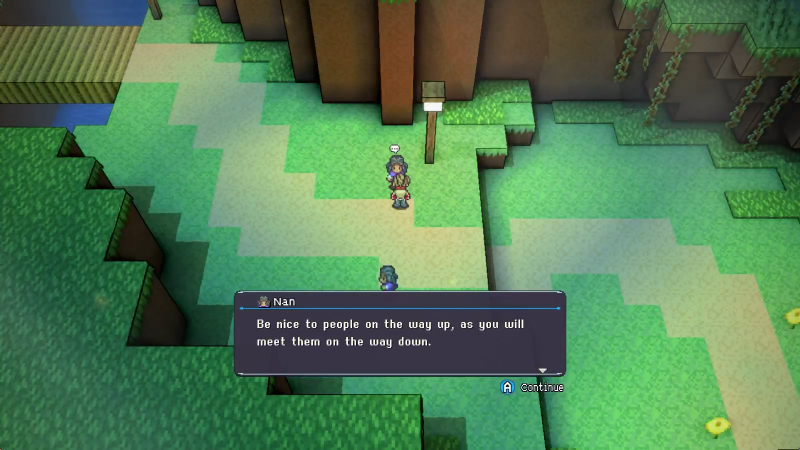
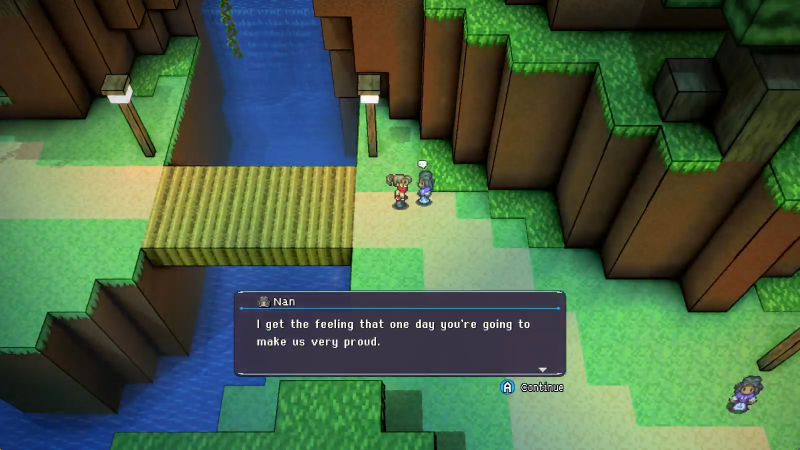
Speaking of, Nan heads off after the invitation...
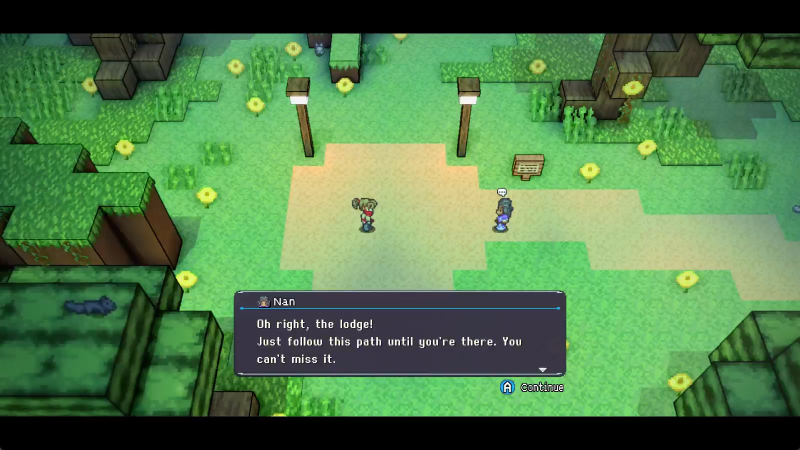
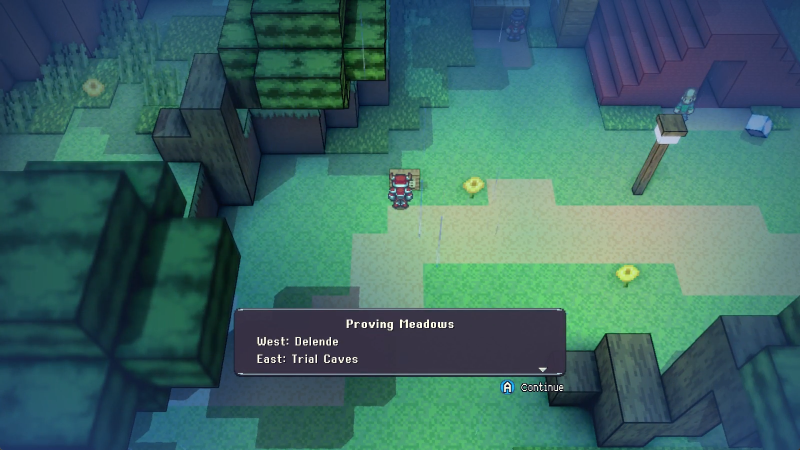
And some directions. The path is basically the fundamental route for getting through Spawning Meadows, which is as barebones and tutorialist as an area gets.
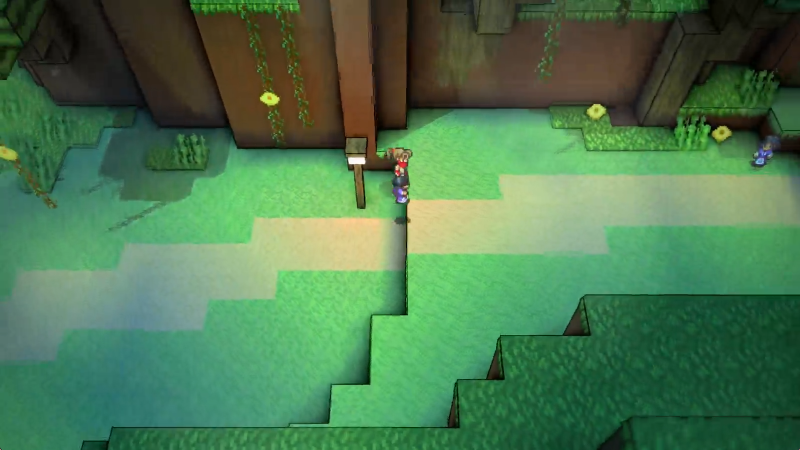
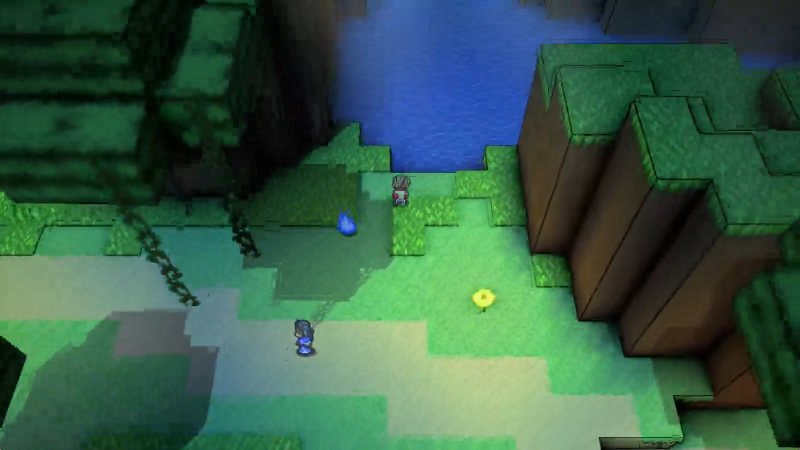
You can follow along with Nan, and we will. We're just gonna...
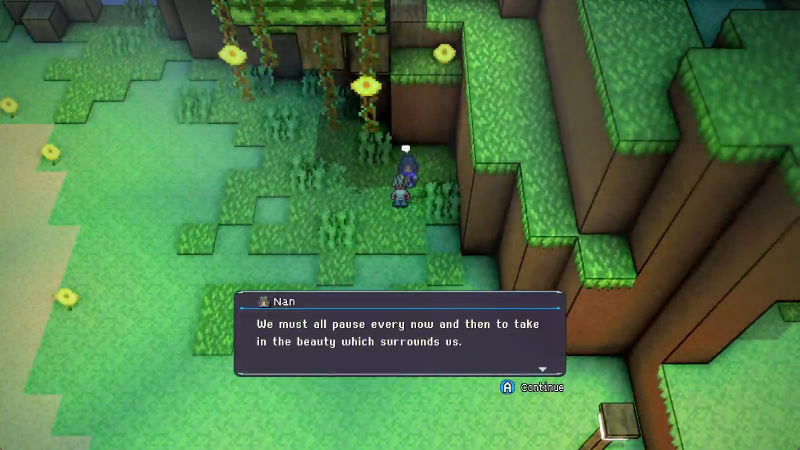
Take our time a bit first.
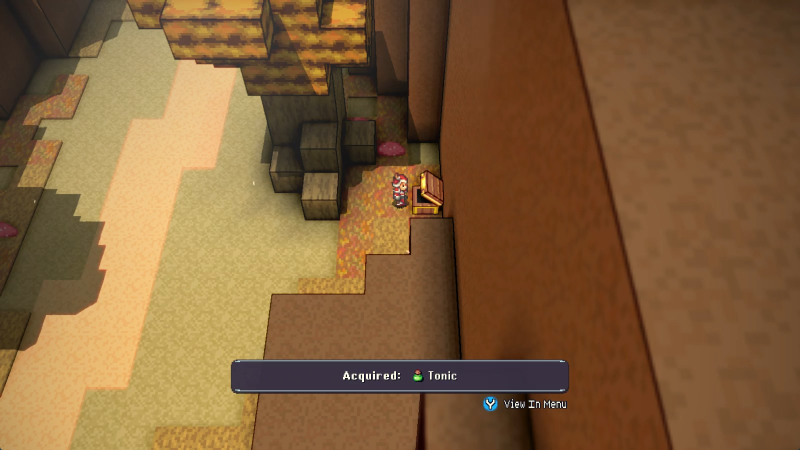
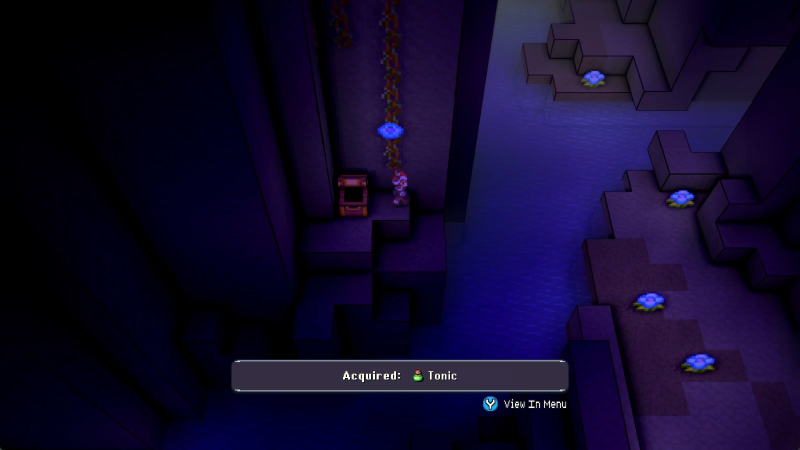
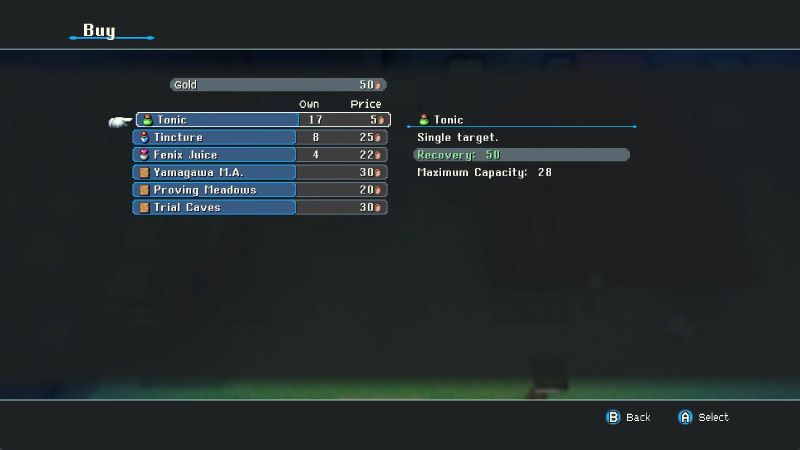
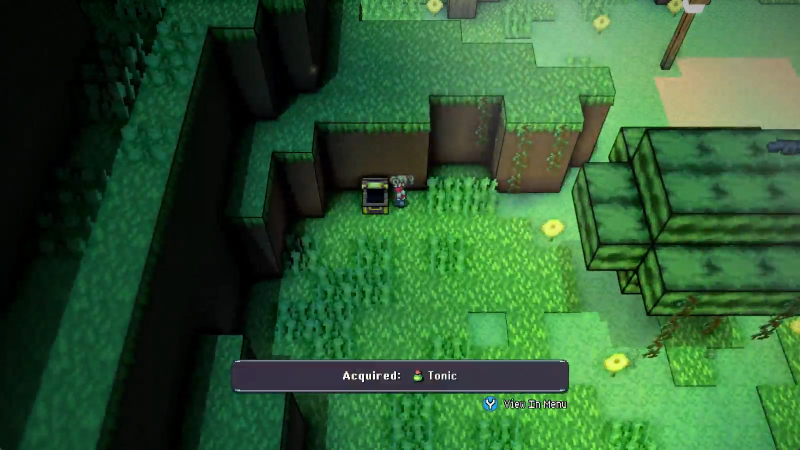
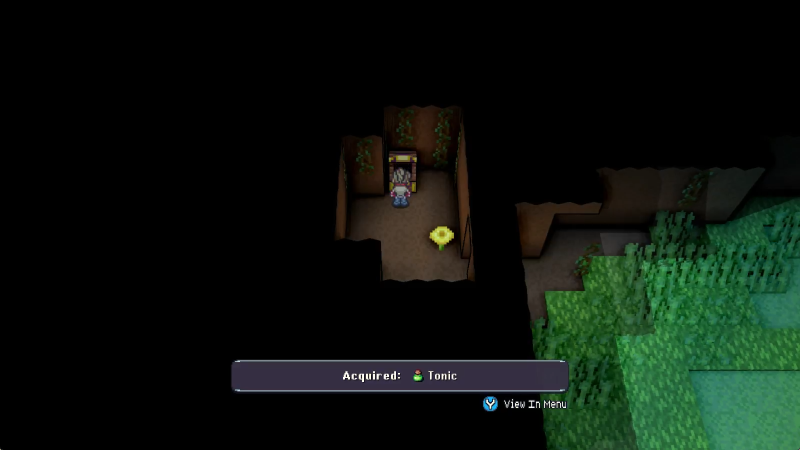
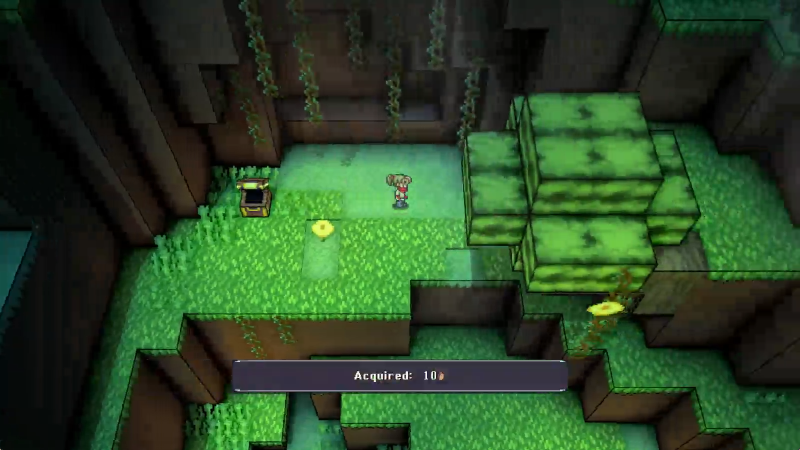
Tonics are basic healy items. They go for about 50 HP a pop.
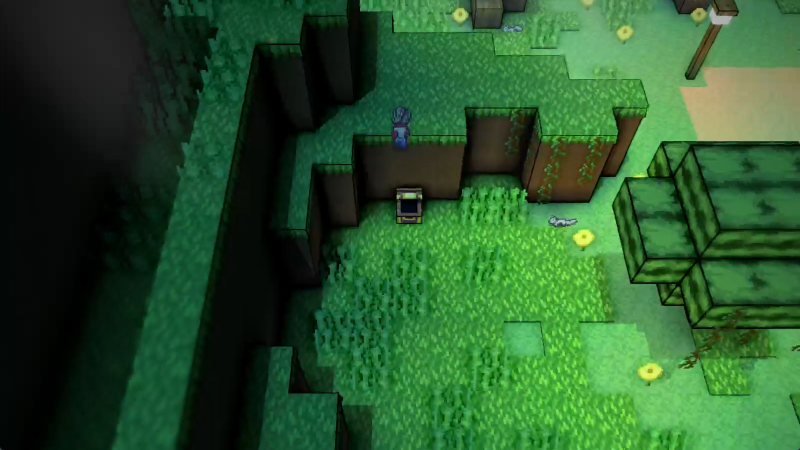
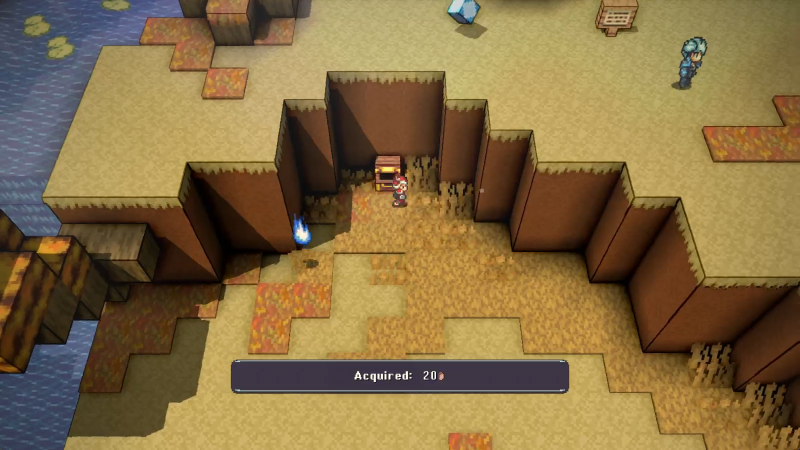
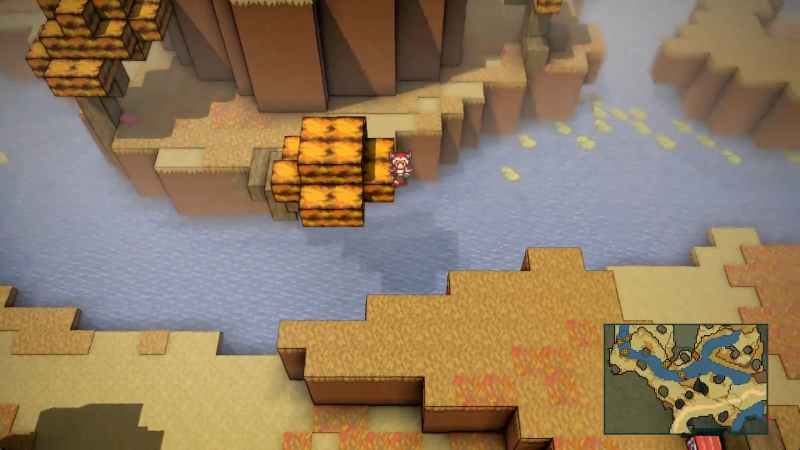
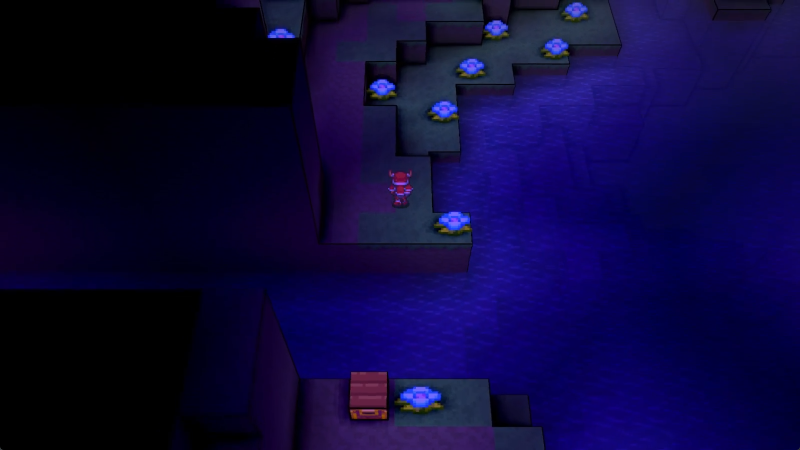
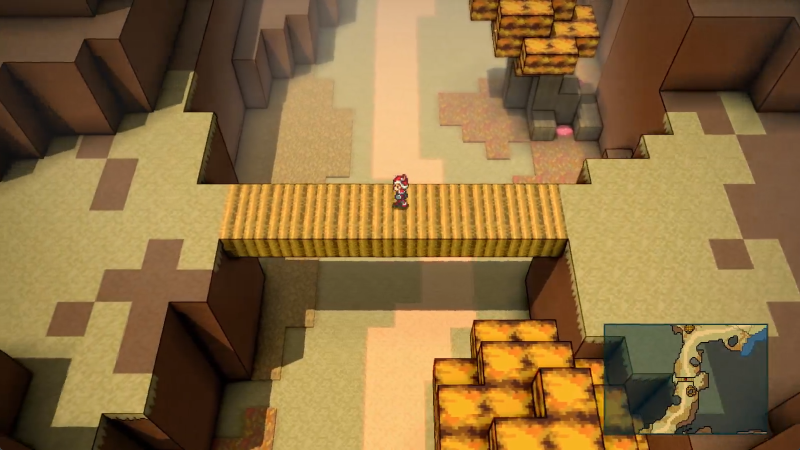
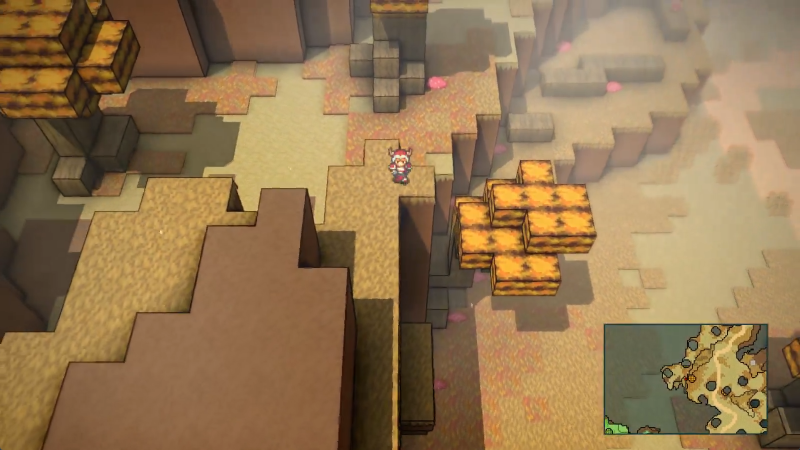
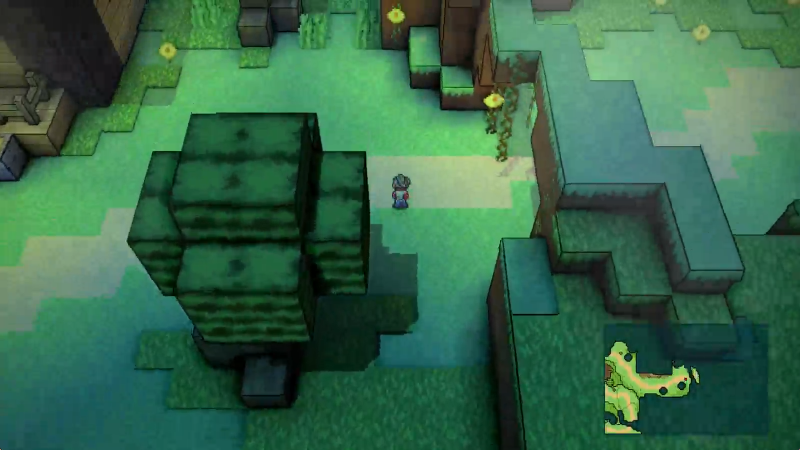
More useful to us is the treasure chest itself, which serves as a handy-dandy stepping stool to get to the upper level. Our jump can clear two blocks of height, but three is out of reach.
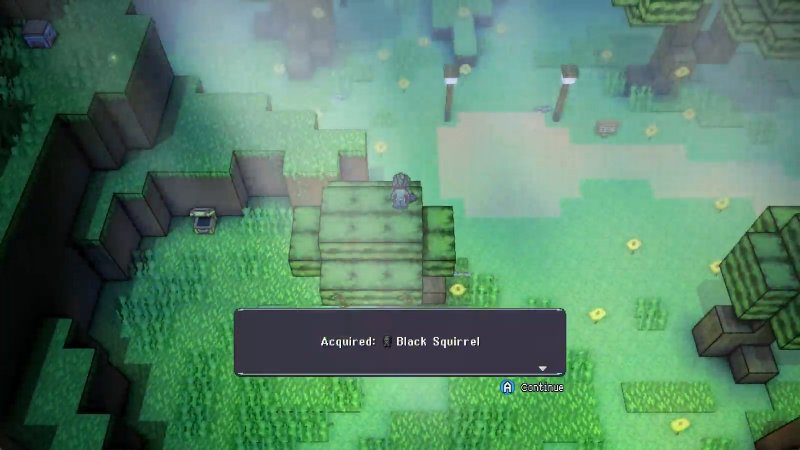
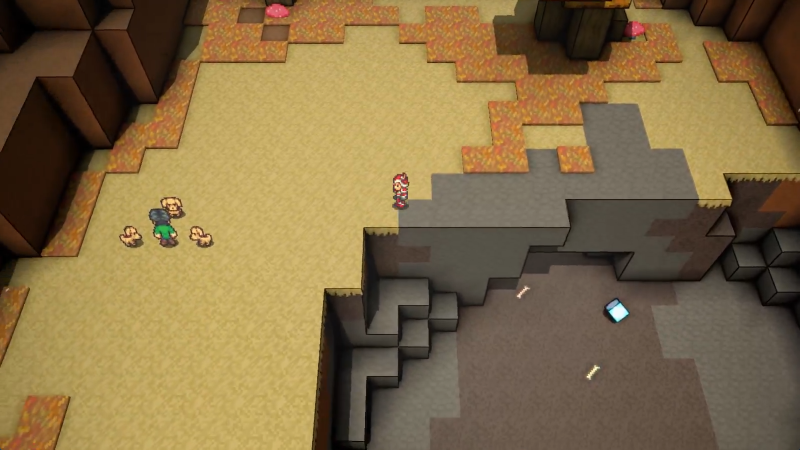
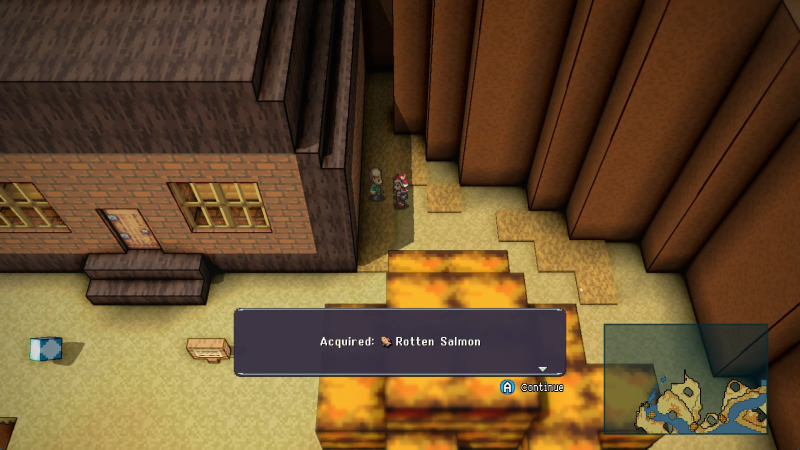
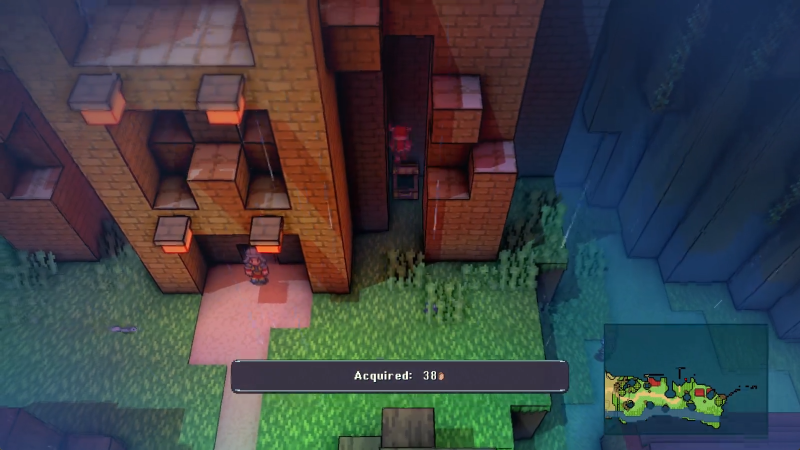
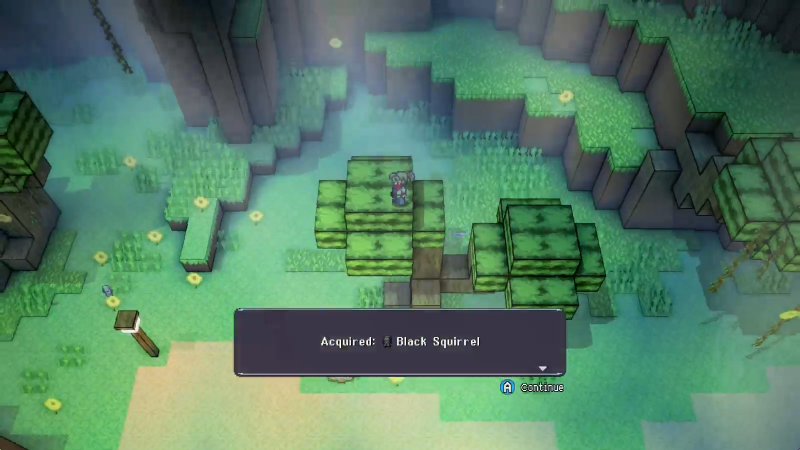
Our reward for doing this, at first, is... an inexplicably acquirable woodland creature. Great?

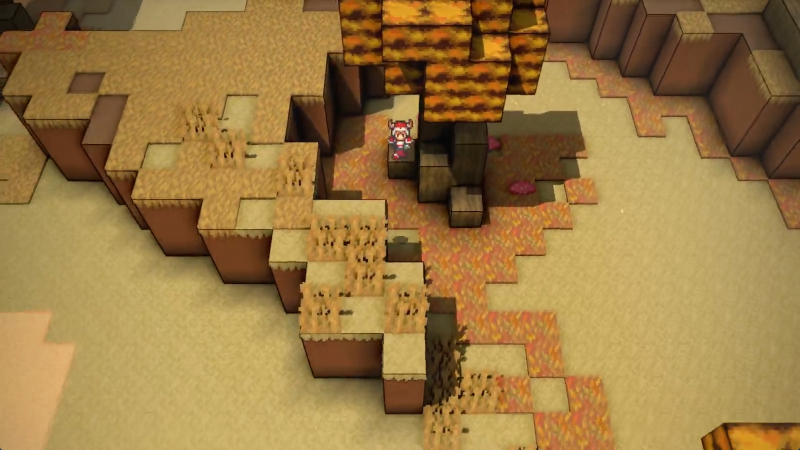
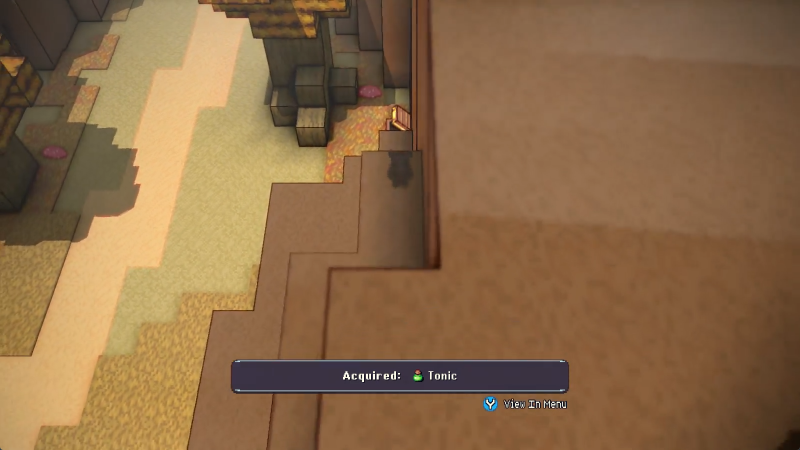
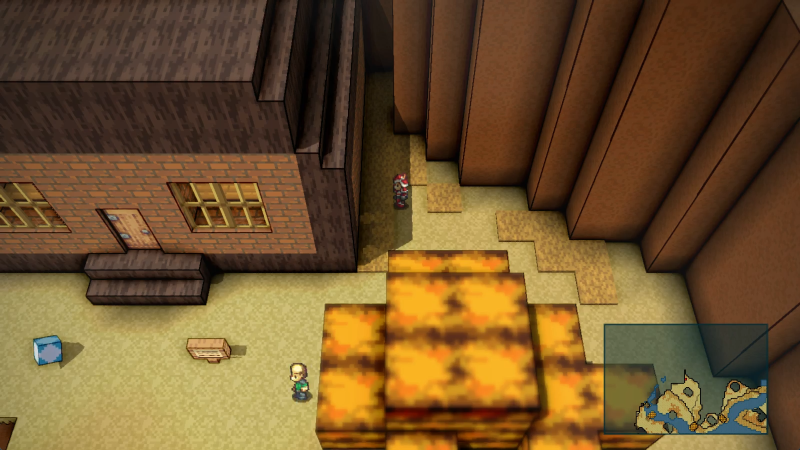
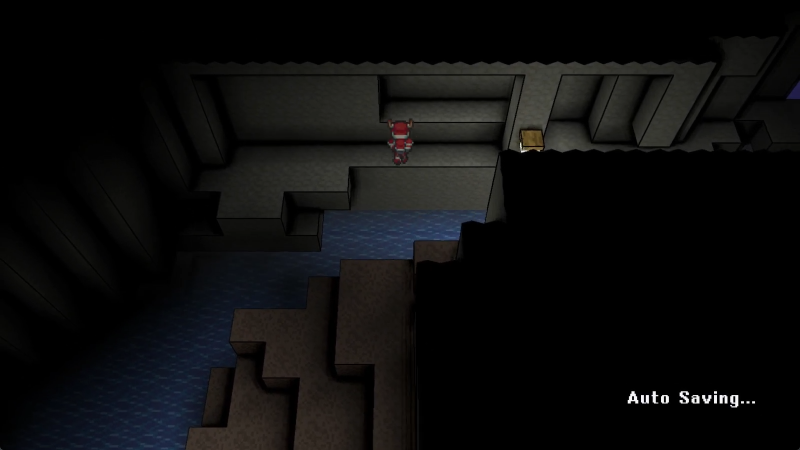
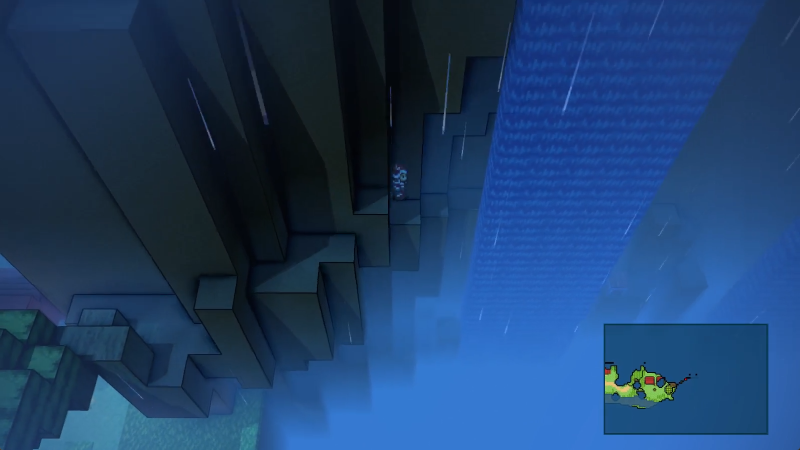
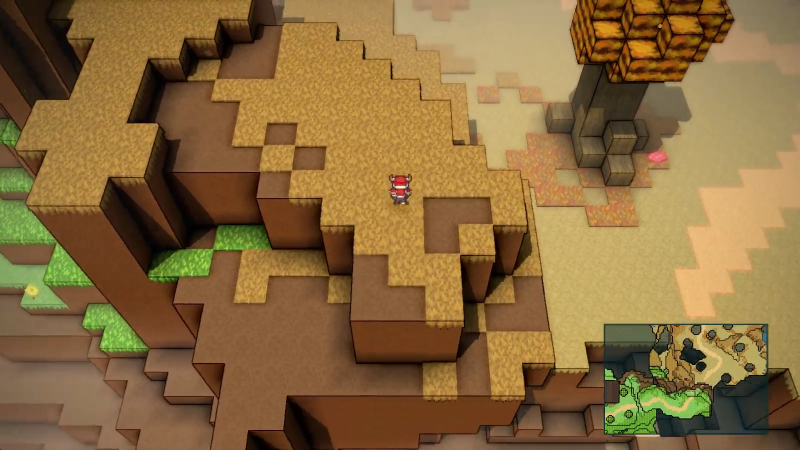
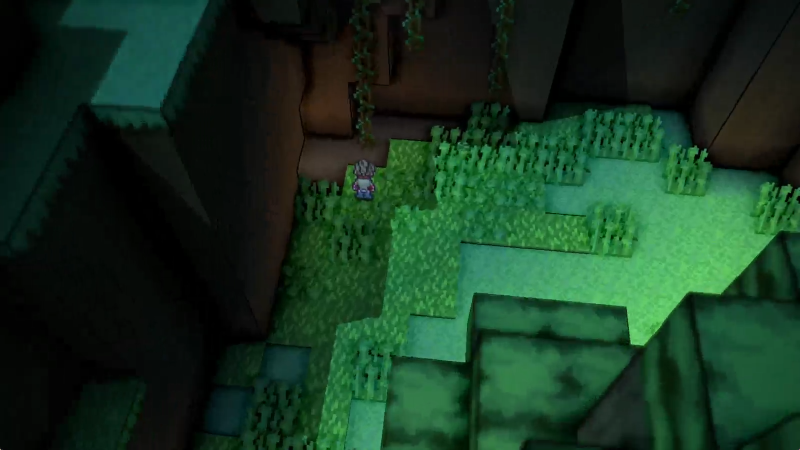
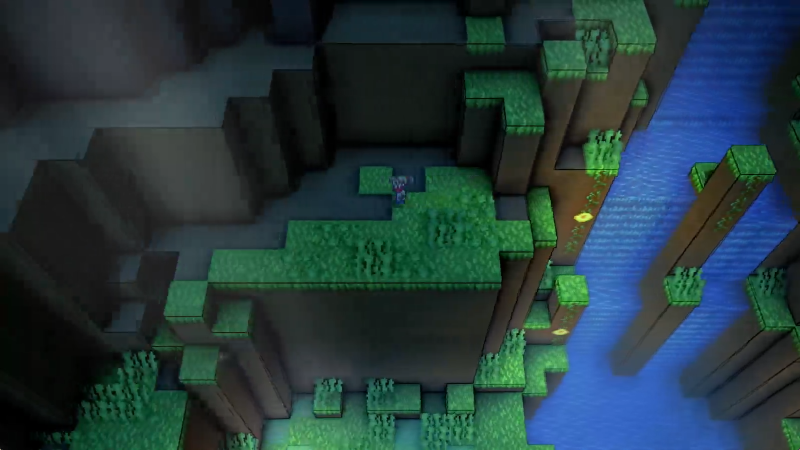
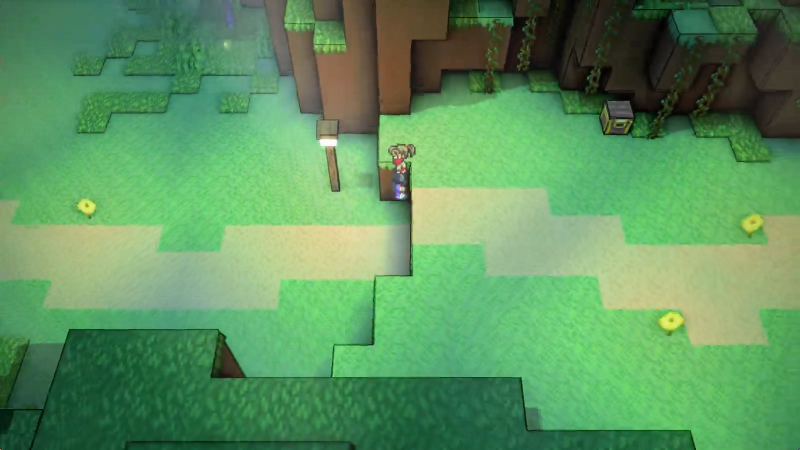
However, we're also able to run alongside the southern wall here to climb yet higher.
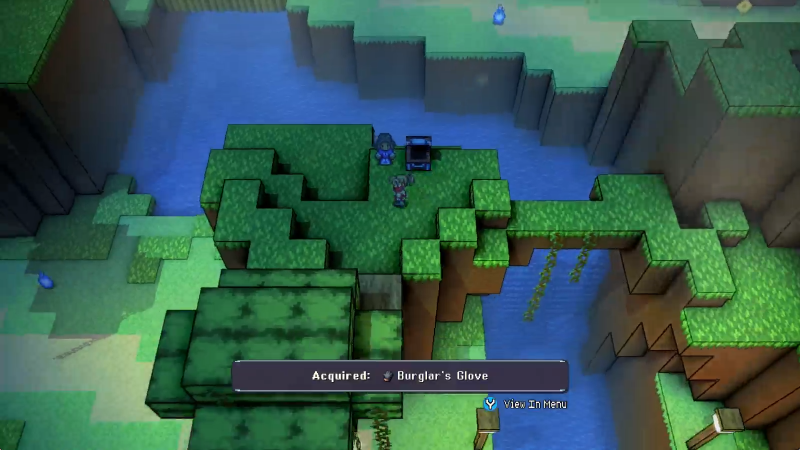
Also: sorry for the poor quality. I'm taking screenshots from my own recording of the game with OBS, the quality of which appears to have dipped somewhat. I'll look into fixing that up for the next update, but for the Spawning Meadows we're all just gonna have to deal with a bit of fuzz.
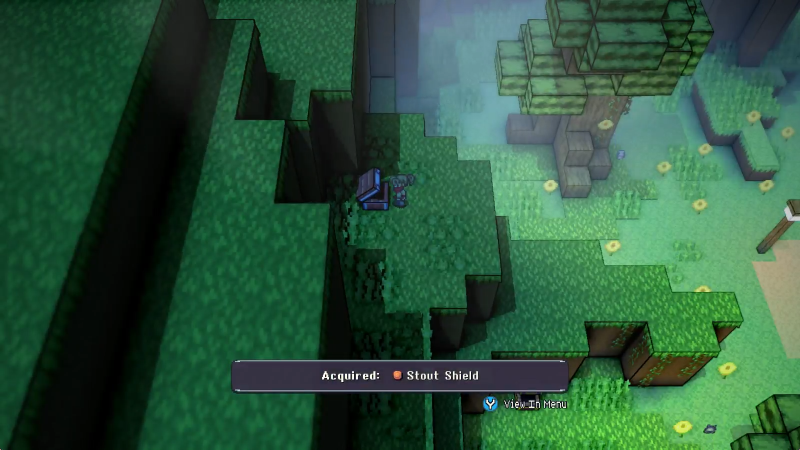
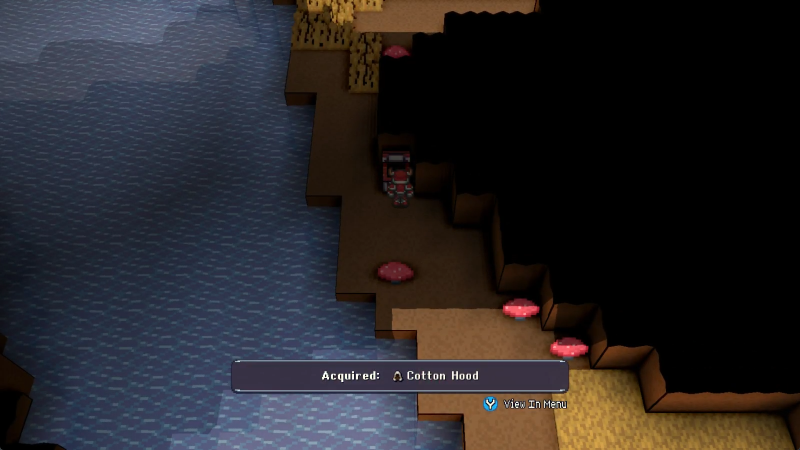
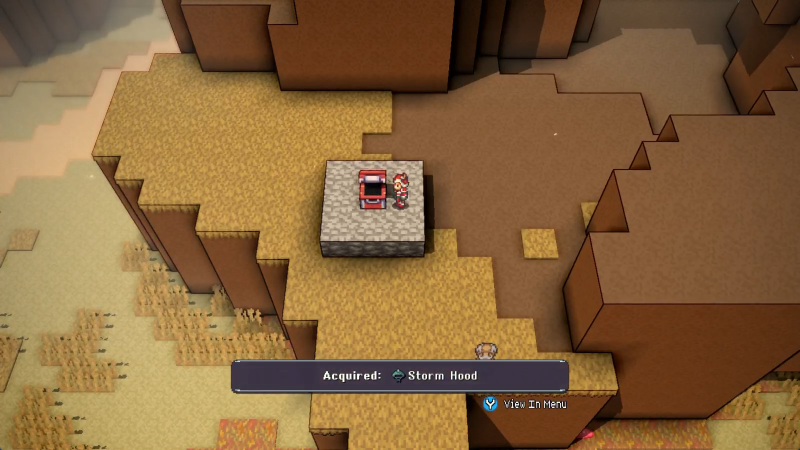
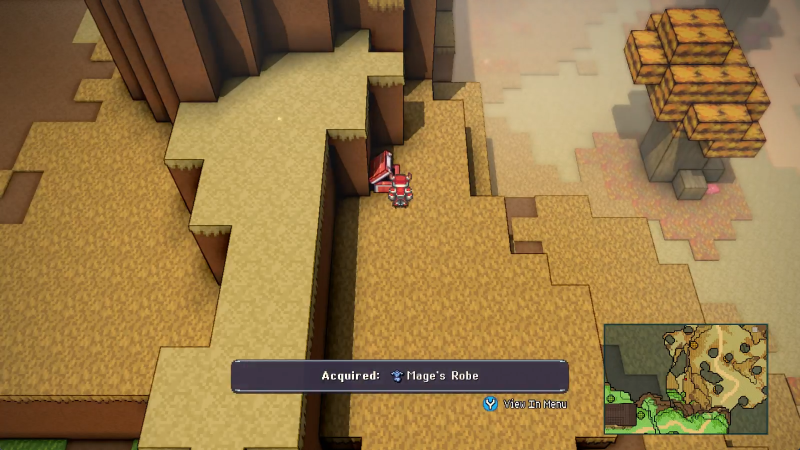
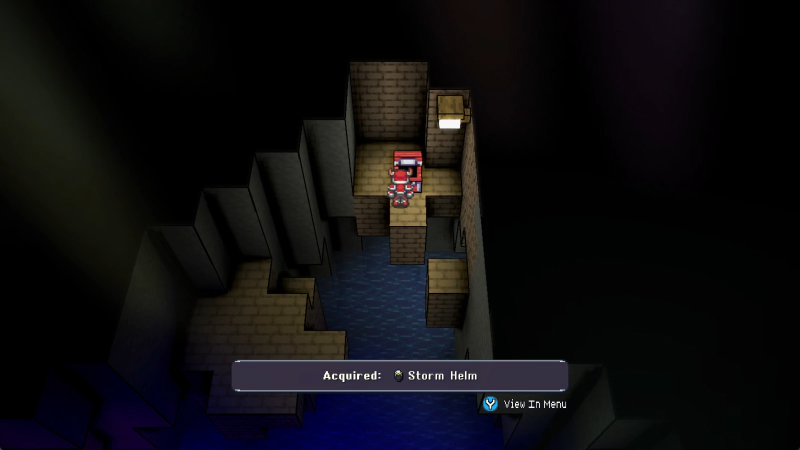
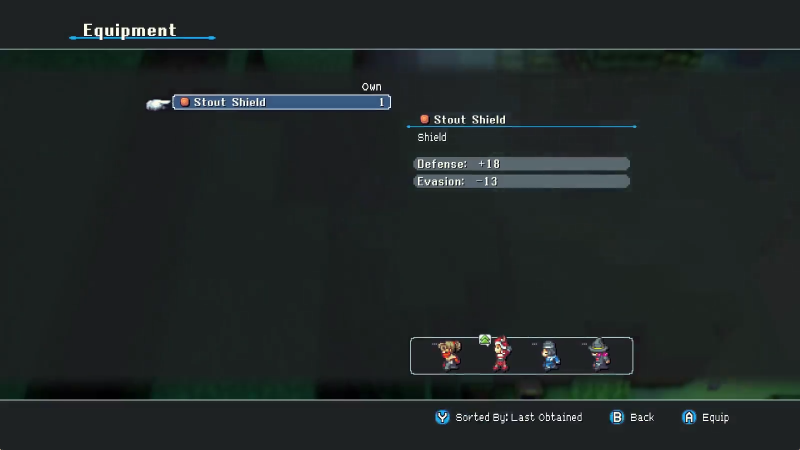
Our reward for climbing up this high is a fun new shield!
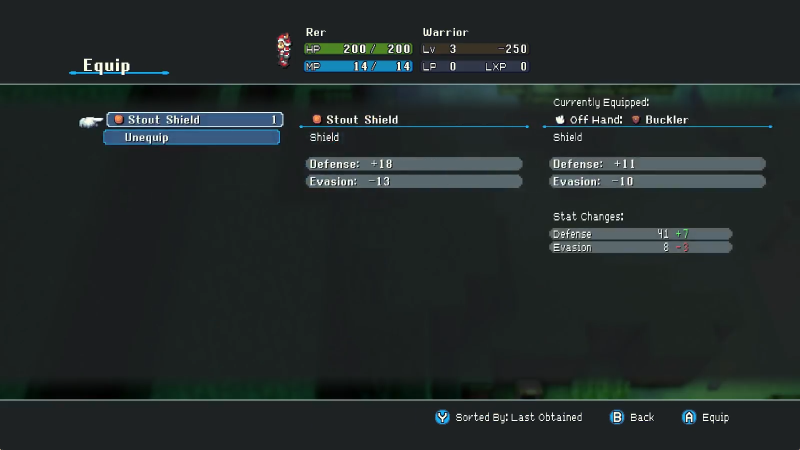
Ain't much, but it sure does the job. Appreciate the little guide down there for which party members can equip stuff and by how much they improve over their existing stuff.
I'm not gonna go over super-specific detail and use cases of all the gear we find, but if I happen across any especially exciting gear I will highlight what it's good for. Suffice it for now to say that Spawning Meadows' hardest-to-get treasures are primarily weapon/shield upgrades for the starting crew.
Oh, yeah, you can slightly rotate your view with the left and right bumpers on controller. Ain't know what the inputs are for keyboard, this just feels like a better game to play with a controller, y'know? You can use this like here to get a better look at areas that might hold secrets...
Like this!
Last bit before we actually go down the beaten path, I swear. This squirrel's route is clearly visible in the shot.
Way ahead of ya, Nan.
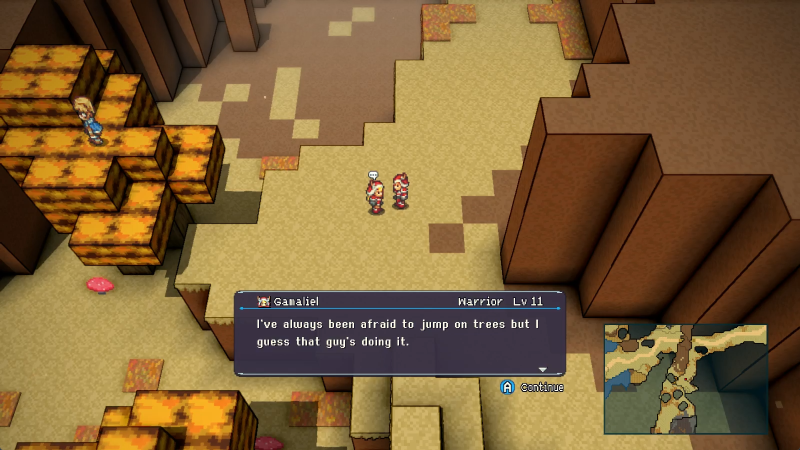
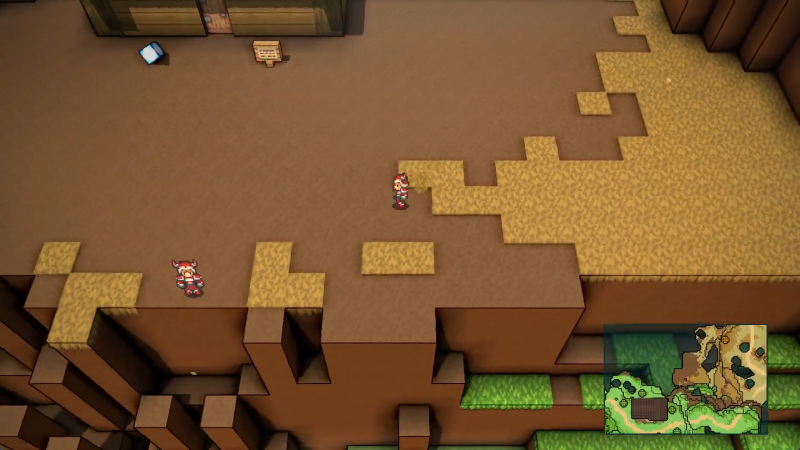
The blocky platforming isn't the only thing like SMRPG. NPCs are completely valid to use as platforms to reach hidden areas or just to hitch a ride if the situation works.
Even this early, we can use it to get up here a hair earlier than intended!
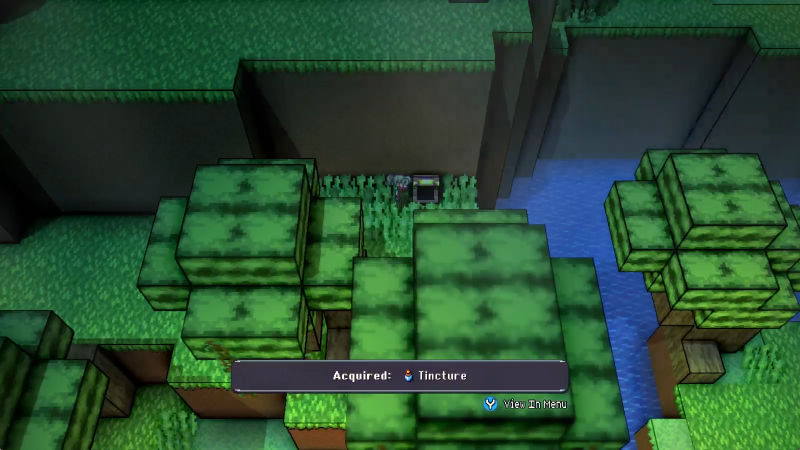
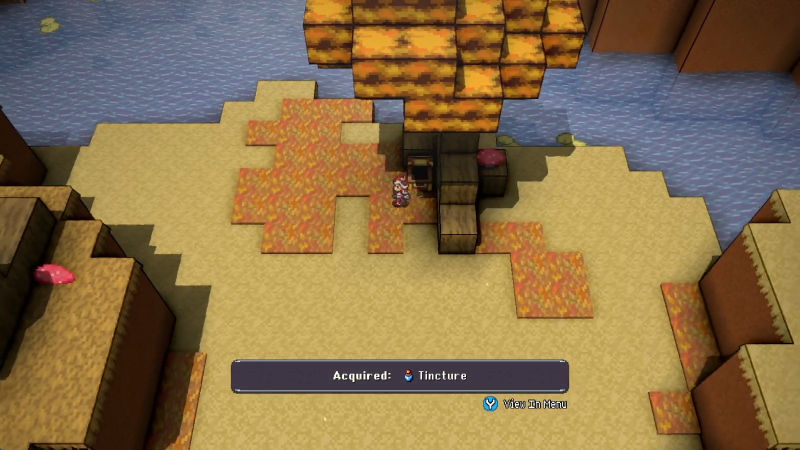
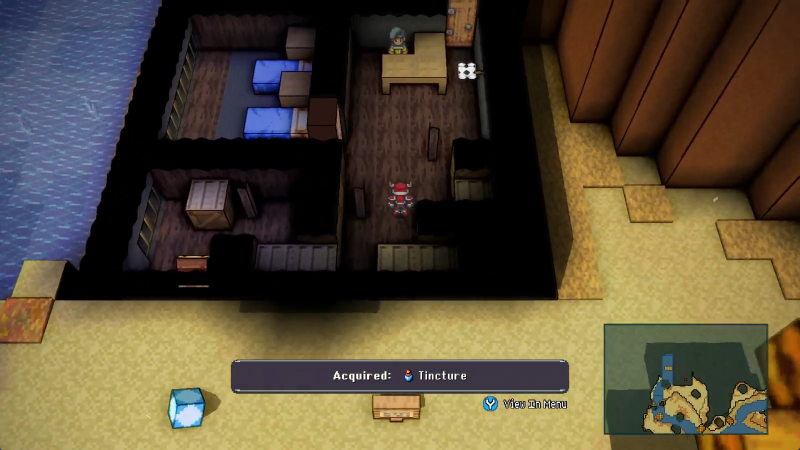
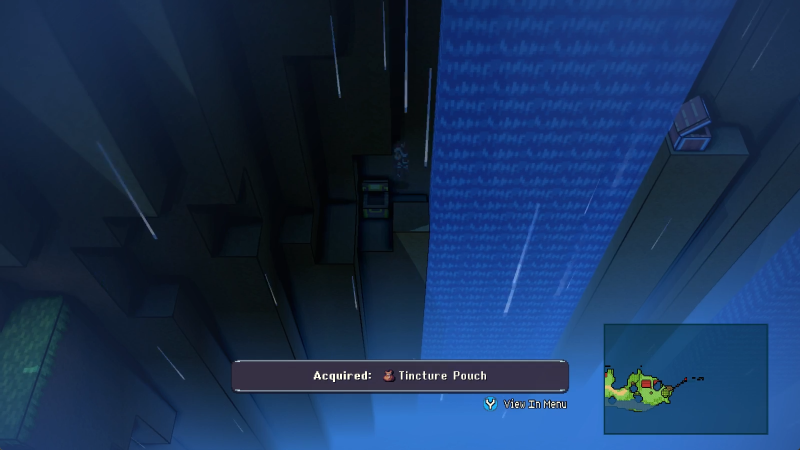
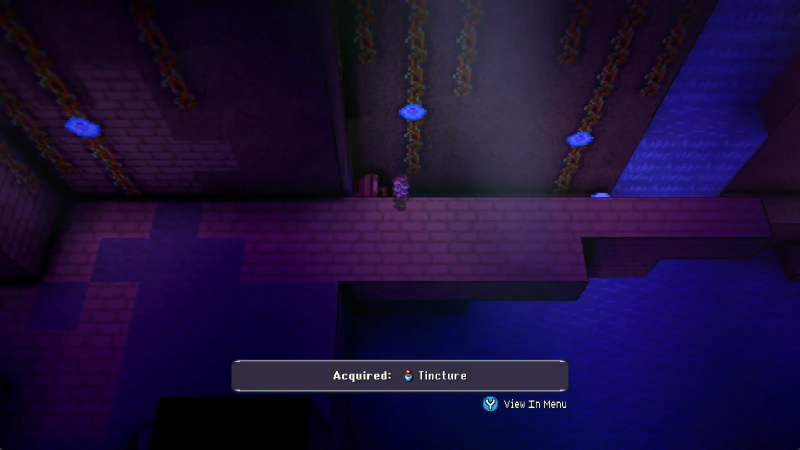
Tinctures restore MP, 20 per use. For your earlygame casters, that's roughly 3 more shots of whatever spells they've got.
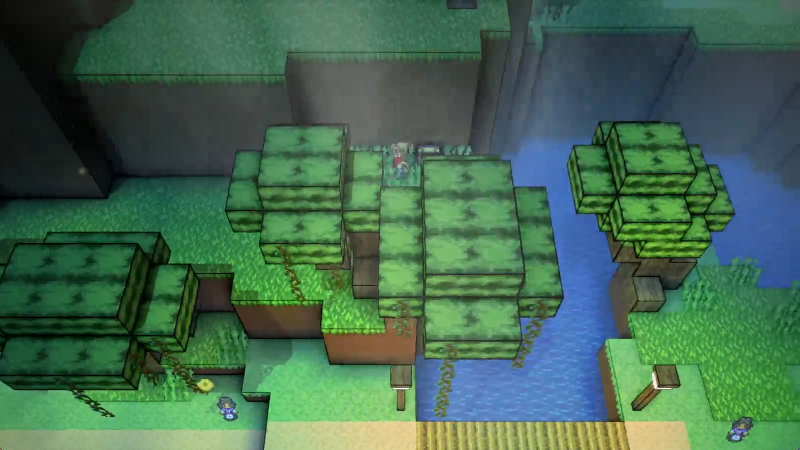
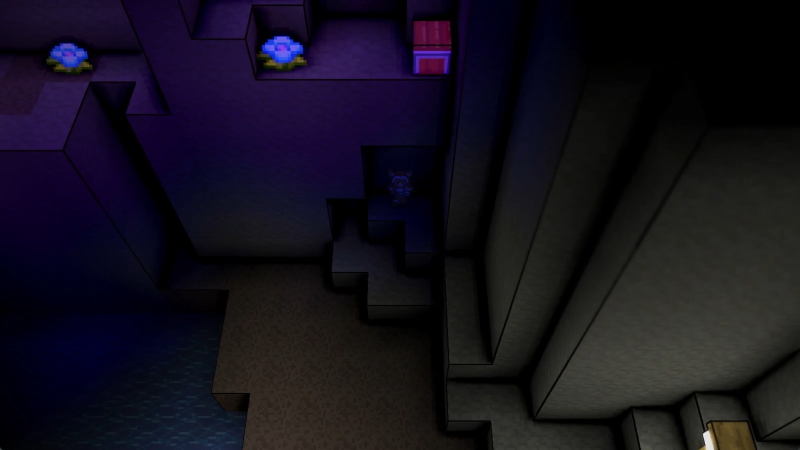
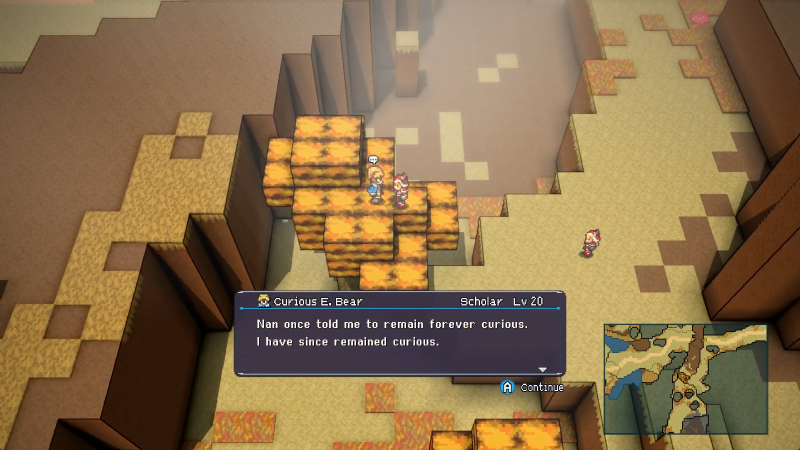
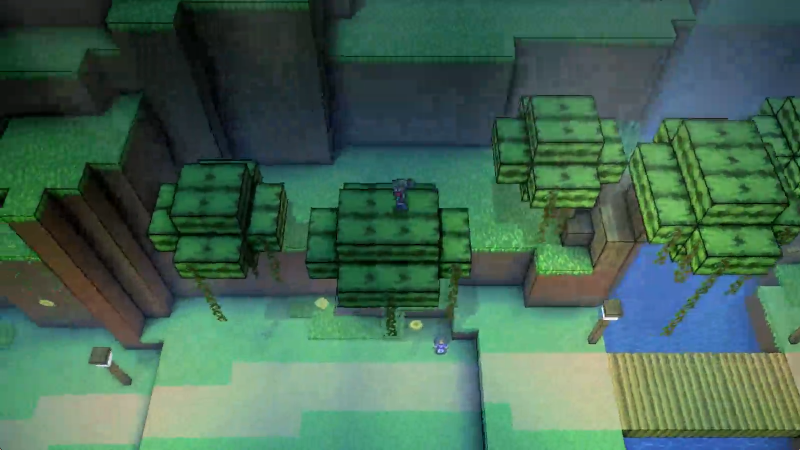
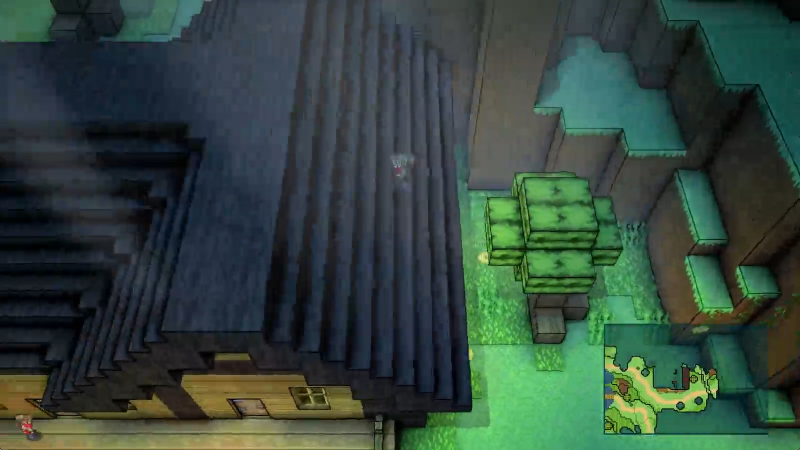
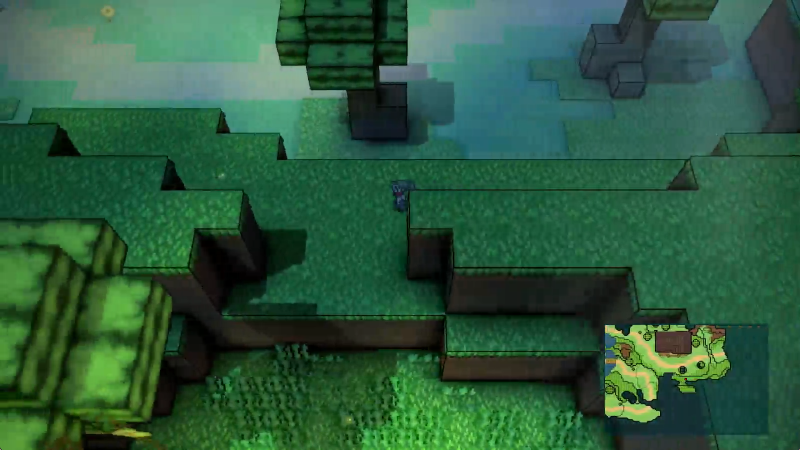
The trees here can be climbed, but some of them might require some tricky triangle jumps to get to. They're possible in this engine, just very difficult.
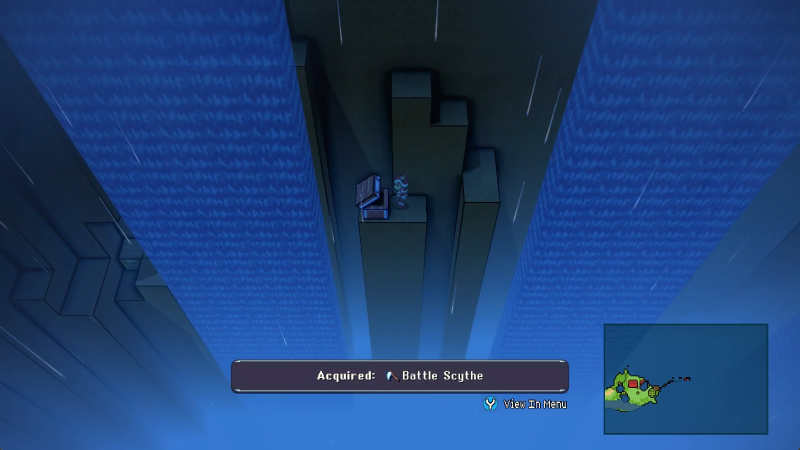
From here, we can climb all the way over the path that Nan would ordinarily lead us down. We're still gonna walk that path with her, later, after I've had my fun treating the first area like a jungle gym.
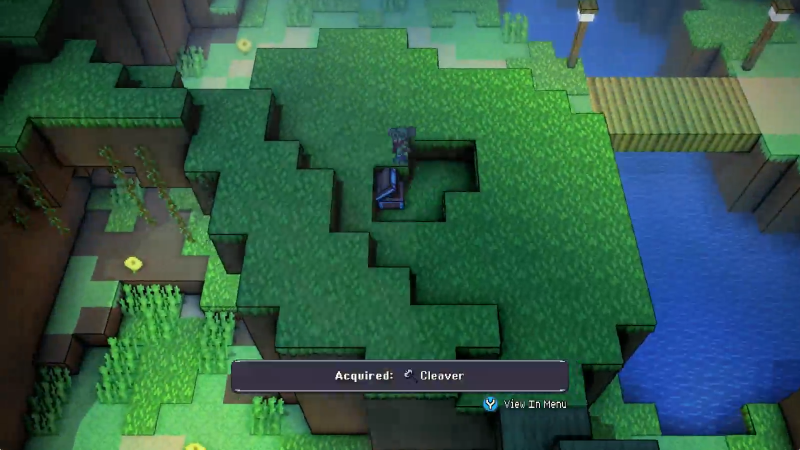
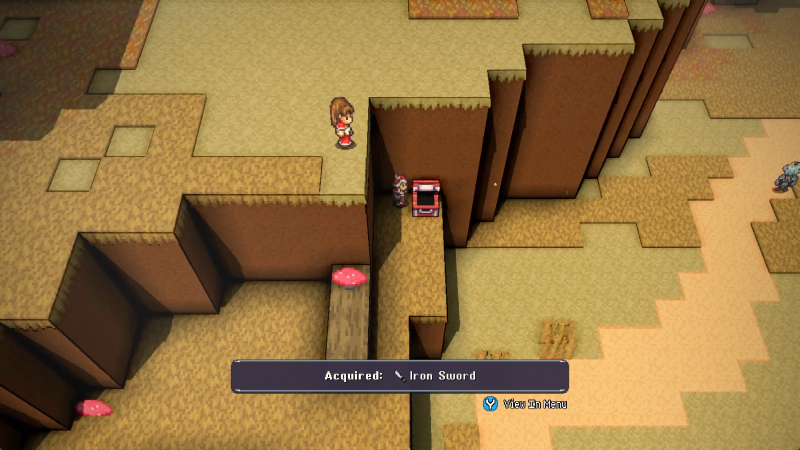
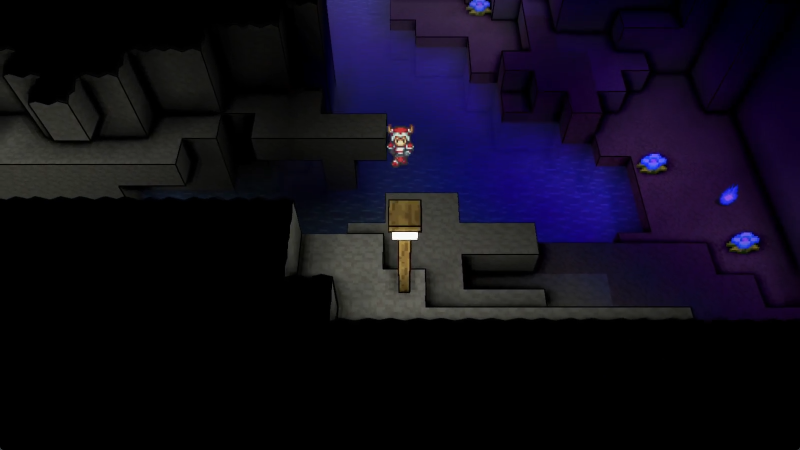
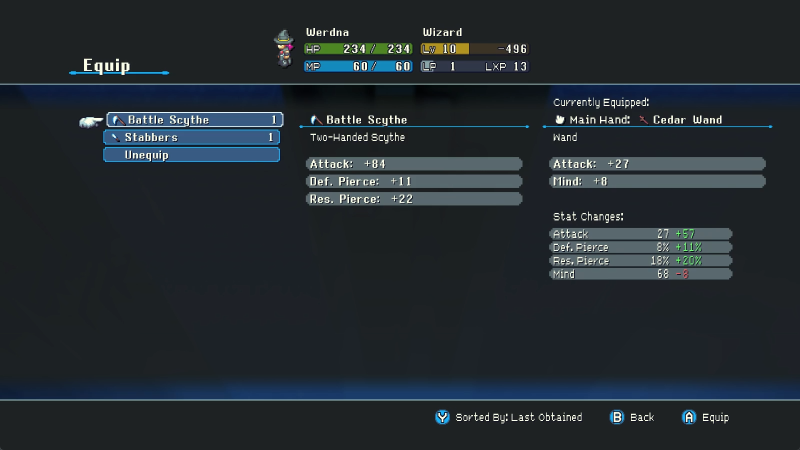
Big axe. Axes like this one pack a decent amount of Attack and come in one or two-handed variants (this one being a two-hander) and have some Variance on the damage they deal. More on that once we get in a fight.
Yeah just to really drive it home: in no way are you expected to stick to the "main" route in this game. Almost everything can be sequence broken if you know how, although some parts are trickier than others, and sequence breaking doesn't help if you hit an encounter capable of pasting you before you act.
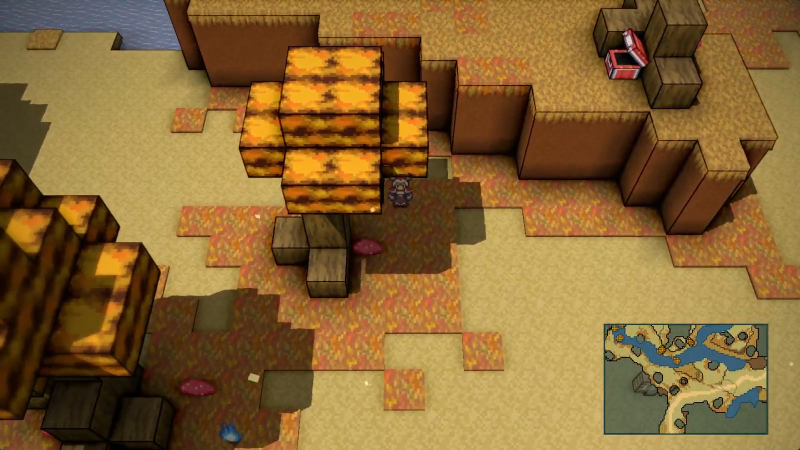
Suppose we head left from the Tincture box, though.
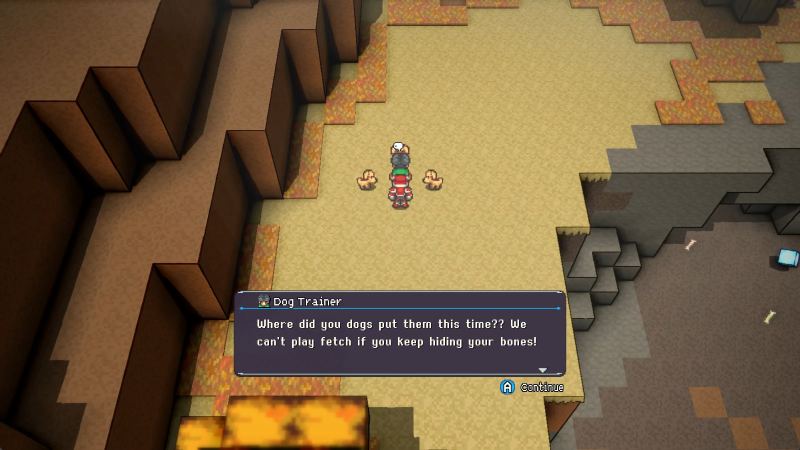
What
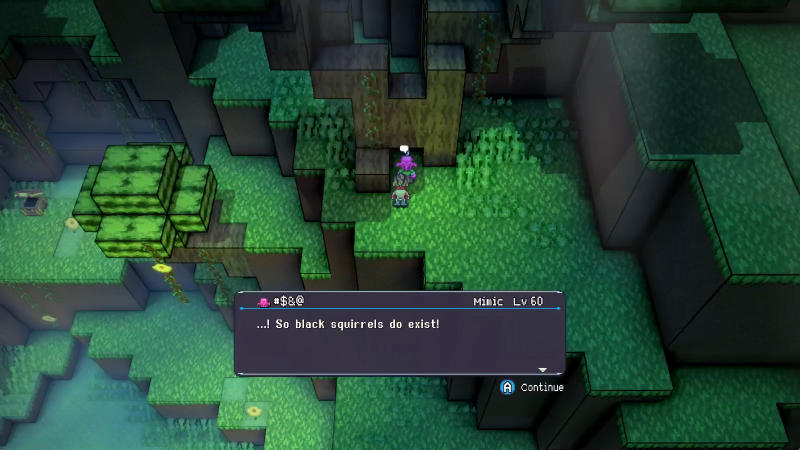
I... see? Okay. Sure. We can catch another black squirrel for you, you very normal person.
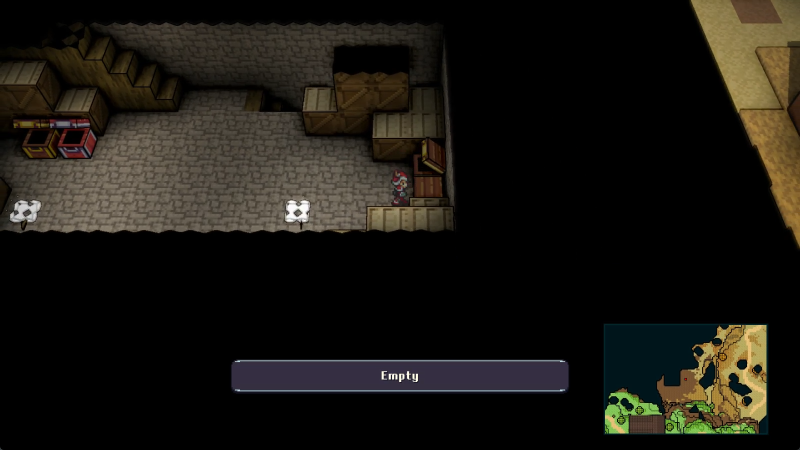
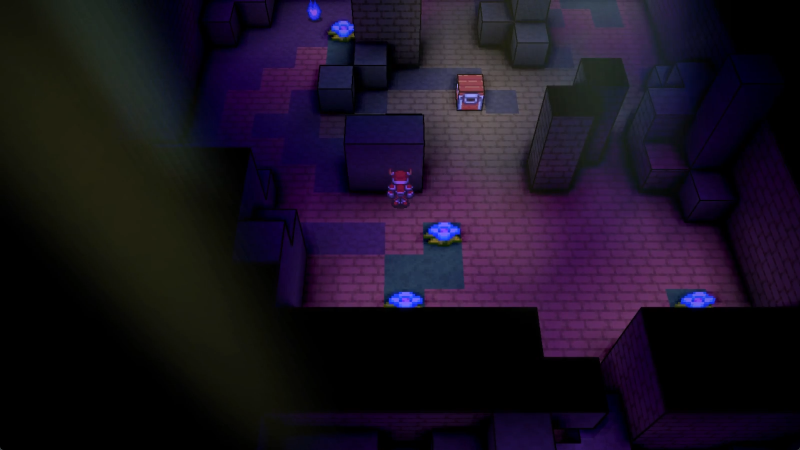
But first, more treasure!

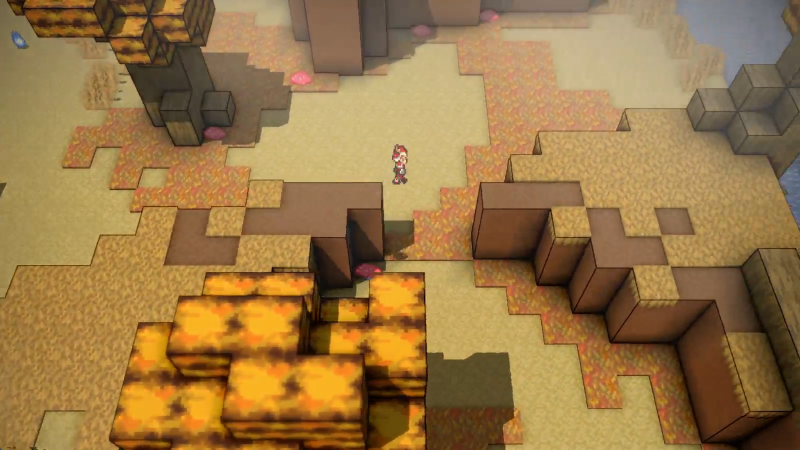
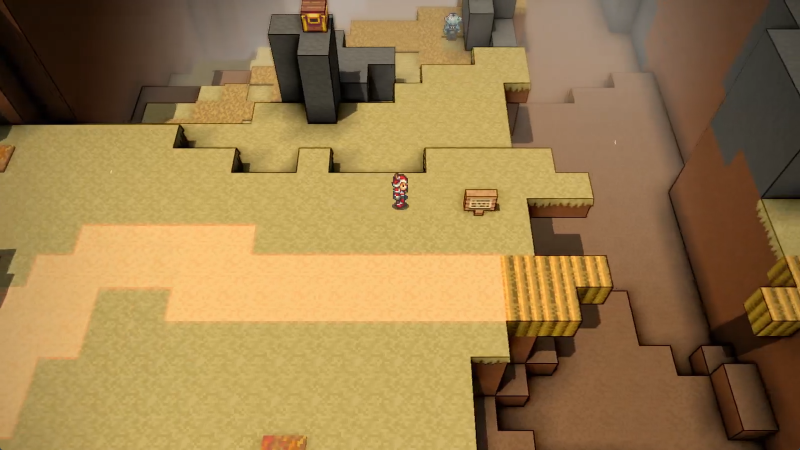
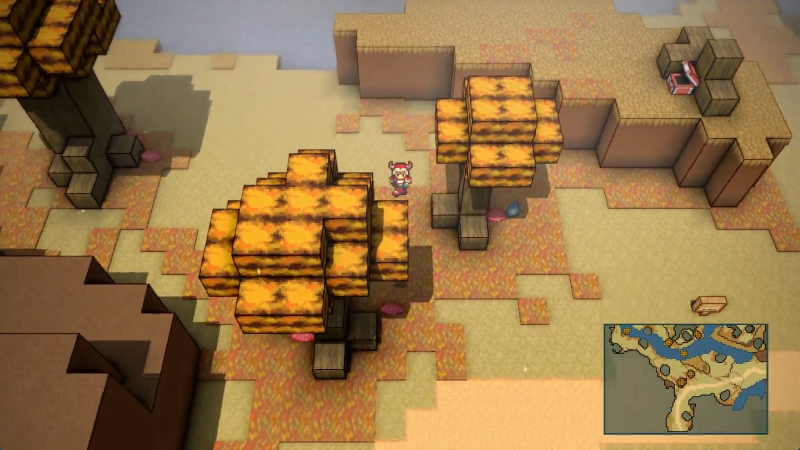
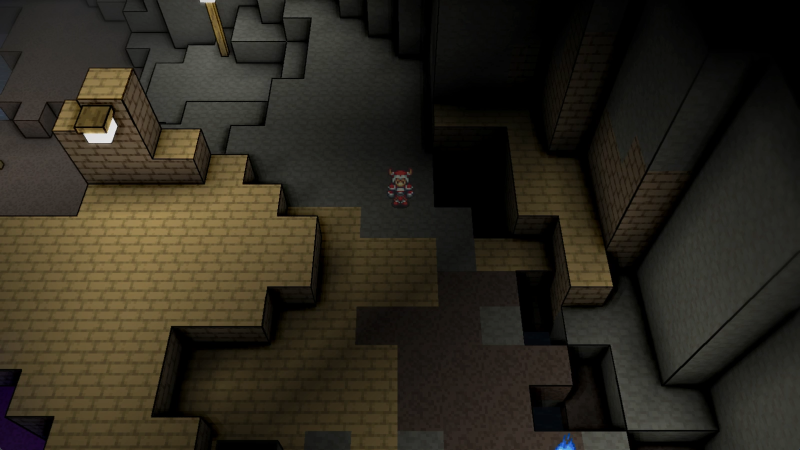
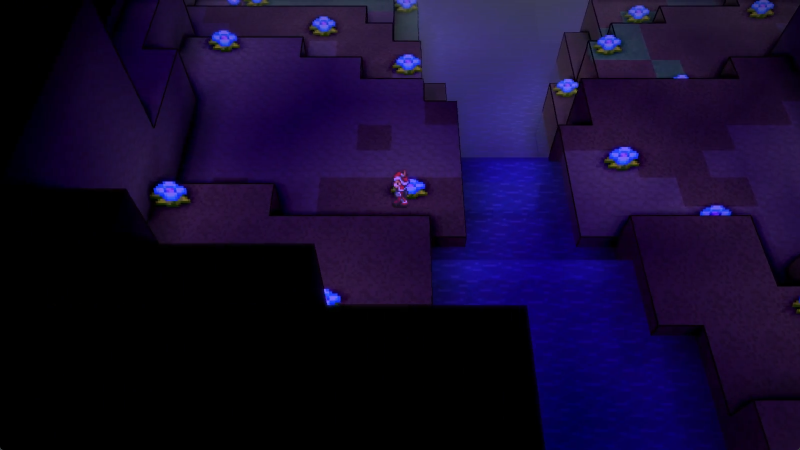
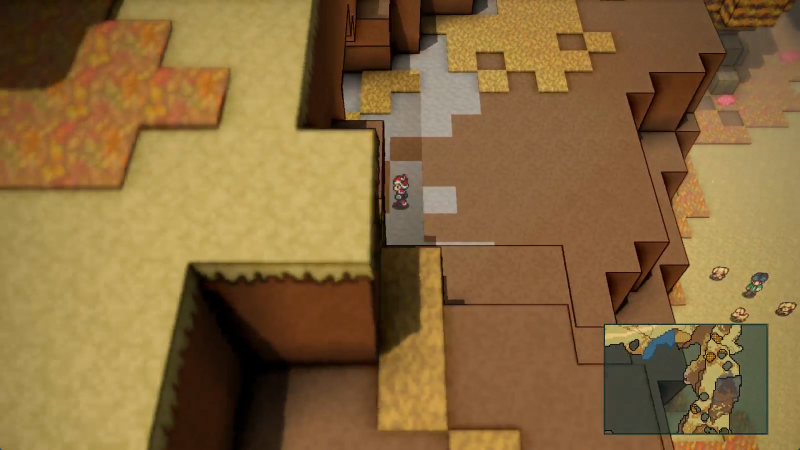
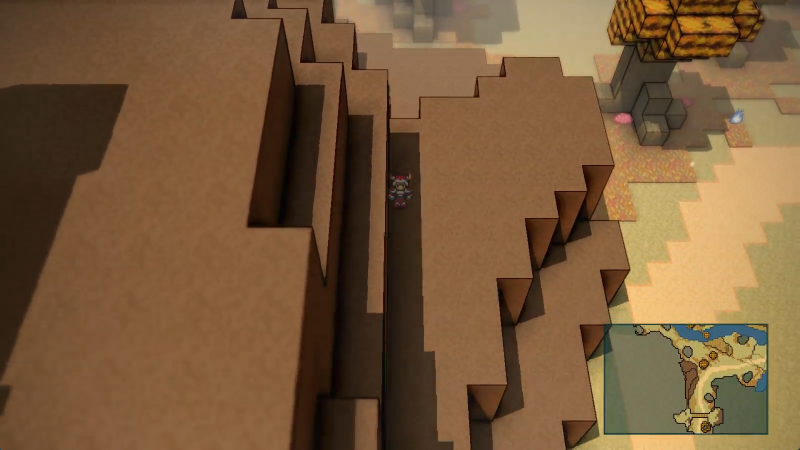
Unfortunately, the terrain here is a skosh too high to REALLY start sequence breaking, but this is hardly the roadblock you'd expect. But that's a later thing.
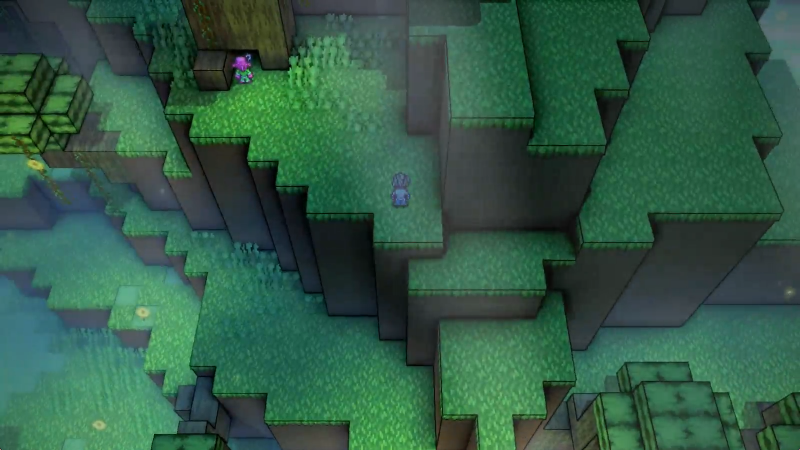
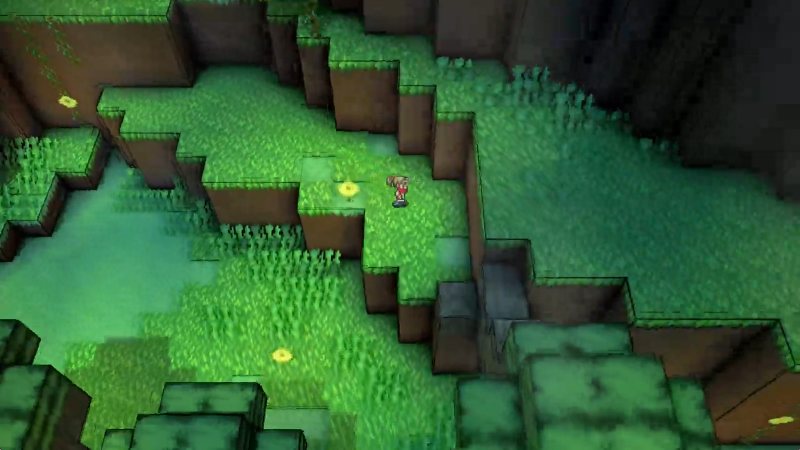
Still may as well show off what our height lets us see a bit, which isn't much.
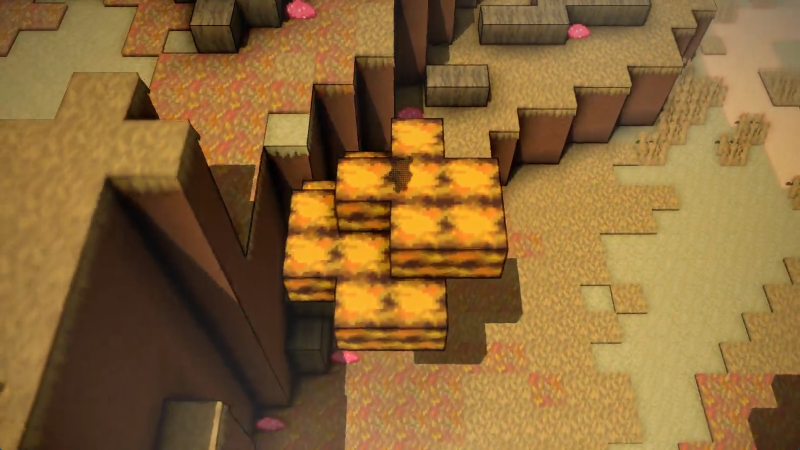
A new block type or two is barely visible here, but they're far out of reach. Ah well.
First treasure over here is the basic revive item, restoring the target to a meager 1 HP. Unfortunately, we can't use items in battle. Use them specifically for restoring condition after tough fights.
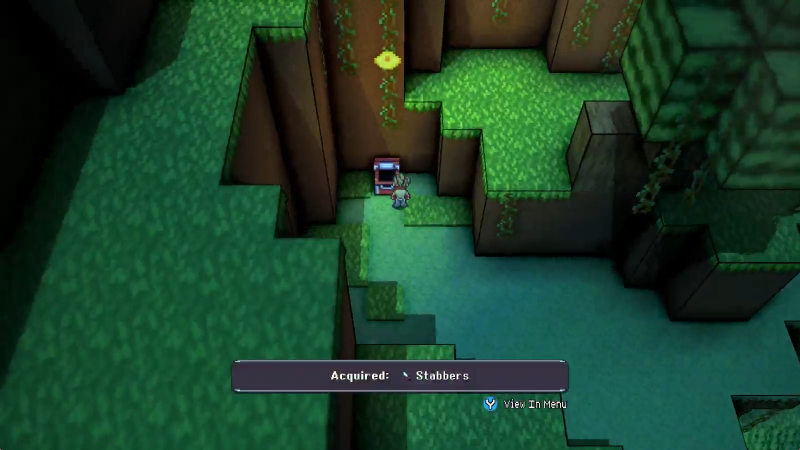
A dagger, hell yeah. Daggers afford the user extra damage when they score a critical hit (henceforth: crit). This makes them a favorite of any Dexterity-focused characters, naturally.
And our last necessary black squirrel.
Okay, back to Nan, I swear.
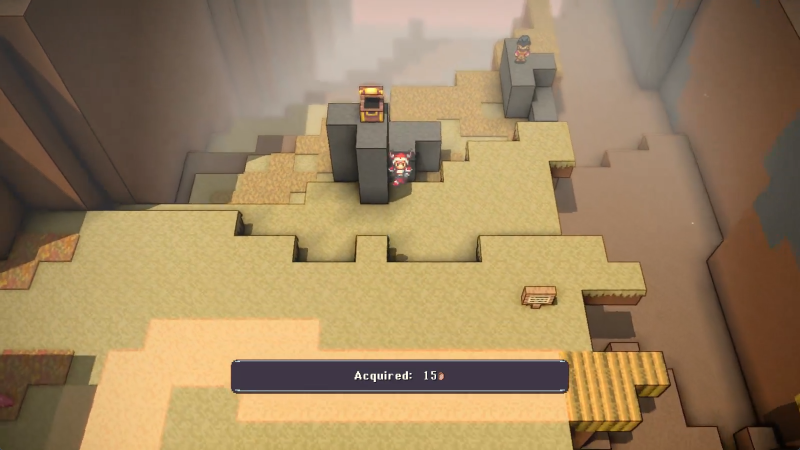
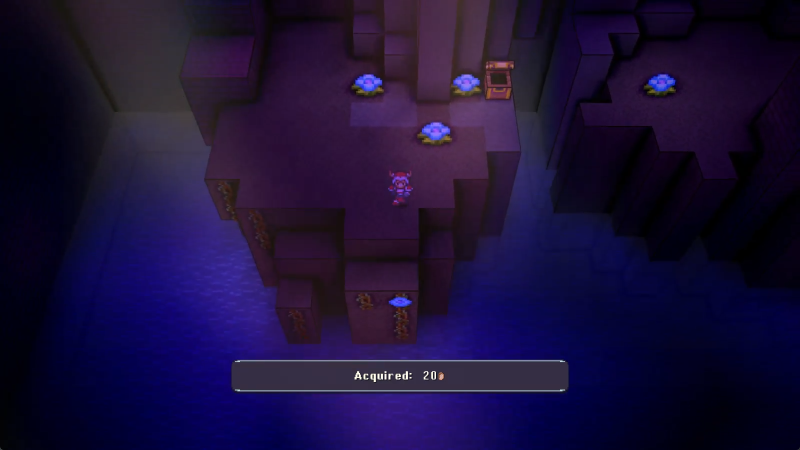
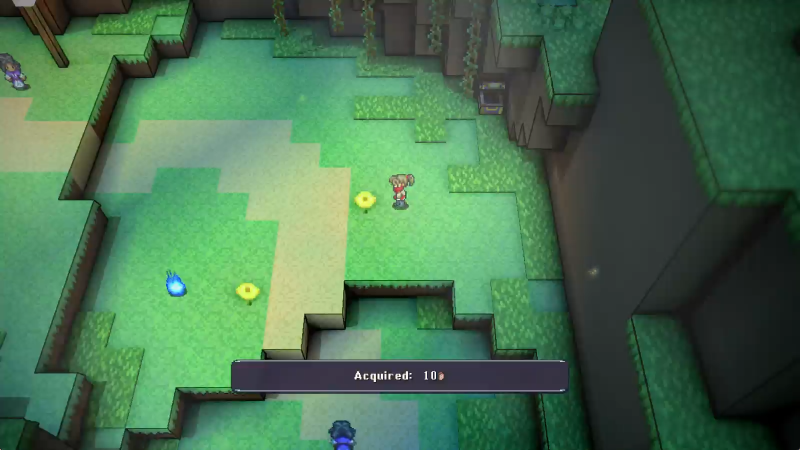
Grab some cash on the way.
I see? Well, moving on.
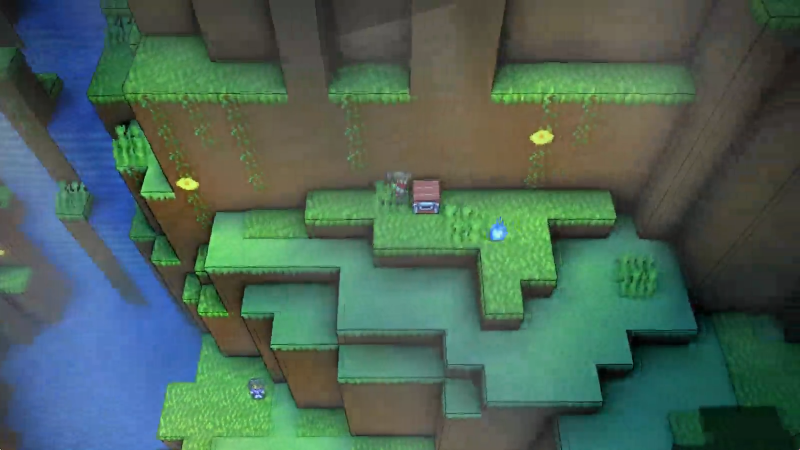
On-field encounters but not random, you say? Yes please and thank you.
LEZ TUSSUL
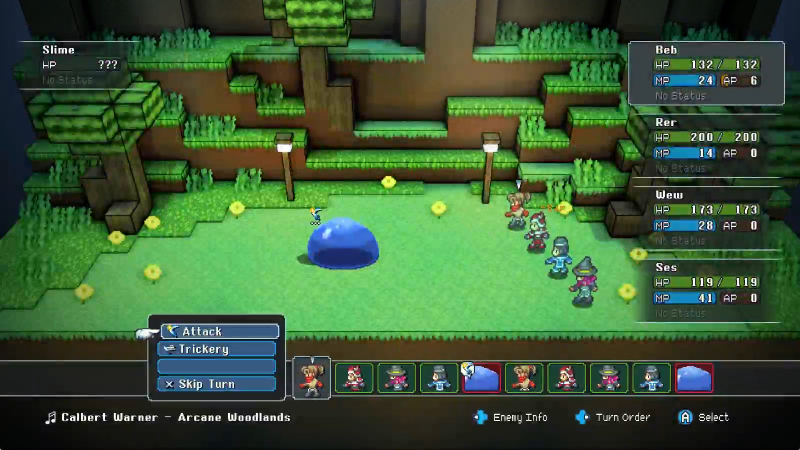
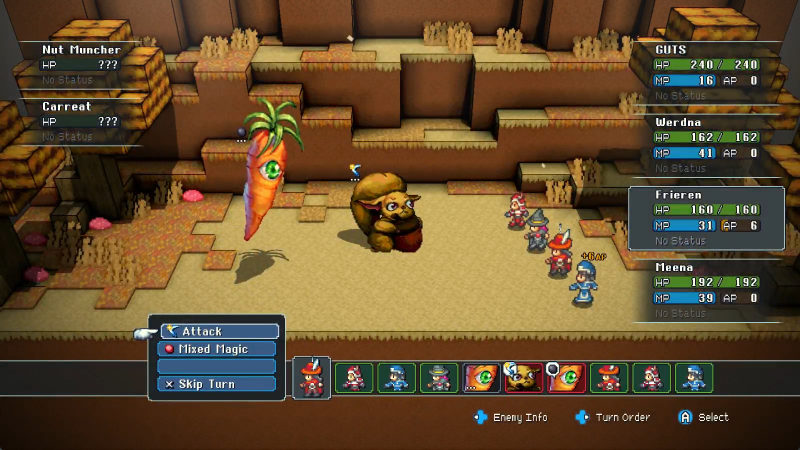
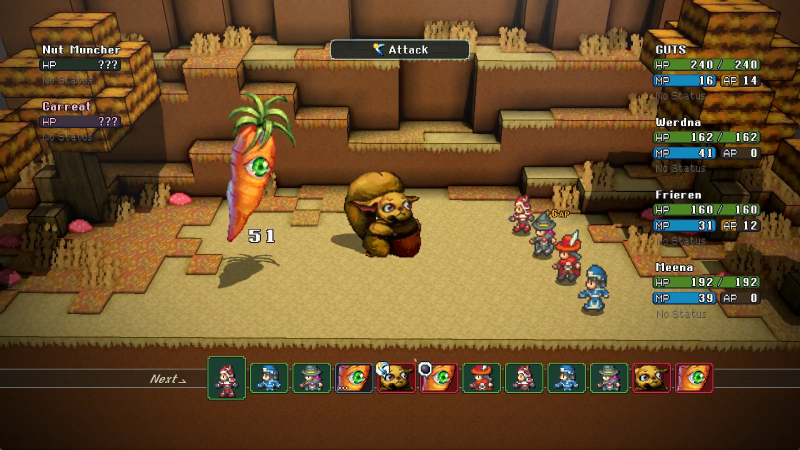
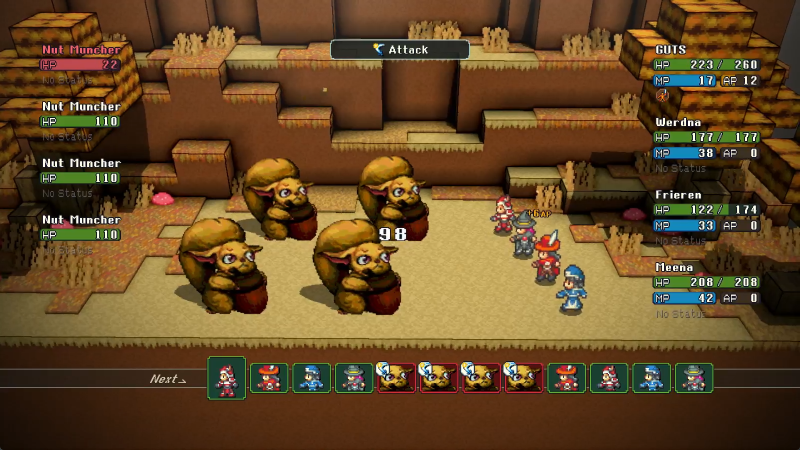
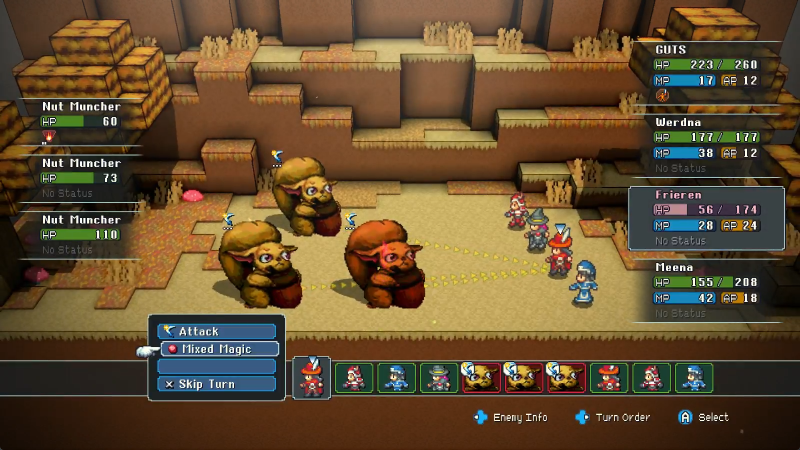
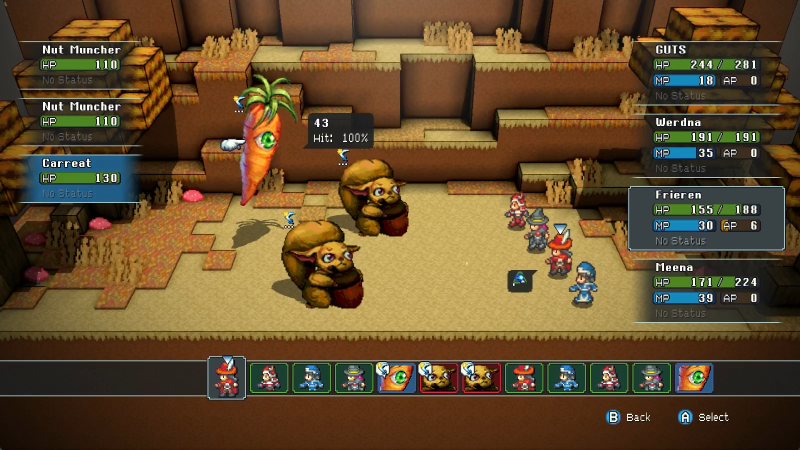
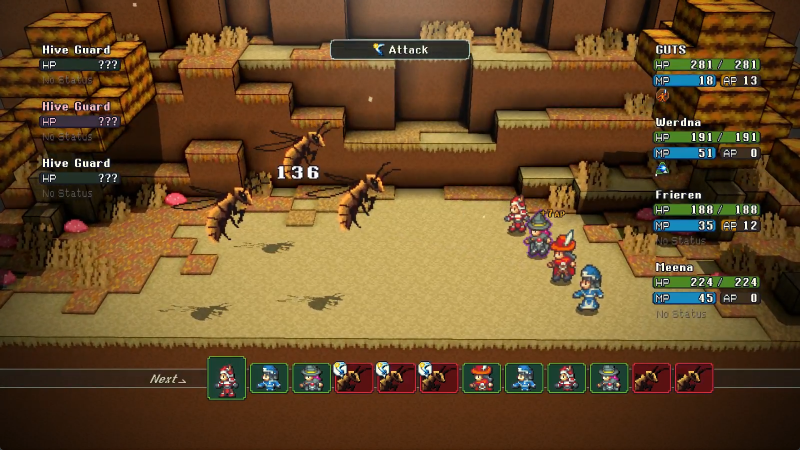
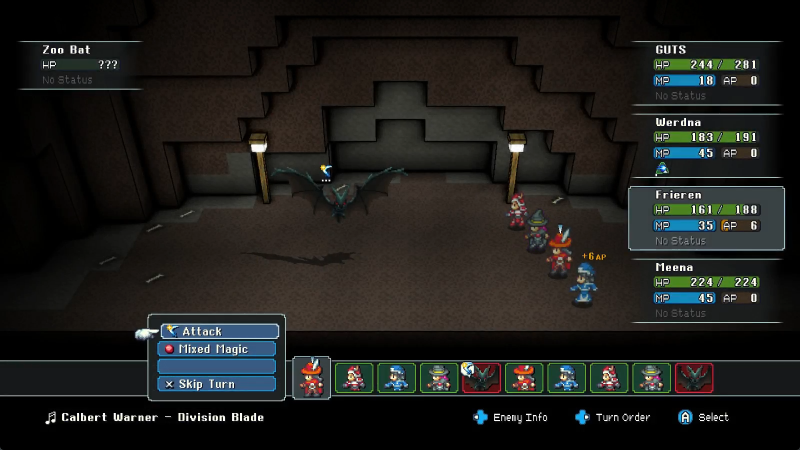
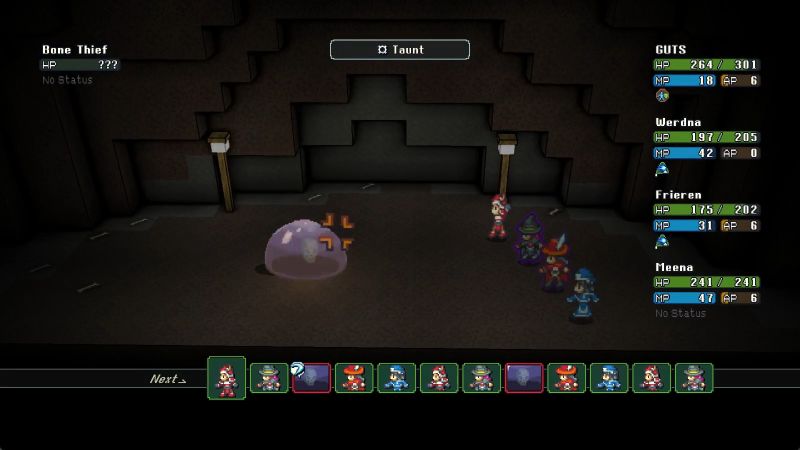
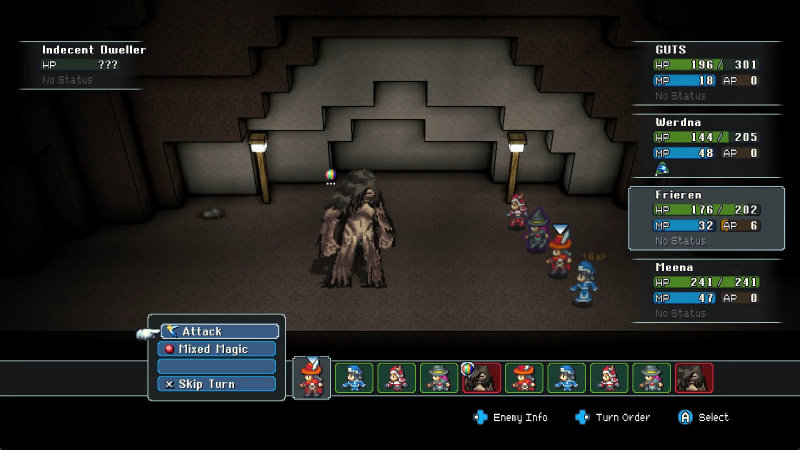
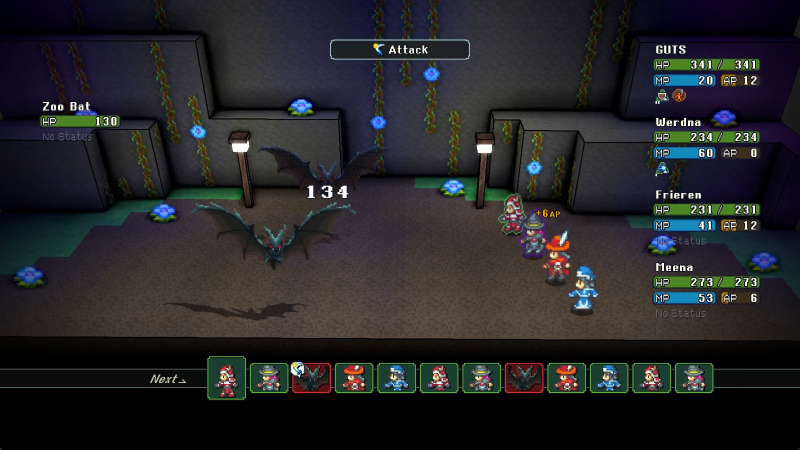
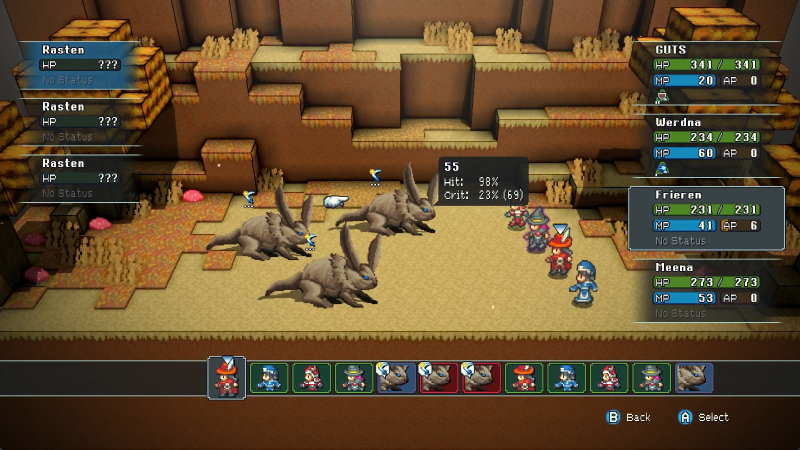
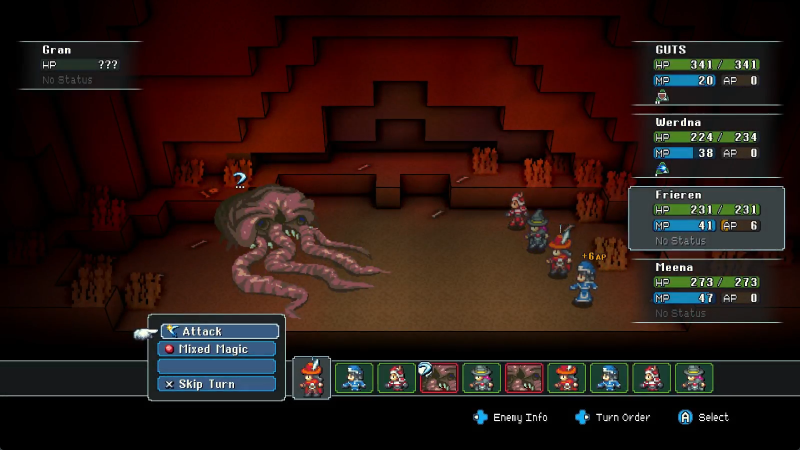
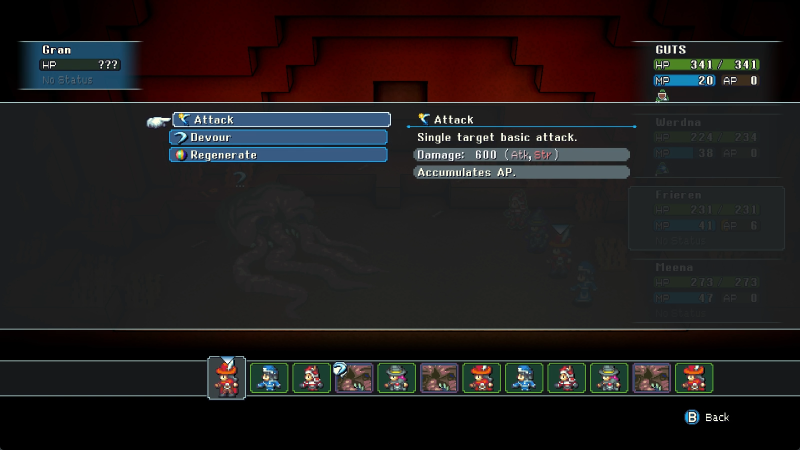
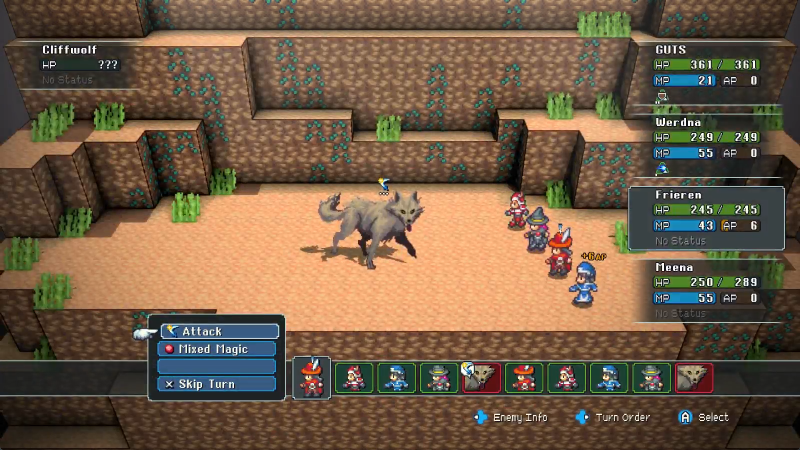
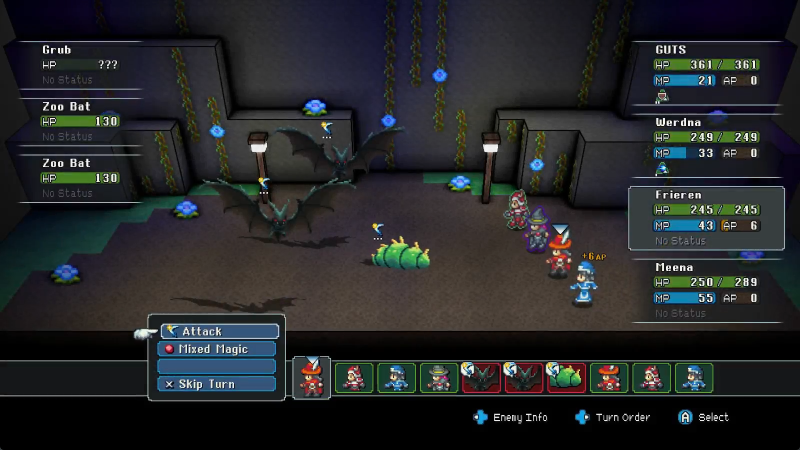
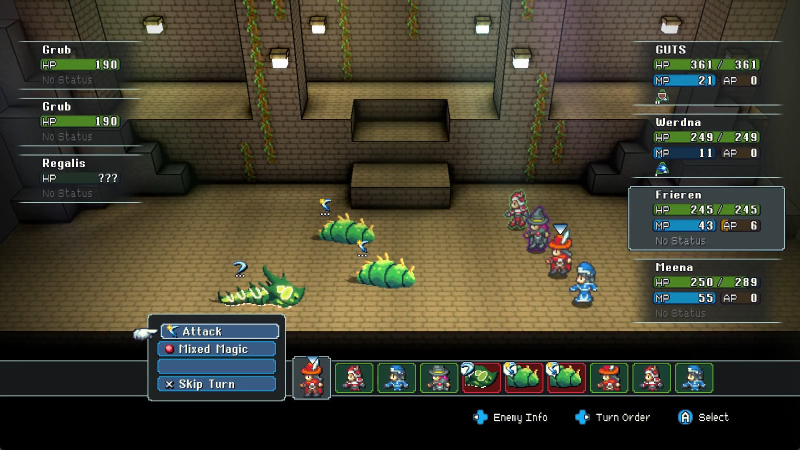
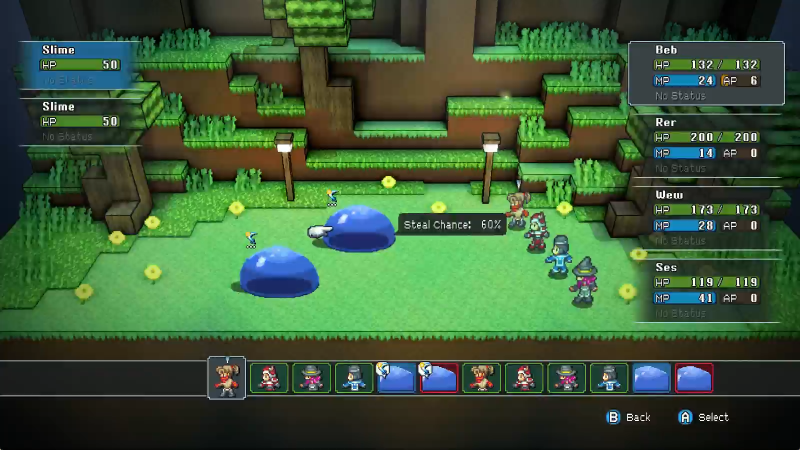
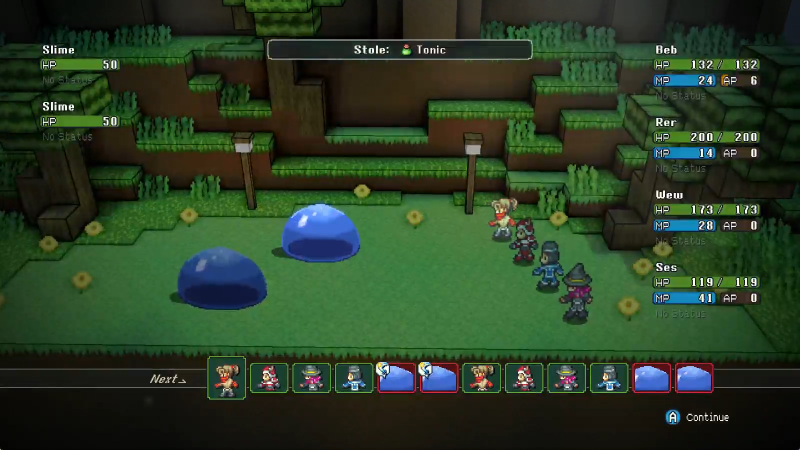
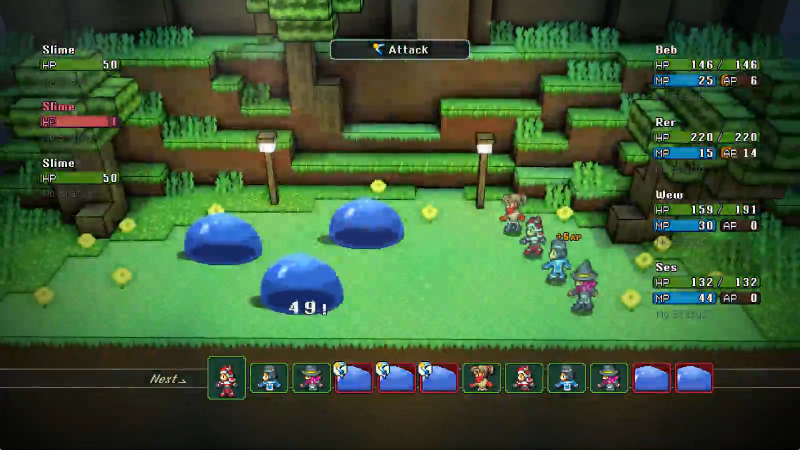
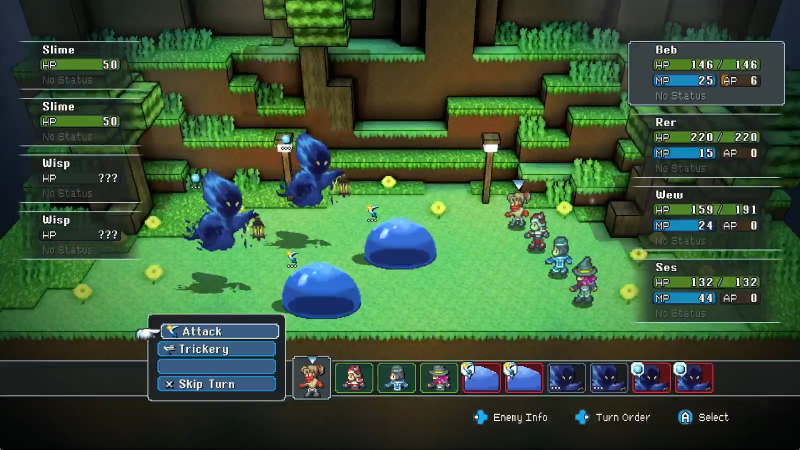
So, here is the combat section of the game. Our Rogue, Beb, is up first, which makes sense, against a Slime that will be doing a basic Attack. Our stats on the right, theirs on the left (insofar as we can see them), actions and turn order on the bottom.
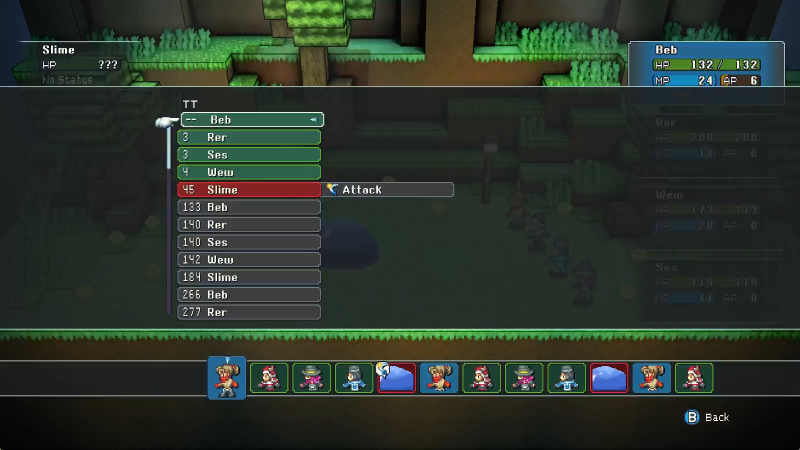
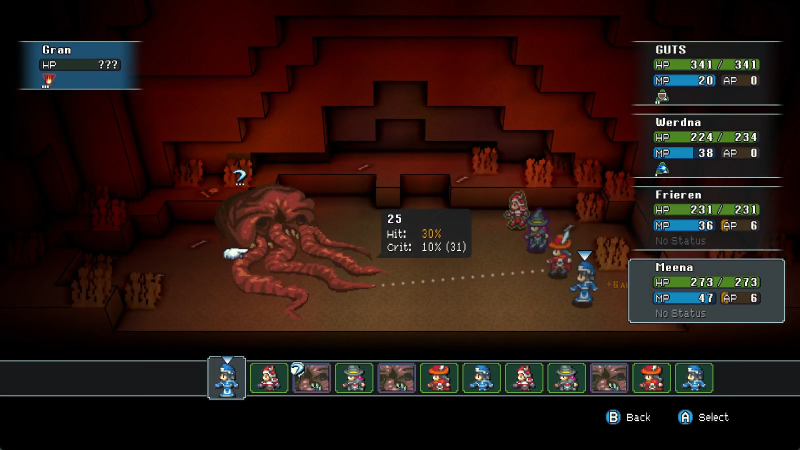
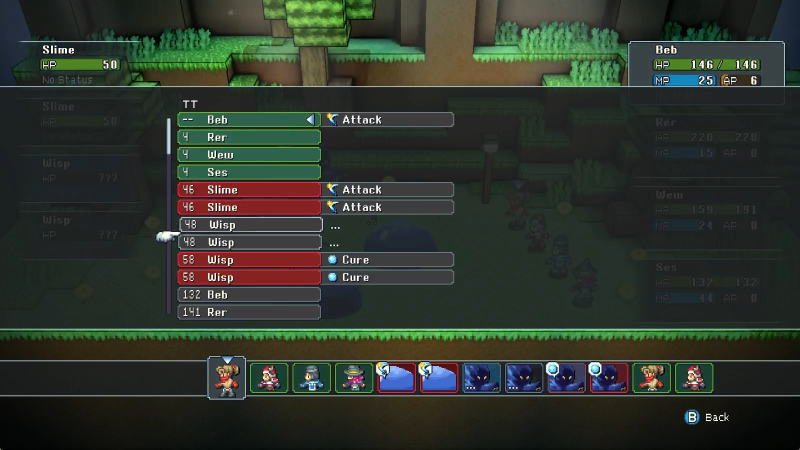
We can also see the turn order in more detail at any time. Basically, after every aut, everyone's TT goes down by 1, and when someone's TT hits 0, they can act. We'll explain it more later, but for now, it's a turn system.
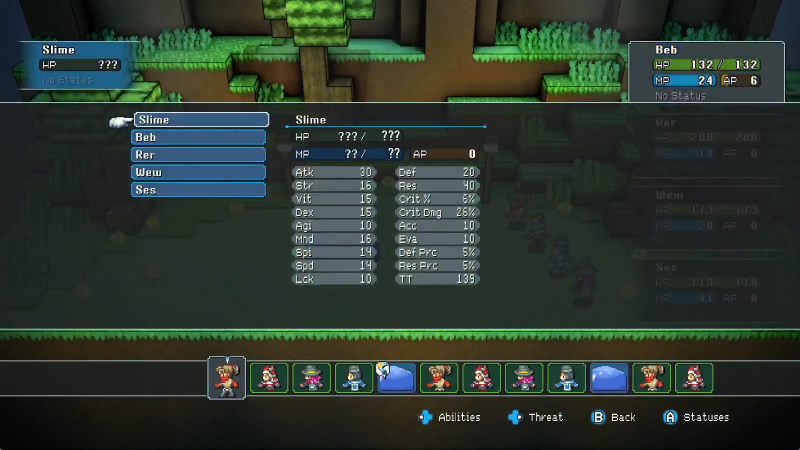
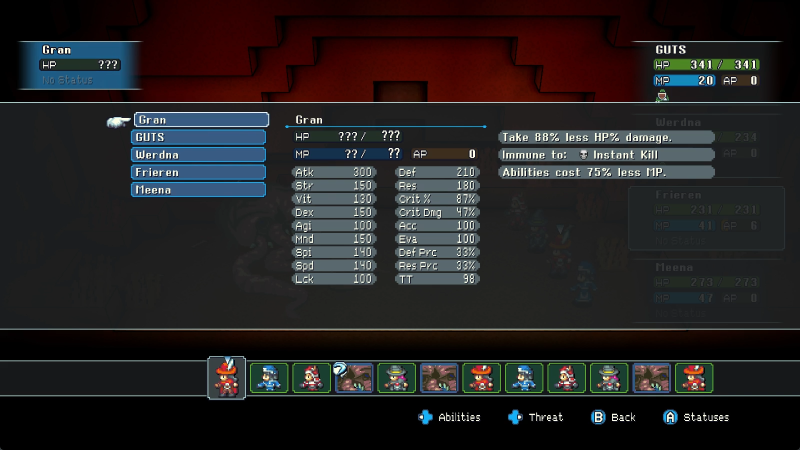
We can also see the Slime's stats, as well as our own, at any time. Not just numeric stats either: should they have any passive traits worth noting, like resistances, special behaviours, and the like, we can also see that here.

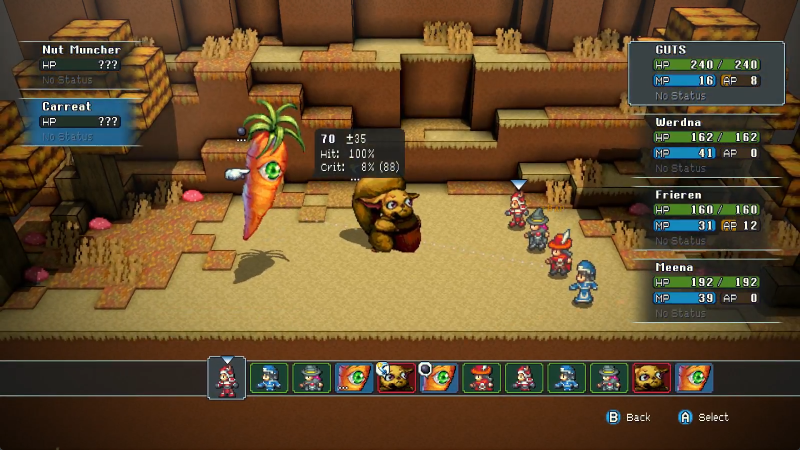
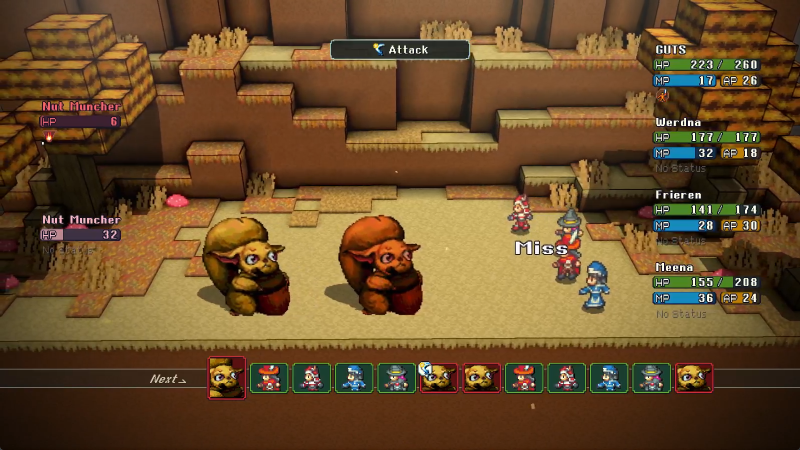
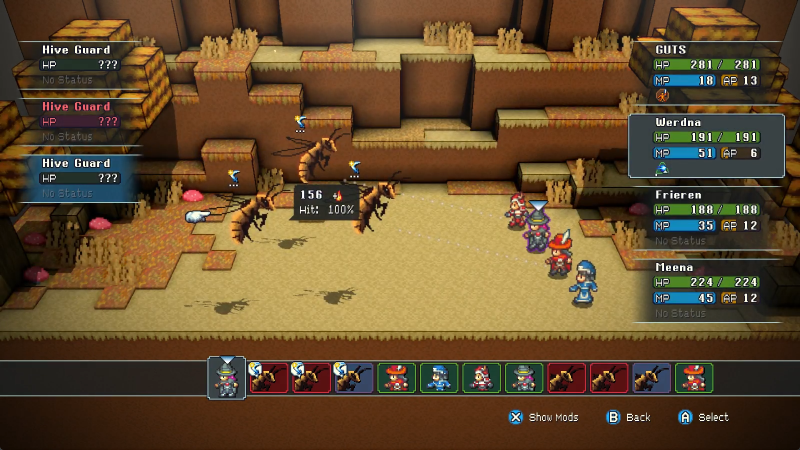
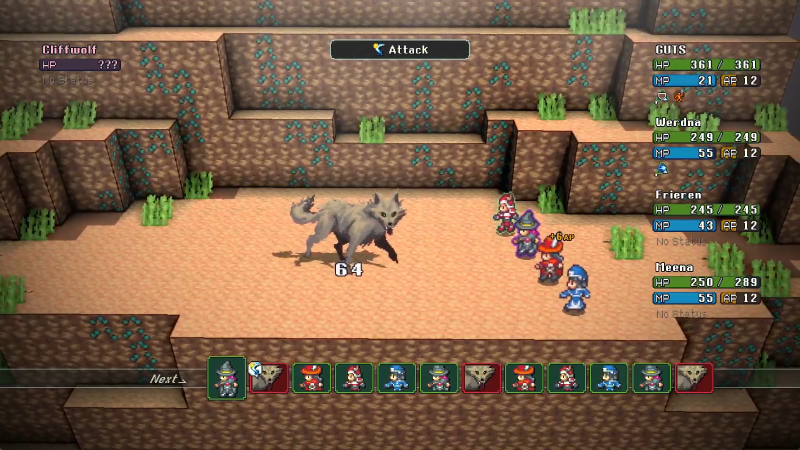
In any event, the Slime is a complete non-issue. Beb and our Warrior, Rer, can do about this much damage trivially.
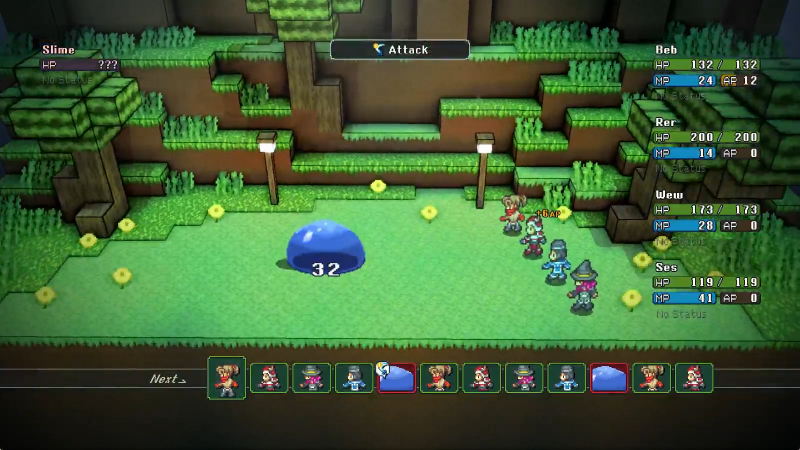
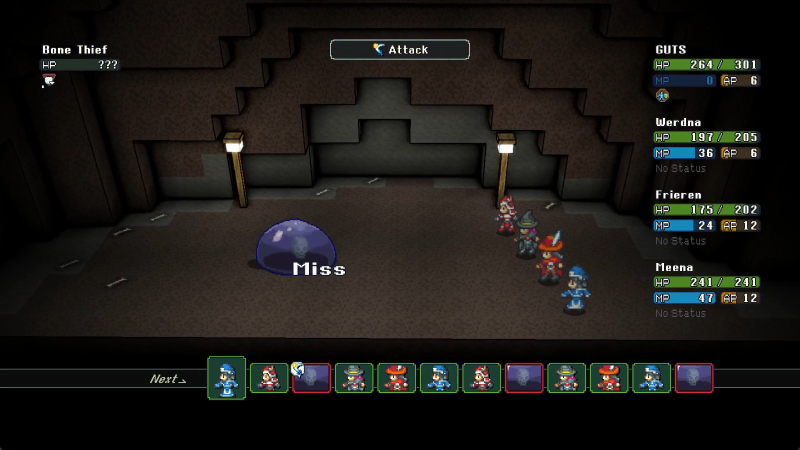
Note two things that occurred here. The first is the Slime's healthbar turned from green to pink. Even if we can't see enemy health at first, we can get a basic idea of their damage. An enemy whose healthbar is pink is at 50% or lower health, and if the healthbar is red they're at 20% or lower. My math might be off here but that's about where I remember it being.
Second is that Beb's AP went up. Just like magical characters use MP for their attacks, physical characters will usually use AP, which builds whenever they do a basic Attack, get attacked themselves, or start their turn, each for 6 AP total. The cap for AP is 30. There are exceptions to almost all of the information here, but as a general rule it's what you can rely on.
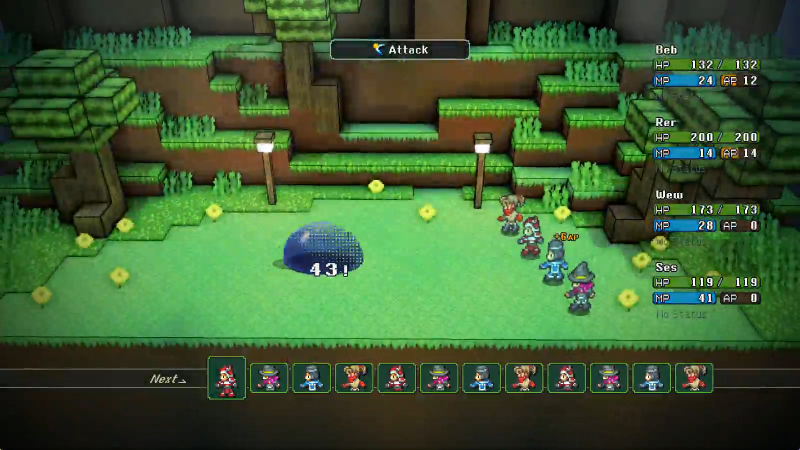
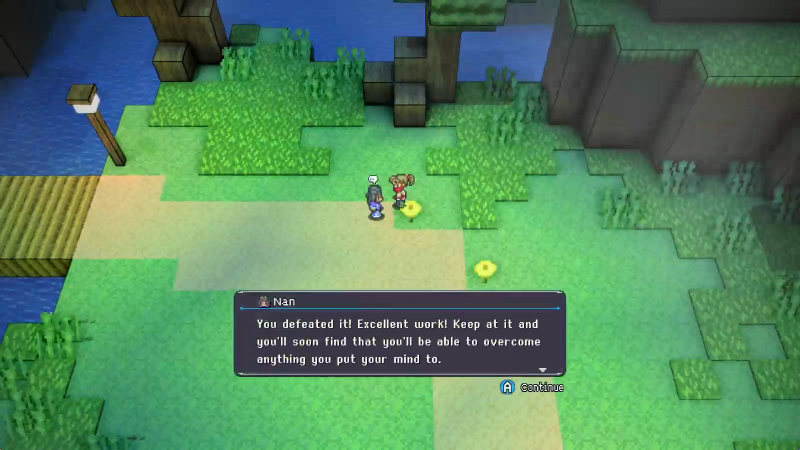
Anyway Rer manages to score a crit (as seen by the exclamation point) that overkills the hell out of the Slime, winning the day.
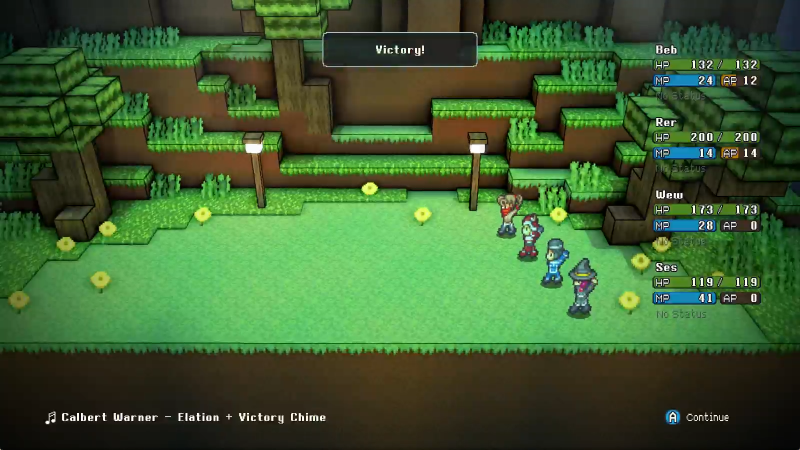
THROW YA HANDS UP IN THE AAAIIIRRR
Before...
And after.
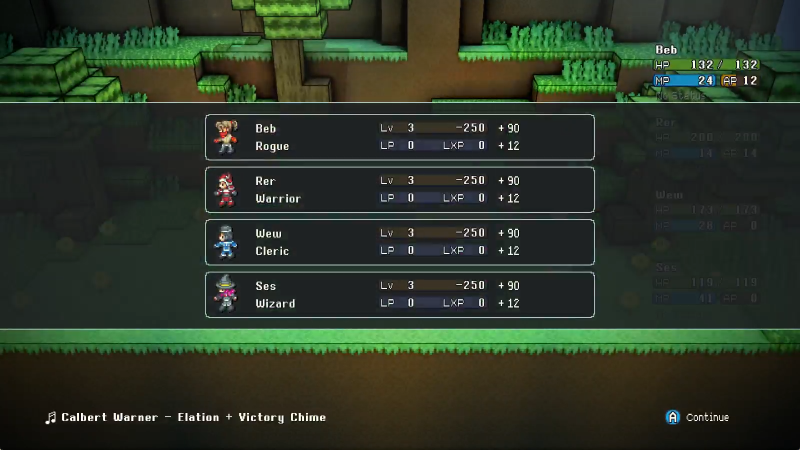
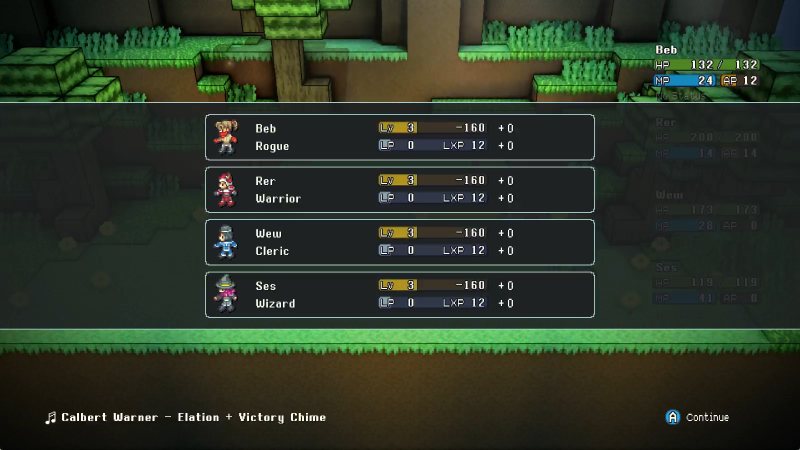
XP is the gold one, LXP is the gray one. Both are very important.
Thanks it was really hard.
Way, WAY ahead of you. Now hold still please.

Thanks. (There's stuff up here, but I got distracted and retraced earlier steps so I didn't find any. But still.)
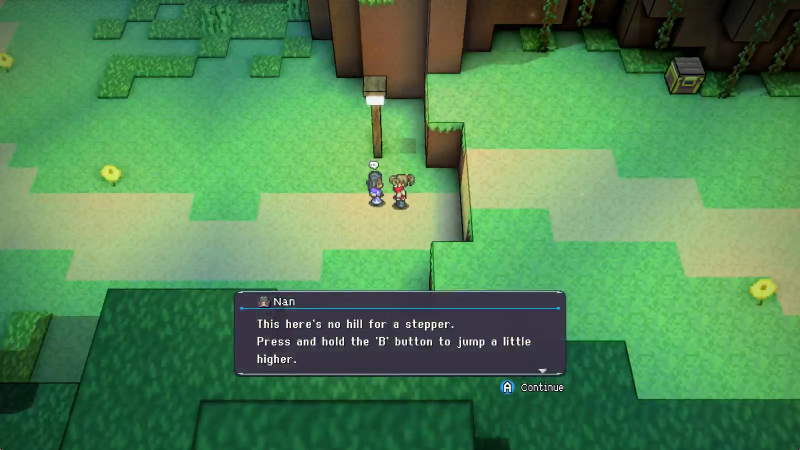
Considering we have to jump at least once to get to this point I'm not especially sure we NEED this info but yes, jump height depends on button hold length.
I'm a good learner.
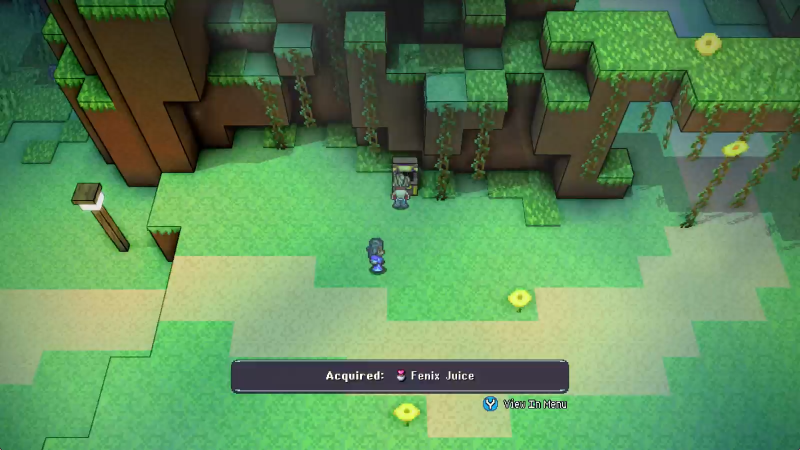
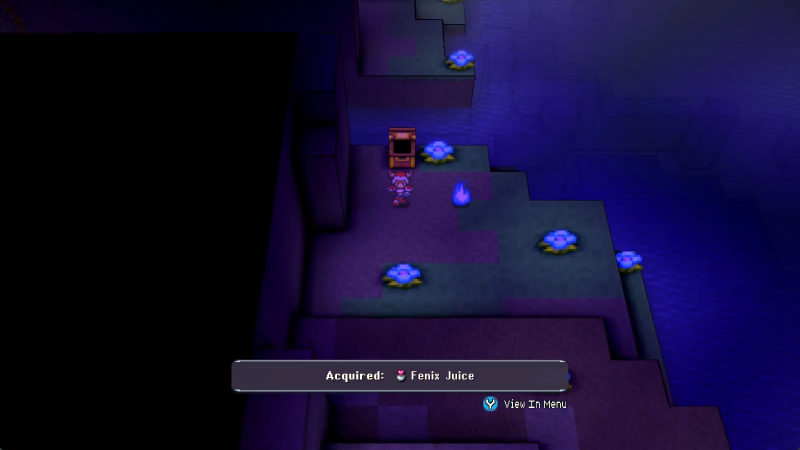
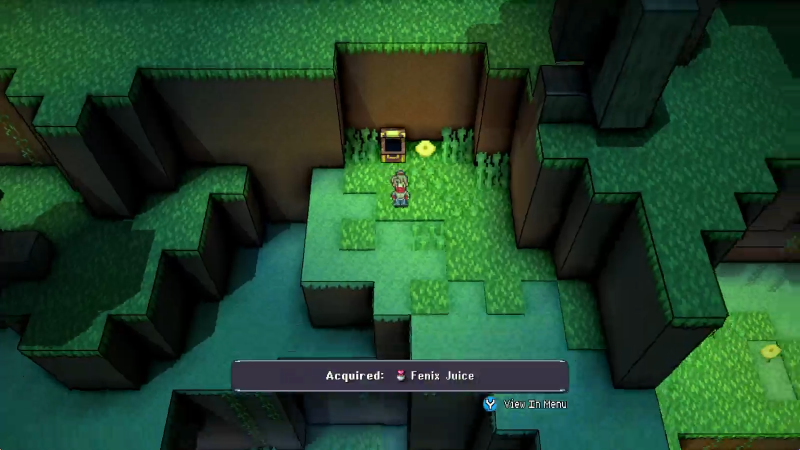
More juice. We don't need it yet, but hey, it's there.
Had I not been distracted earlier, we could've gotten that shiny thing already. Doh well!
Oh yeah, in case it isn't clear, there's multiple Nans. It's more obvious if you follow the one leading you on the walk instead of immediately pissing off into the trees like we did.
This is getting out of hand! Now there are two of them!
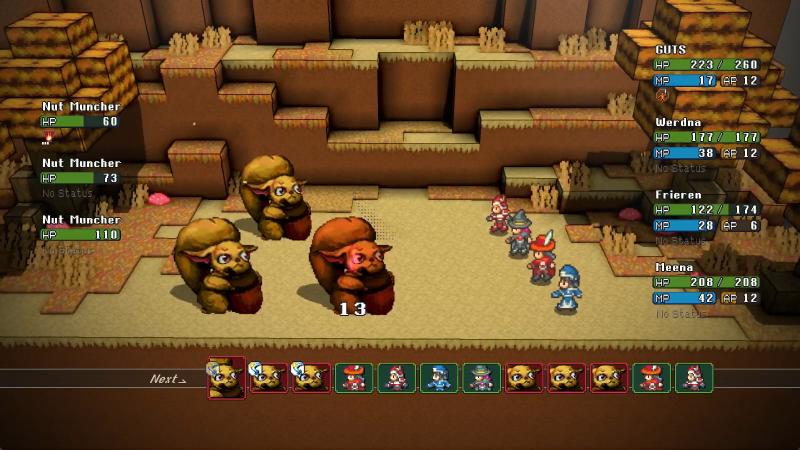
After defeating an enemy at least once, any future encounters with that enemy will display their HP at all times.
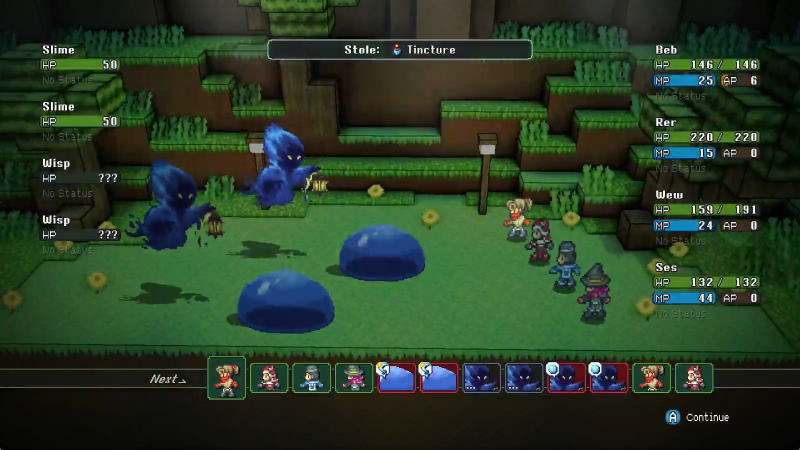
Oh, and don't ask what the formula is for successful stealing. I have no actual idea.
Stealing can get you special items from bosses but it's absolutely not required to win the game, and even if you miss a "unique" steal there's a place to get those items later. Stealing is still easier for those, of course, otherwise why even offer the option?

More stats! Bigger stats!
Each class not only applies modifiers to the stats the character has accrued over time, it also uses those same modifiers as stat growths when you gain a level. So Ses the Wizard is going to naturally build up a lot more Mind than Rer, even if she was to later change to Warrior herself. We can mess with this later, but it's the guideline for how stats on level work right now. Similarly, the three initial levels everyone started the game with are all in their initial class, forming their core stats.
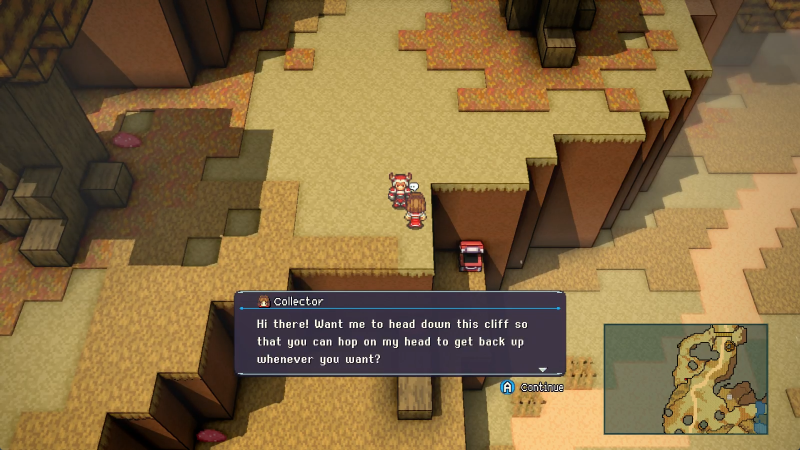
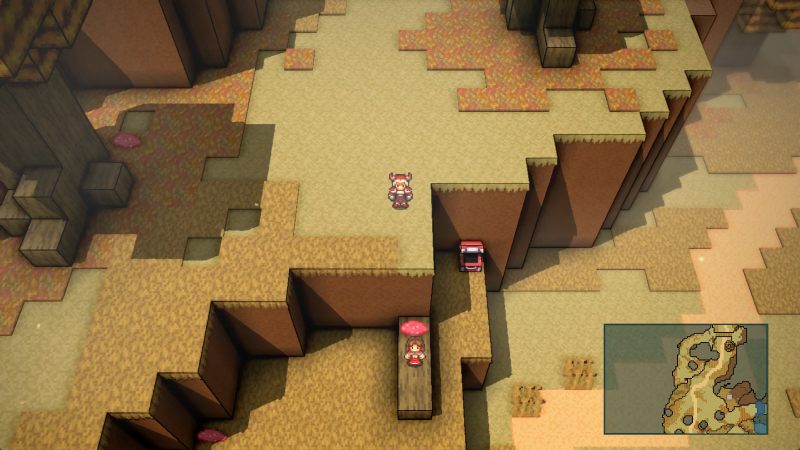
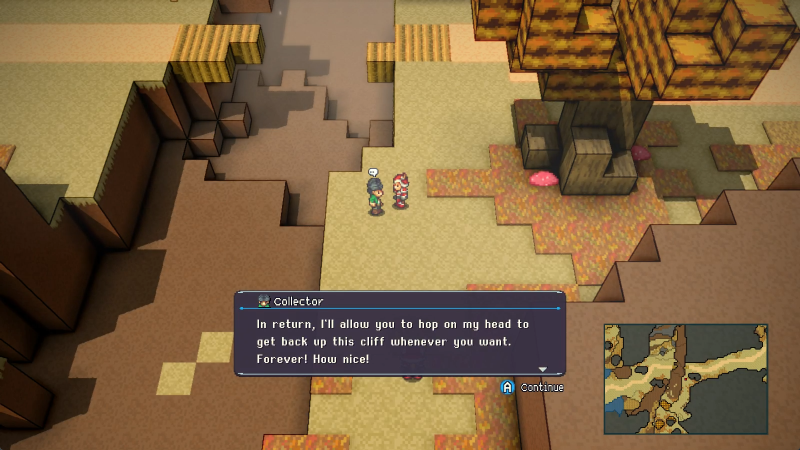
I am very glad none of you have any issues about letting me climb on your heads and use them as springboards.

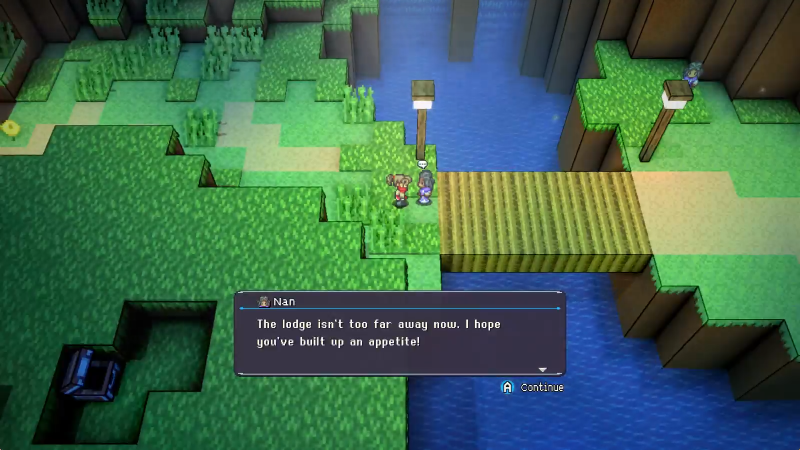
By the way, the lodge is just offscreen to the right. We're not going there yet, of course.
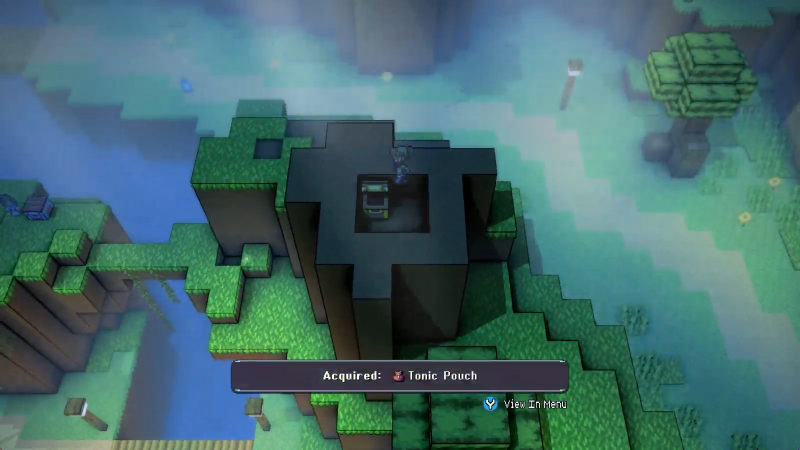
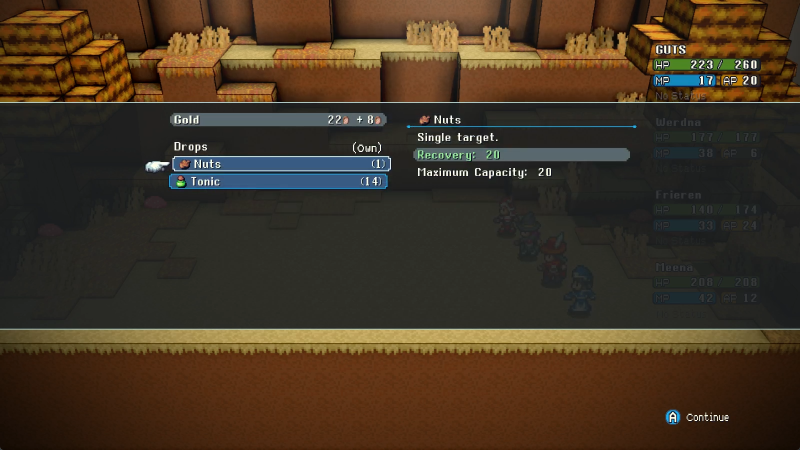
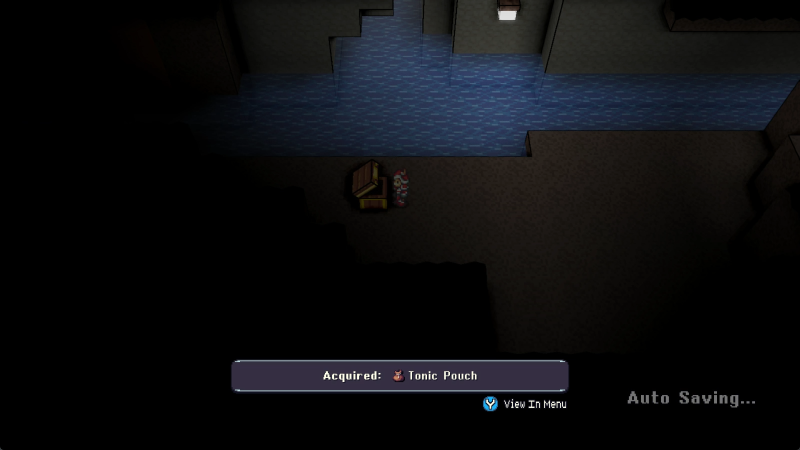
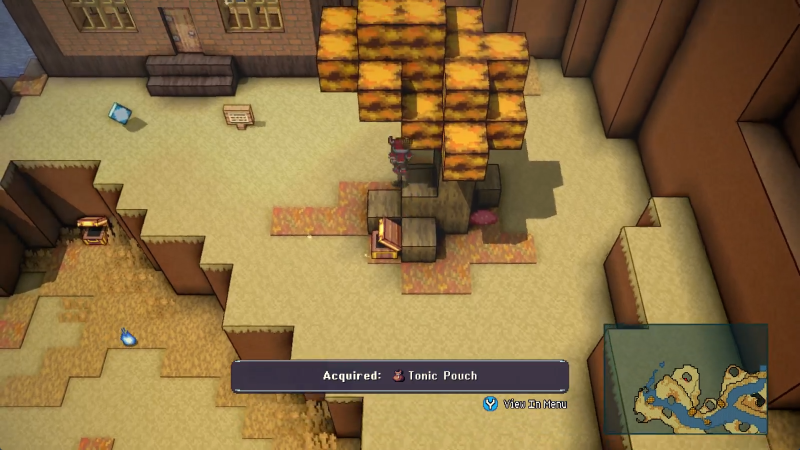
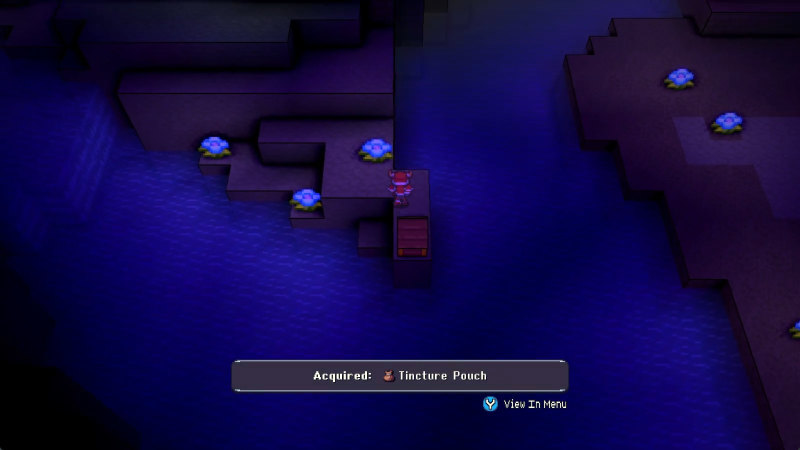
Pouch! These expand how many of the indicated items we can hold. They're nice. They stack, too.
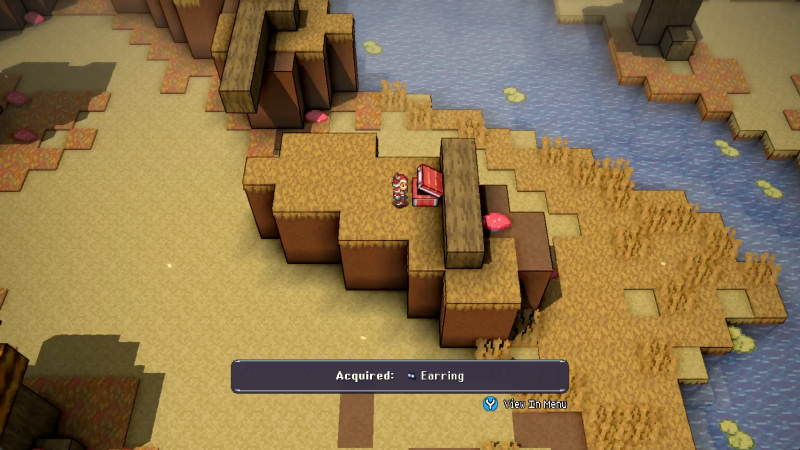
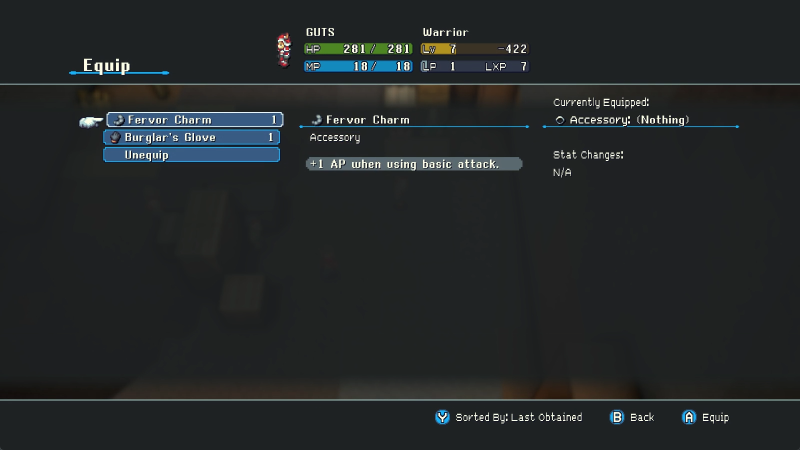
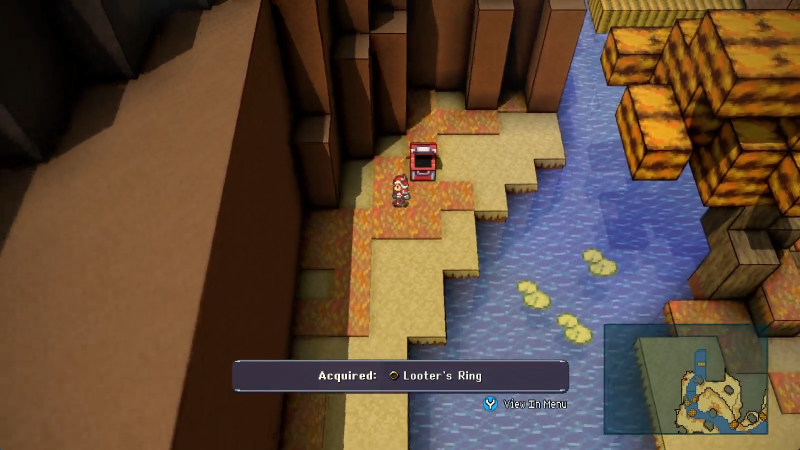
Accessory!
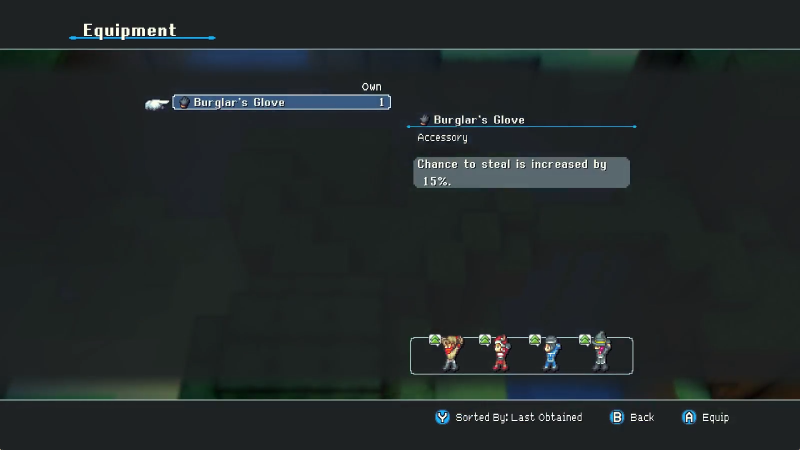
Since nobody has an accessory yet and everyone can equip it, they are all of the opinion that it makes them universally stronger. We are, of course, ignoring their clamoring.
Weirdly true! Lots of secrets in Crystal Project can be found in areas you'd consider extremely familiar once you've gotten into the game proper!
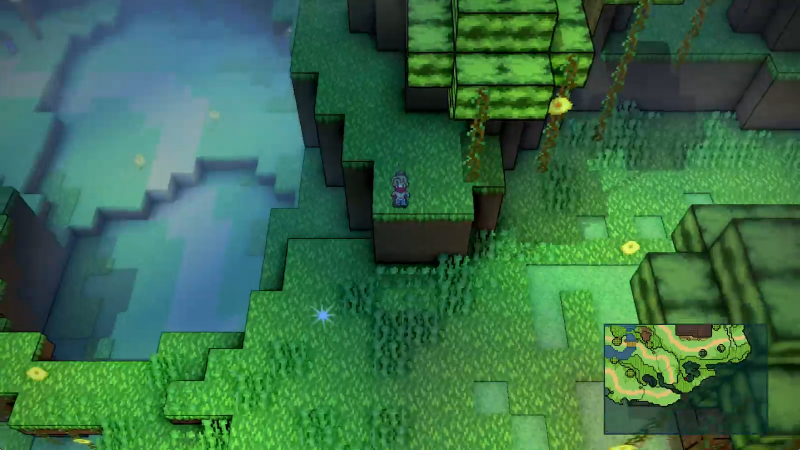
Anyway I've ALMOST found all the secrets in Spawning Meadows. Which is funny because Nan here is only at the halfway point of her personal jog.
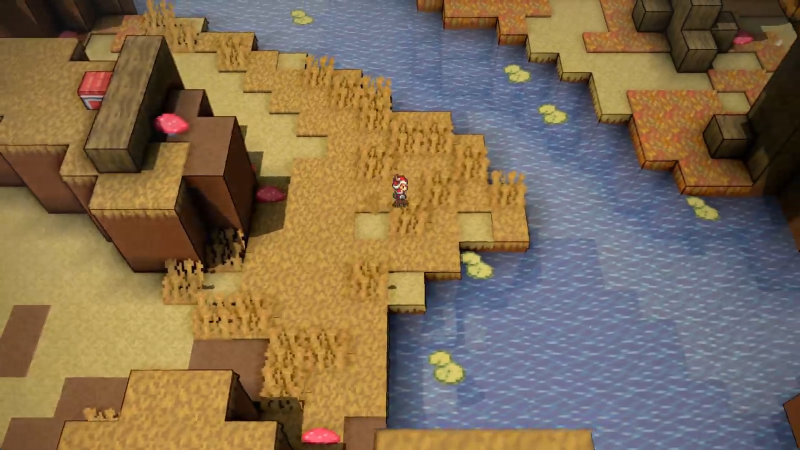
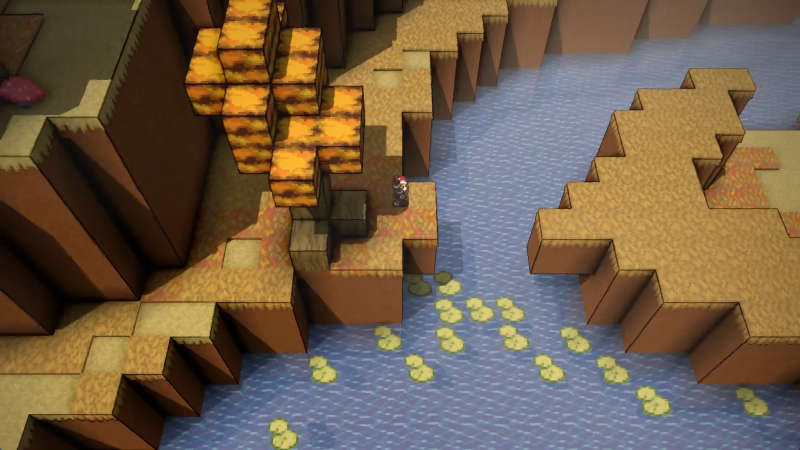
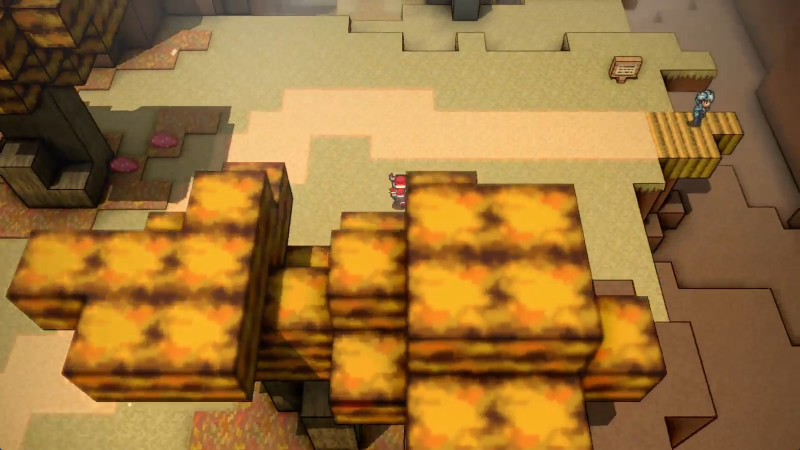
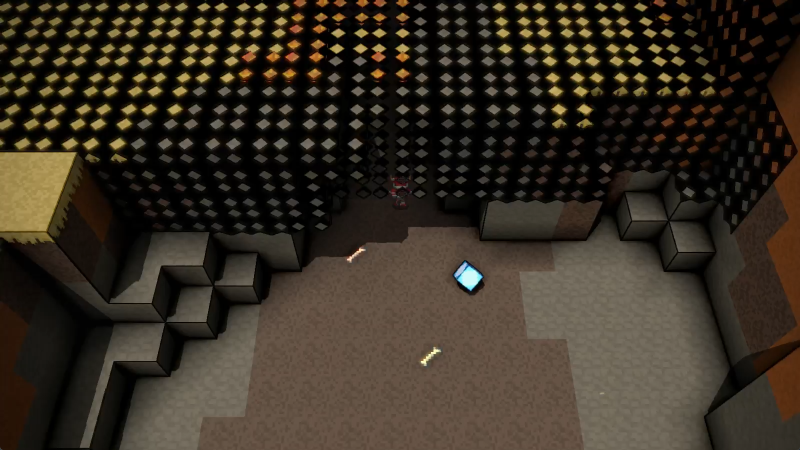
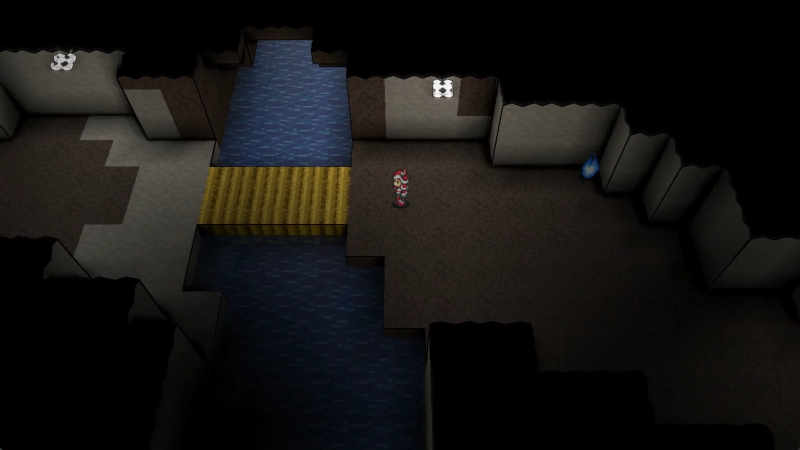
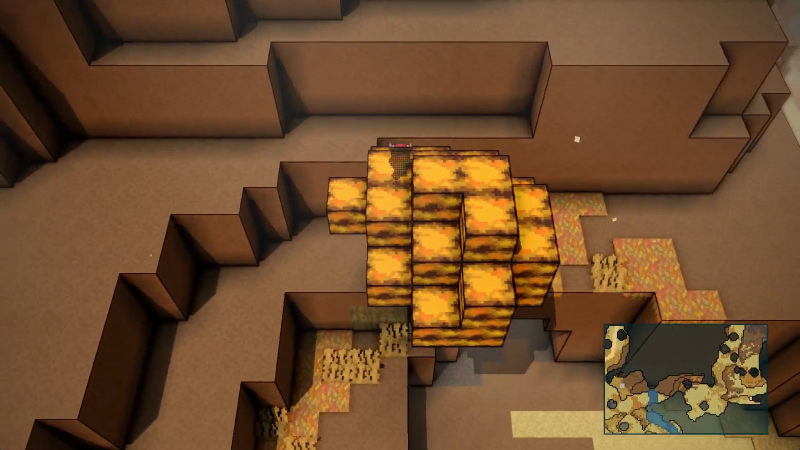
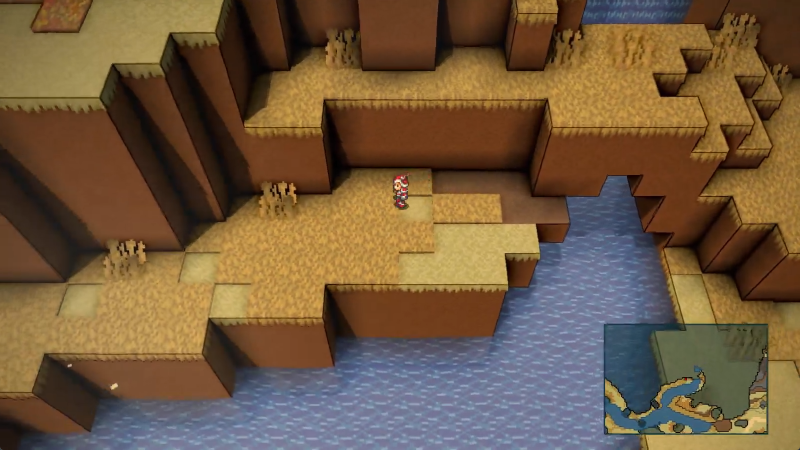
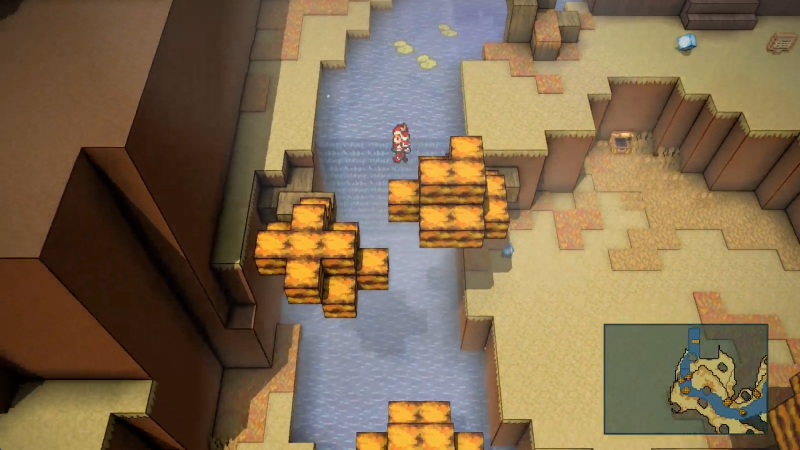
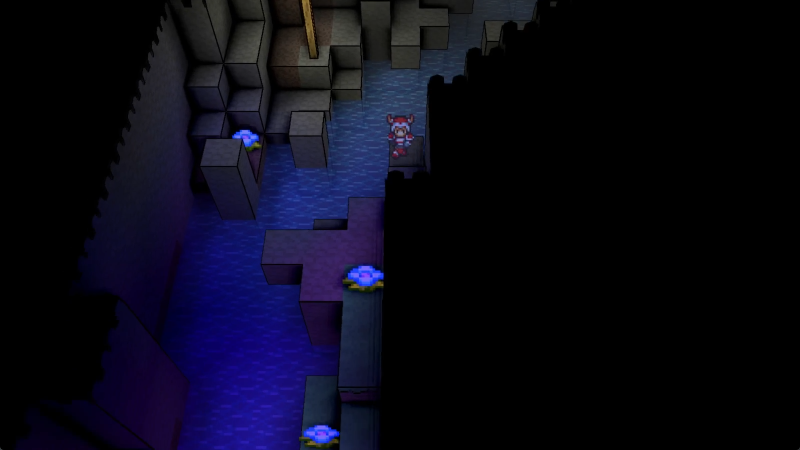
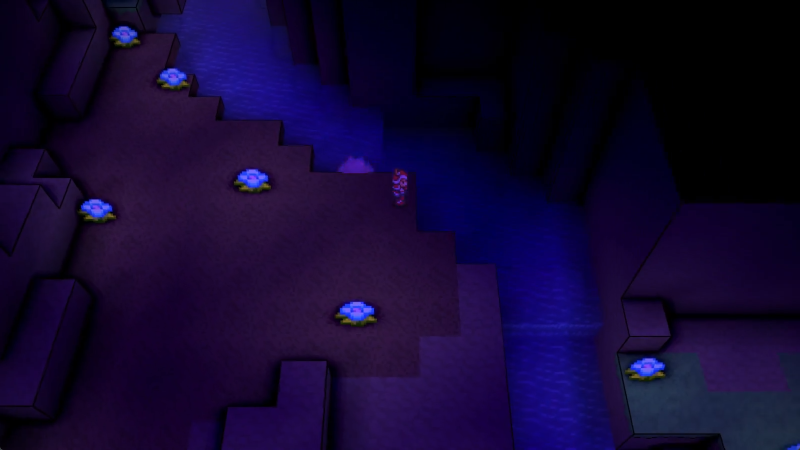
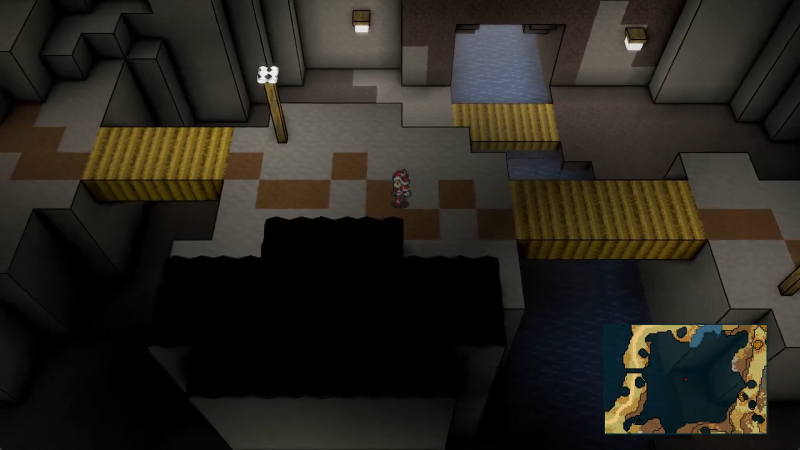
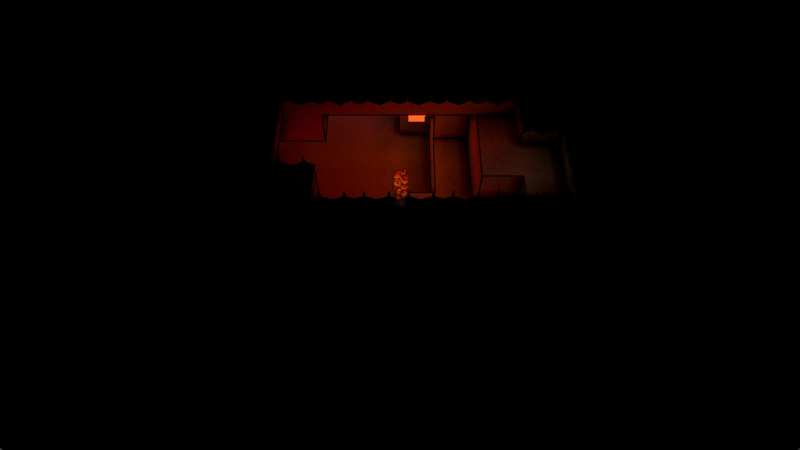
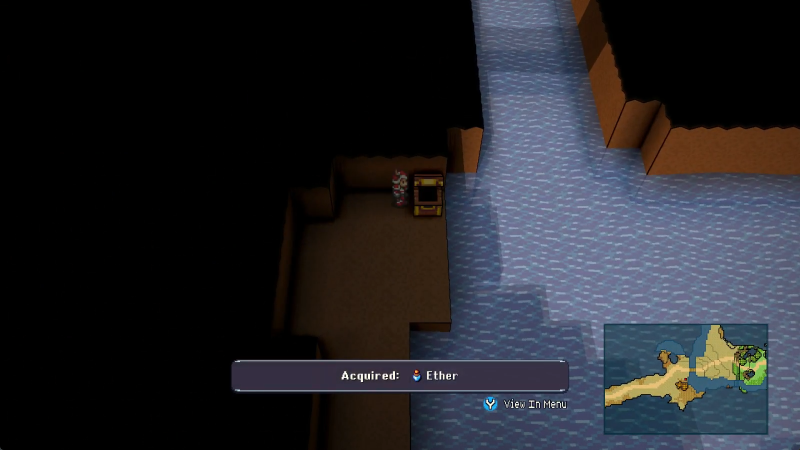
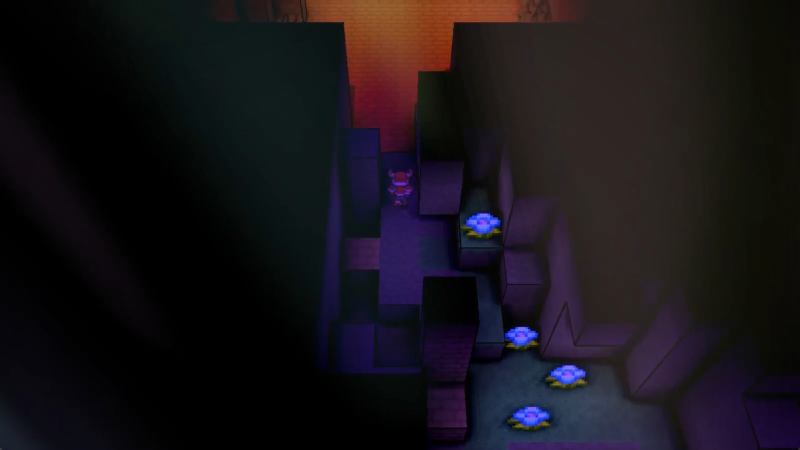
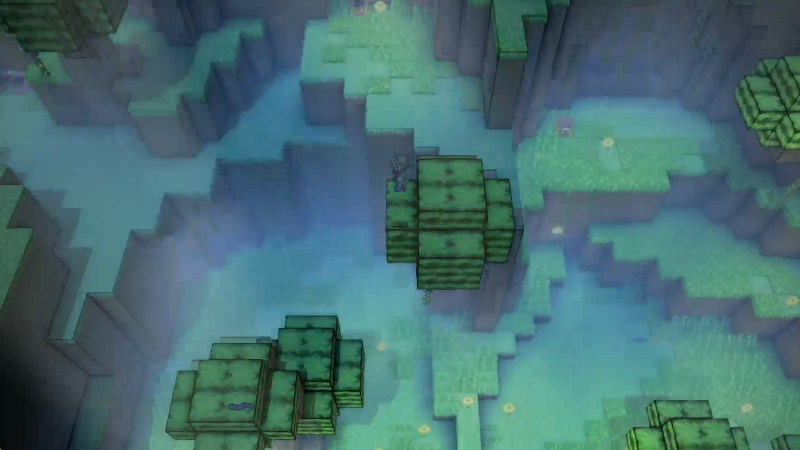
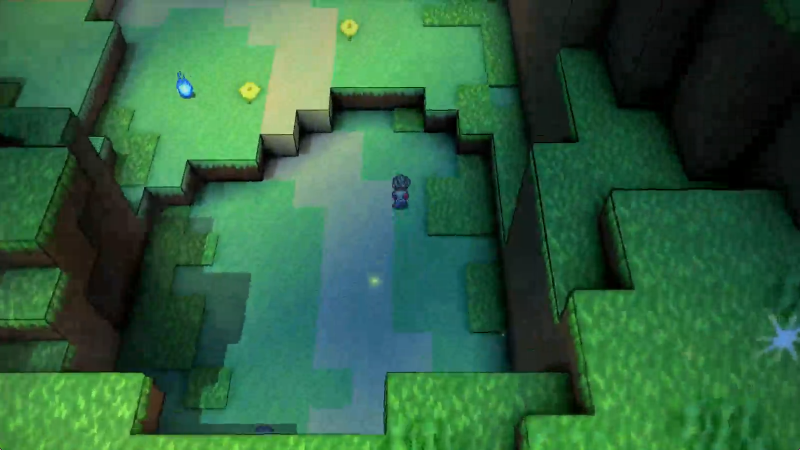
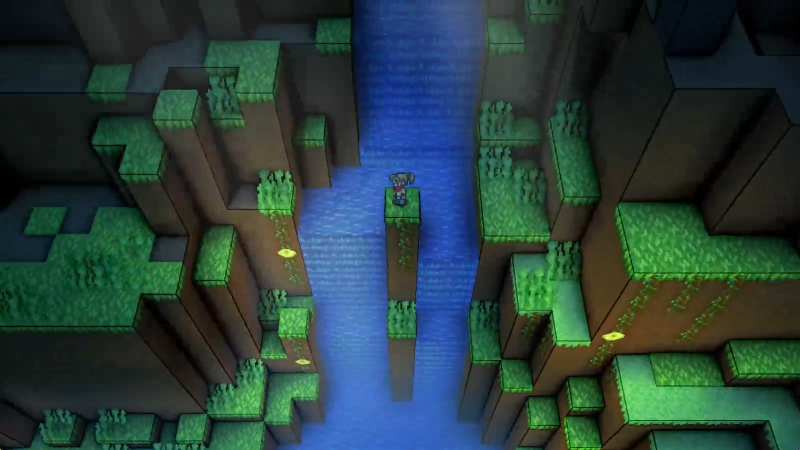
You might be wondering if we or the Flames can swim, incidentally.
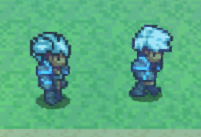
The answer to both is "not right now". Some Flames can handle water better than others, and right now we can only handle water that's a single block deep.
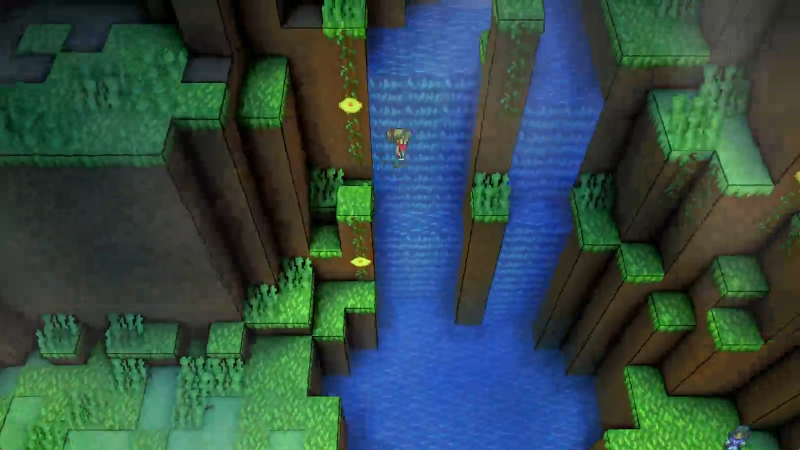
Anyway, back to this waterfall for a bit.
DO YOU MIND
This fight poses absolutely no threat to us. It's a shame Rer can't drop the Slimes instantly with a crit, but oh well.
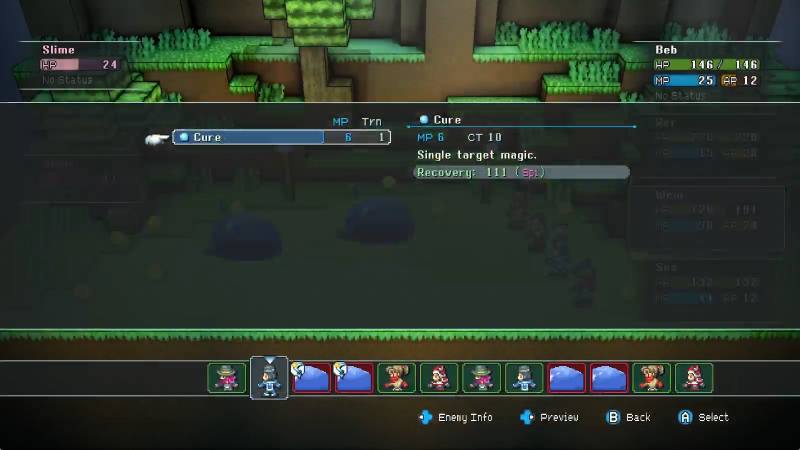
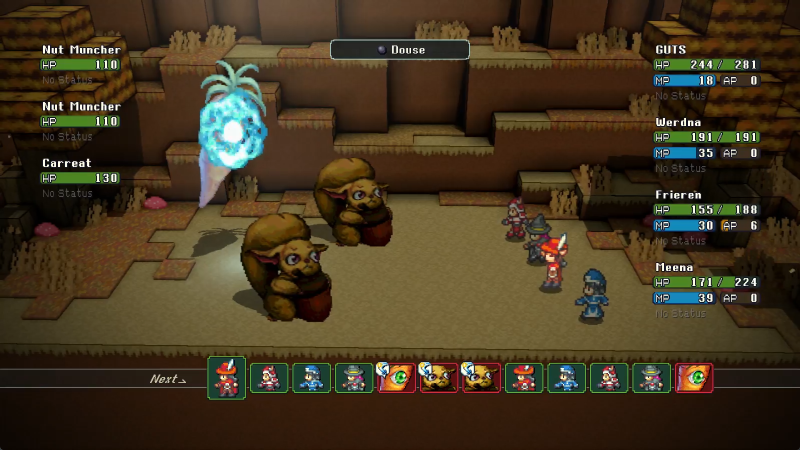
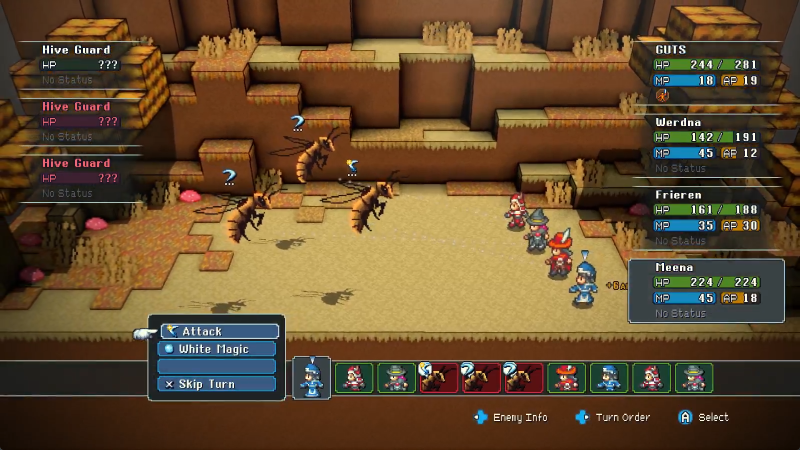
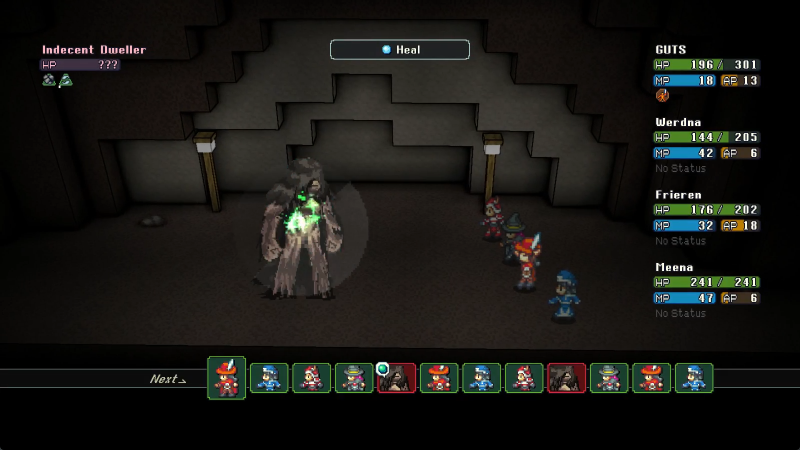
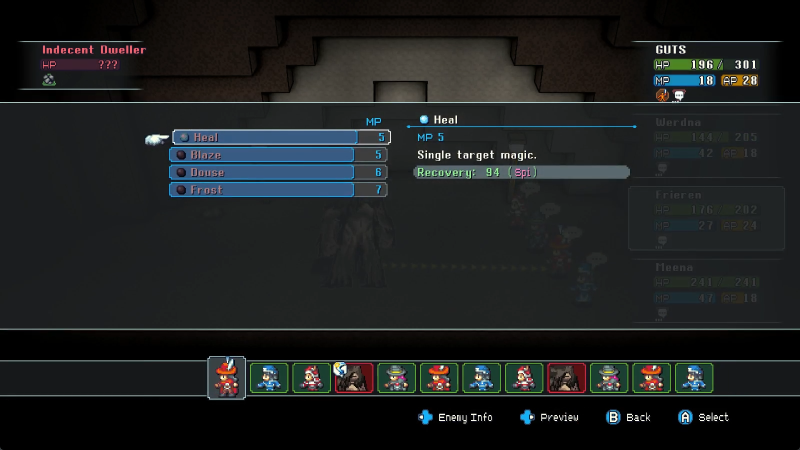
Our Cleric, Wew, elects to do a bit of self-care here, letting me show off the costs of his Cure spell. MP is self-explanatory, but the CT, or Cast Time, of their spell effectively adds the total listed to their TT for the spell actually going off. For simplification, any spell that wouldn't resolve instantly is given a Turn marker to indicate how many turns must first pass before it actually casts. See also that Wew's action here is bumped down the turn order at the bottom, indicating that whatever Ses does will go first.

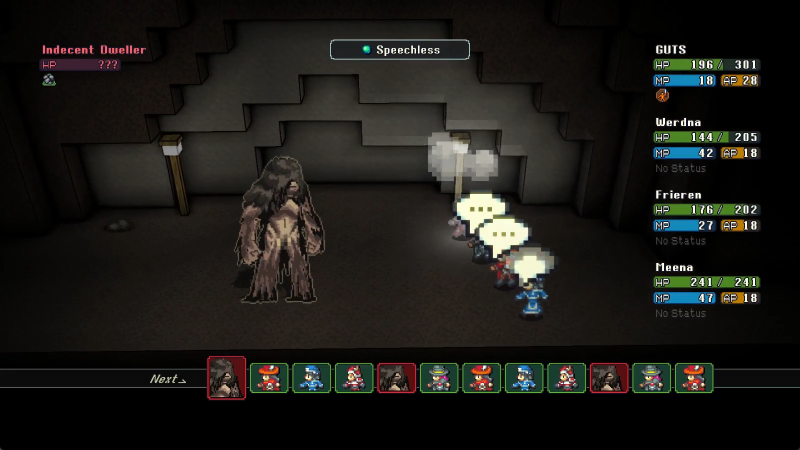
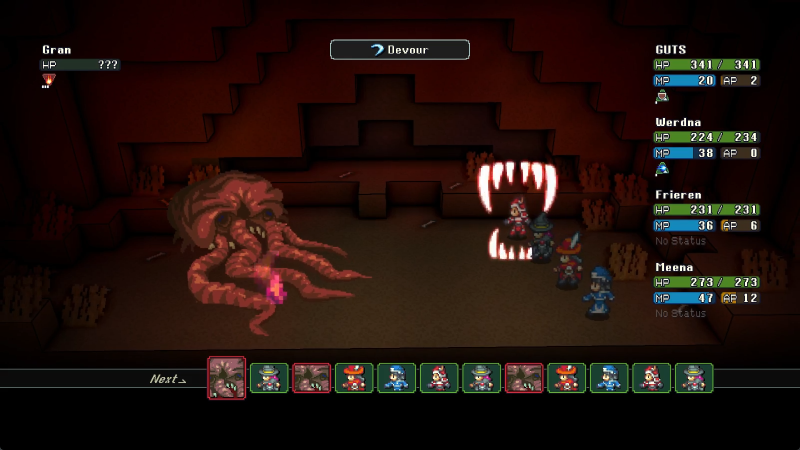
While any such action is queued up, the character in question will have a speech bubble with the ability's icon above them. So Ses will do her basic wand smack, and then...

Wew self-heals for more than enough to deal with his wounds.
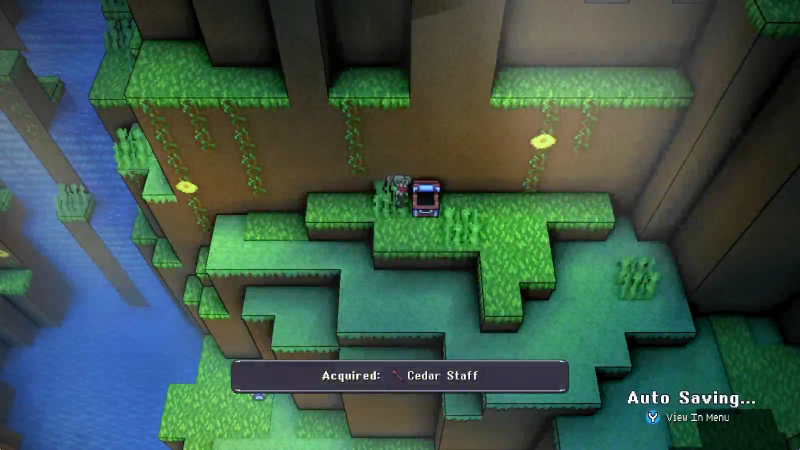
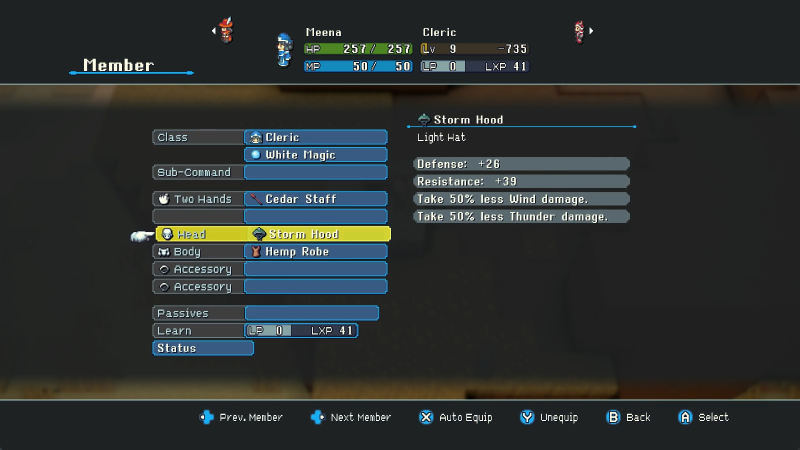
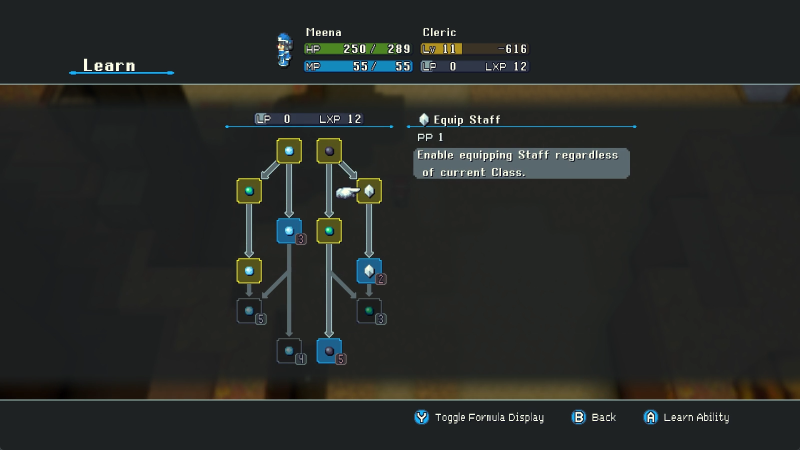
Technically I opened this before the fight, but with such a small window of visibility that I decided to wait until after to really review it. Staffs like these are important for healers, since many healing spells, including Cure, scale with Spirit, which staffs offer in abundance. They're always two-handed and have the best Attack score of the caster-focused weapons, although not so much as to invalidate actual physical weapons (usually).
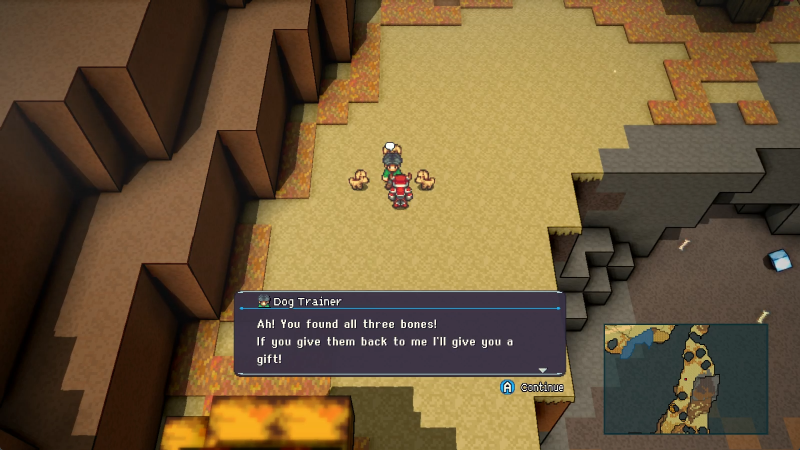
Right, before I forget, let's prove the existence of black squirrels.
We did it!
And that's it.
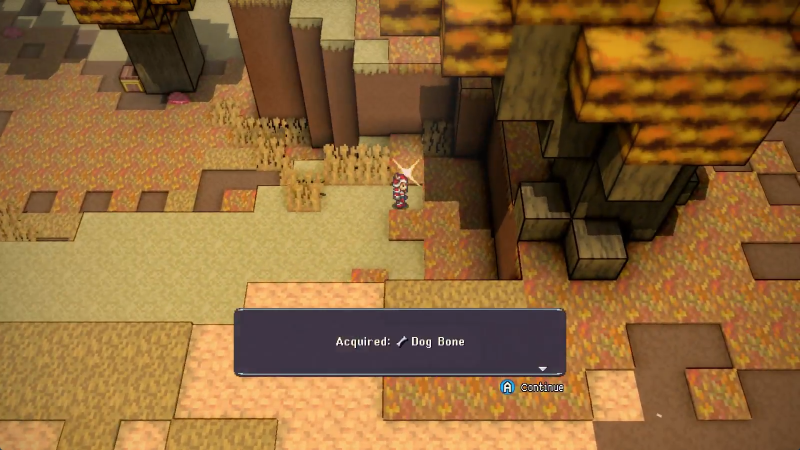
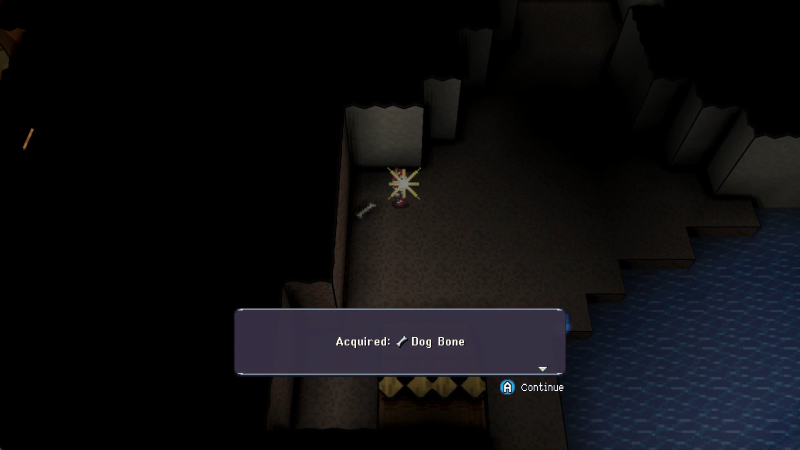
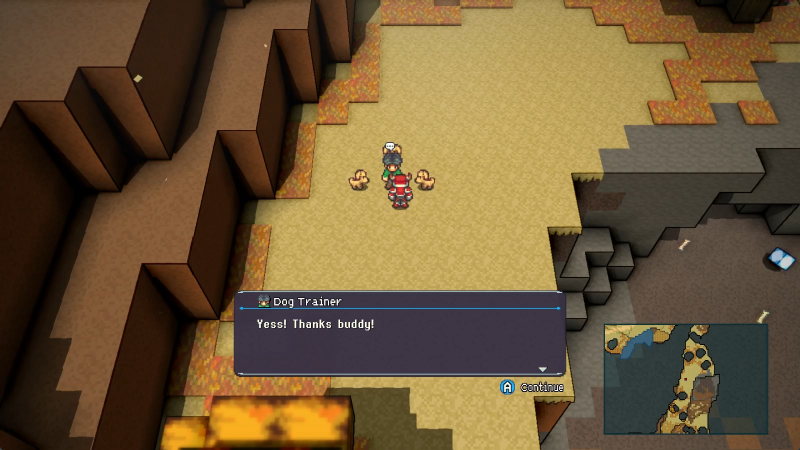
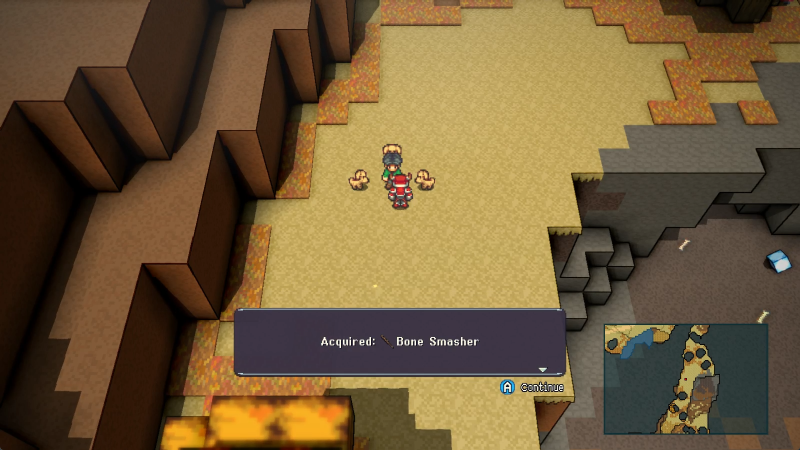
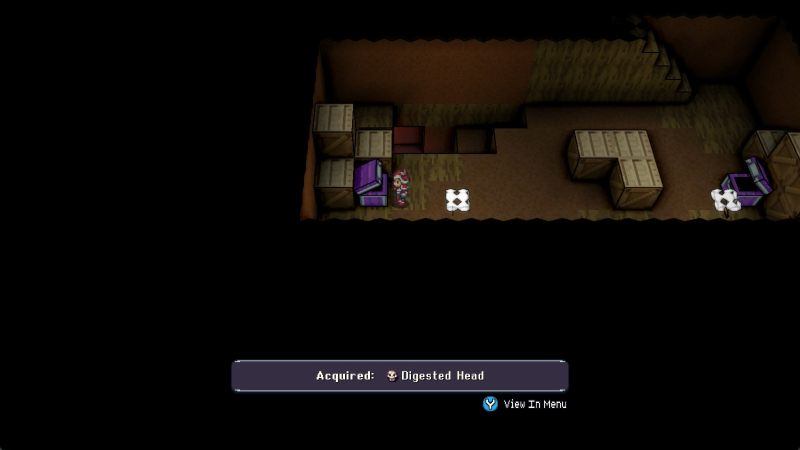
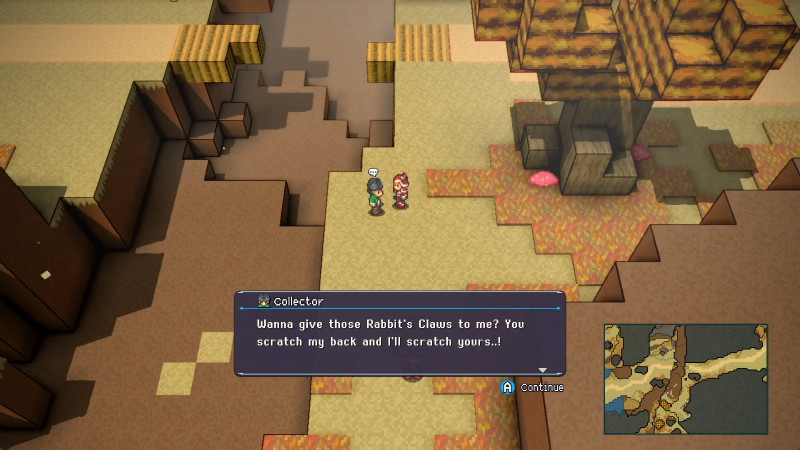
#$&@ just steps out of the way and refuses to say another word to us, letting us climb into the tree to obtain the reward...

...Great?
Okay. Sure.
Luck, as a stat, is Weird. Very few abilities use it directly, but basically, the higher the user's Luck, the more often the RNG will throw them a bone any time something with random chance would be checked. So if you have a long string of, off the top of my head, missed hits, failed crits, failed steal attempts, failed status effect inflictions, or low Variance hits with things like Axes, a higher Luck score will drastically improve the odds of that not happening on subsequent attempts. In effect, higher Luck actualizes the Gambler's Fallacy more in your favor.
Oh right stew or something.
No point climbing on your head, I can't reach anywhere cool if I do.
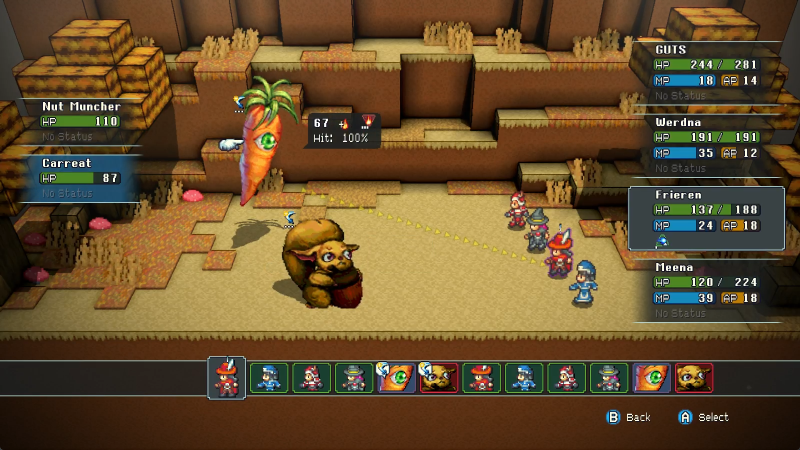
New enemy. Wisps are super-basic healer enemies.
Their Cure spell is exactly the same as the Cleric's, right down to the CT.
They have Tinctures, that's nice.
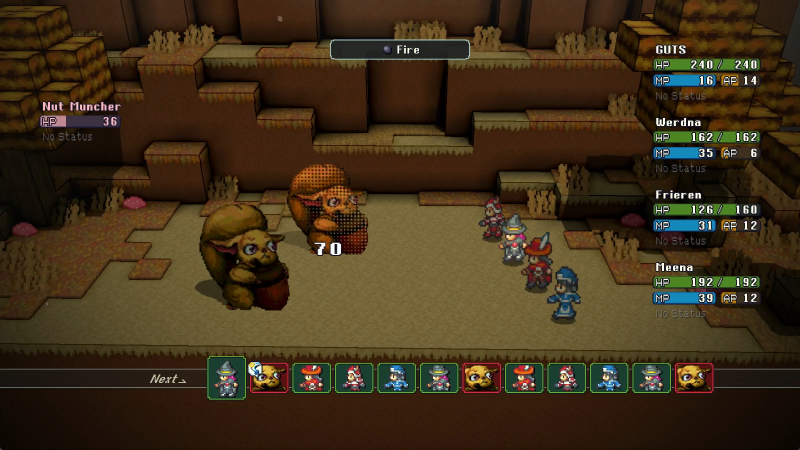
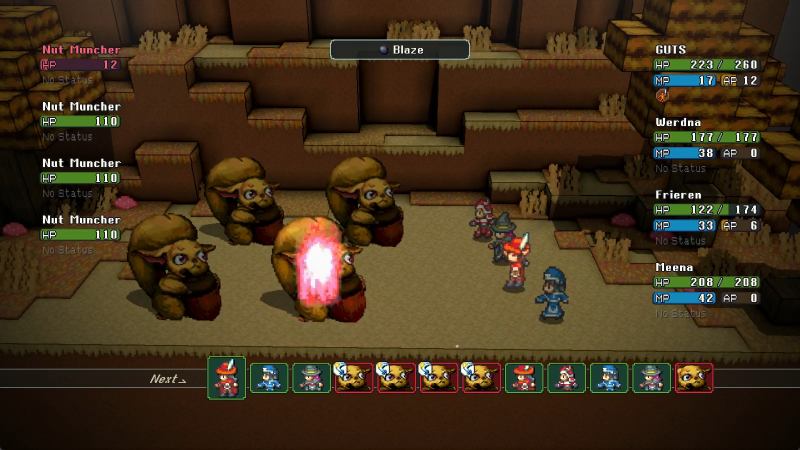
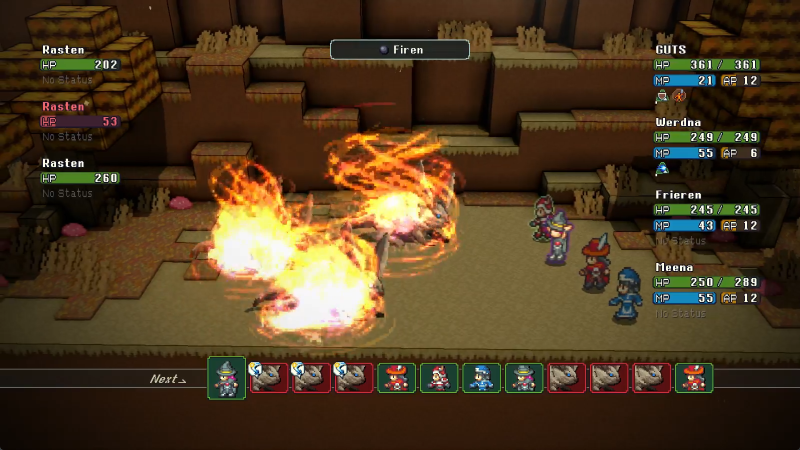
For the sake of being thorough, here's a Fire spell courtesy of Ses. Because the CT isn't significant enough to cost any turns, it goes off instantly. However, that CT still applies to her turn, making her later actions come up slower.
Oh yeah it also does massive huge damage early on, more than enough to obliterate any enemies here or in the next area.
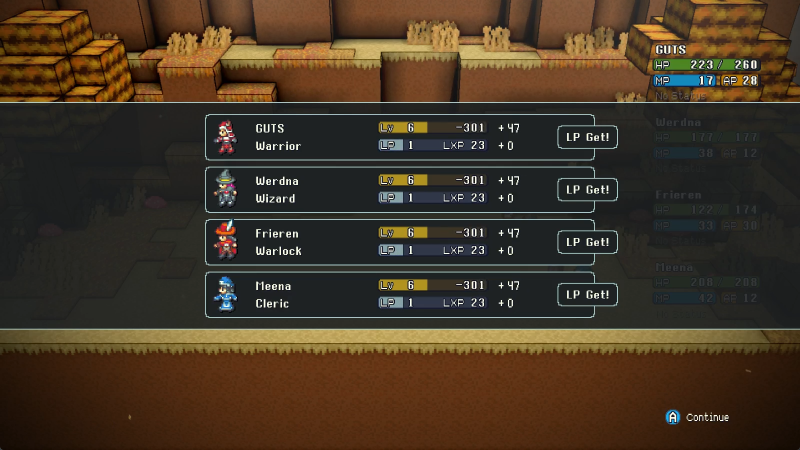
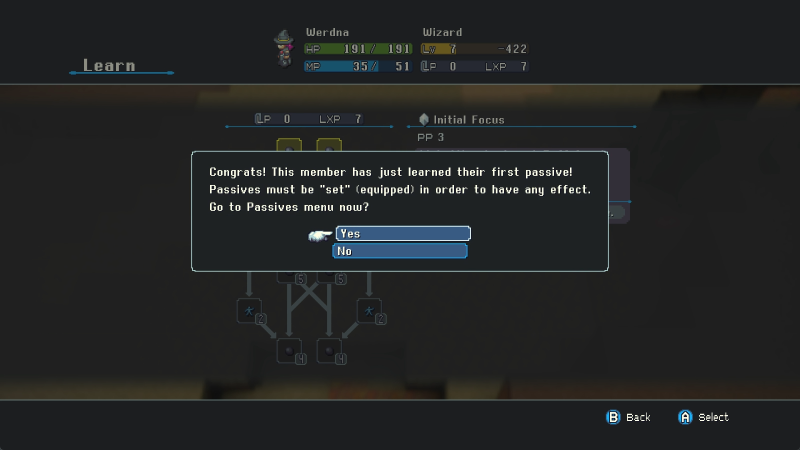
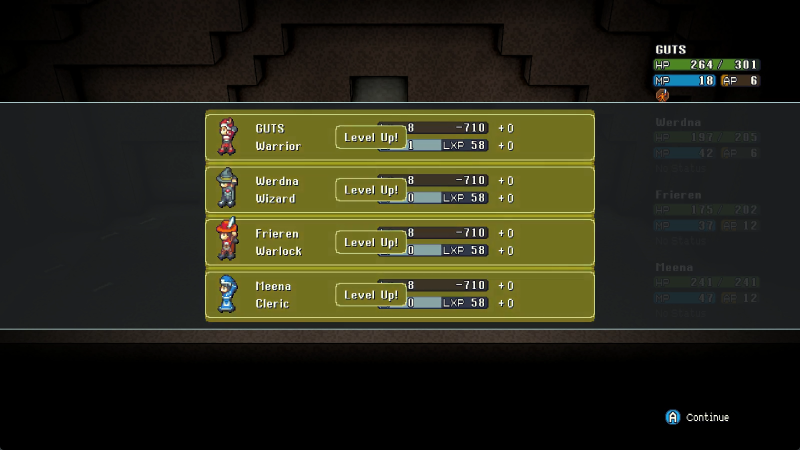
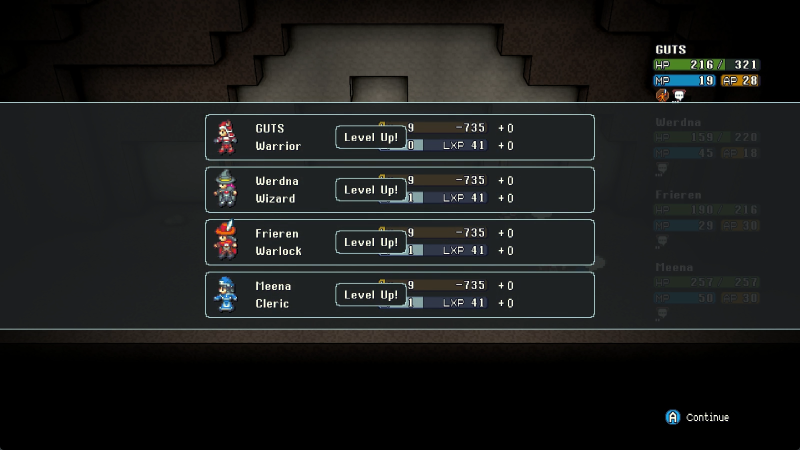
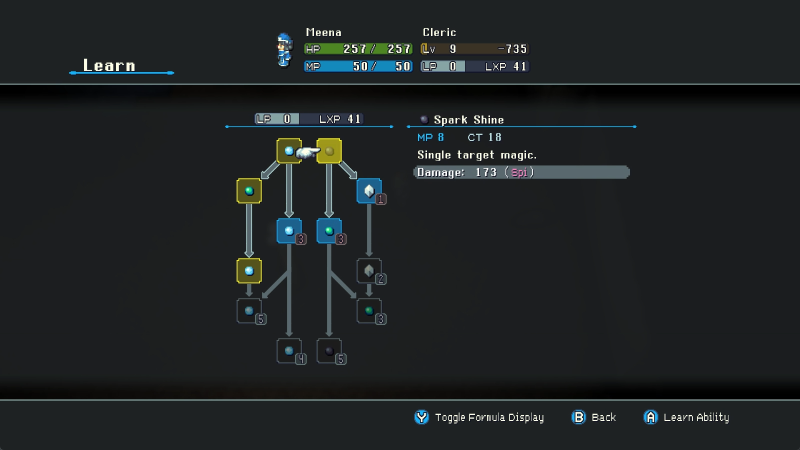
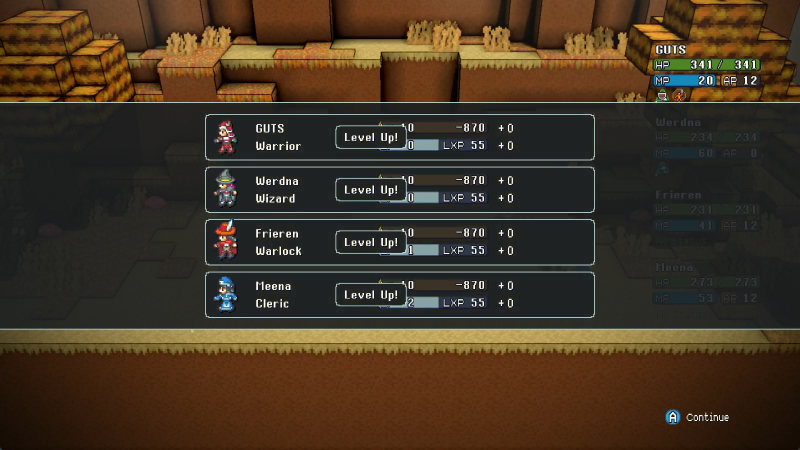
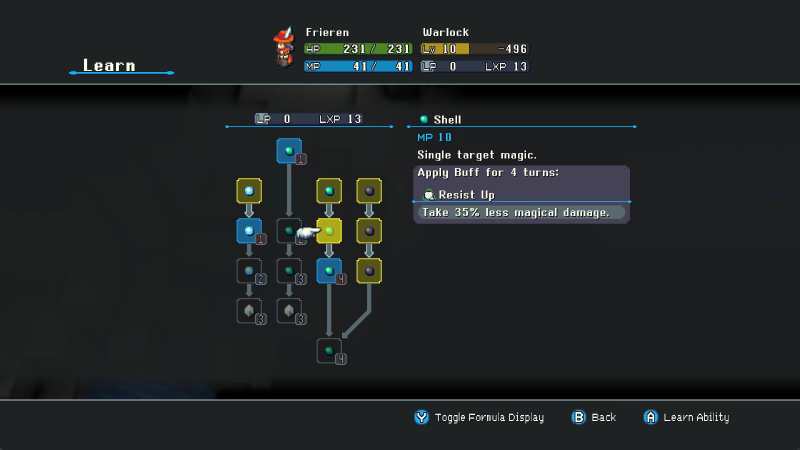
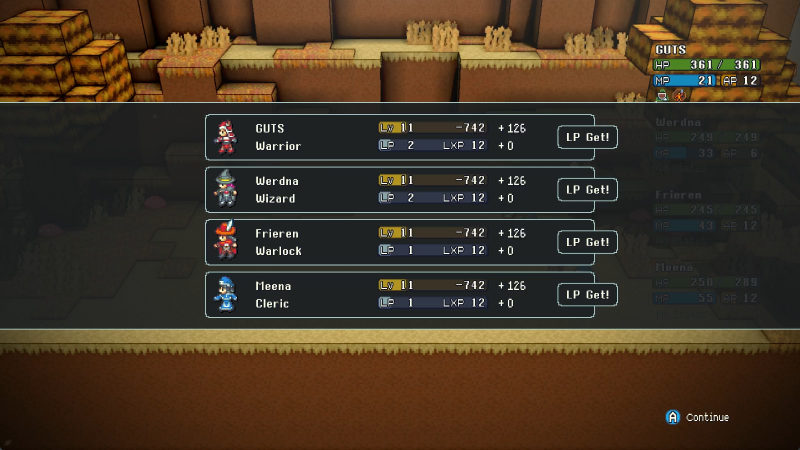
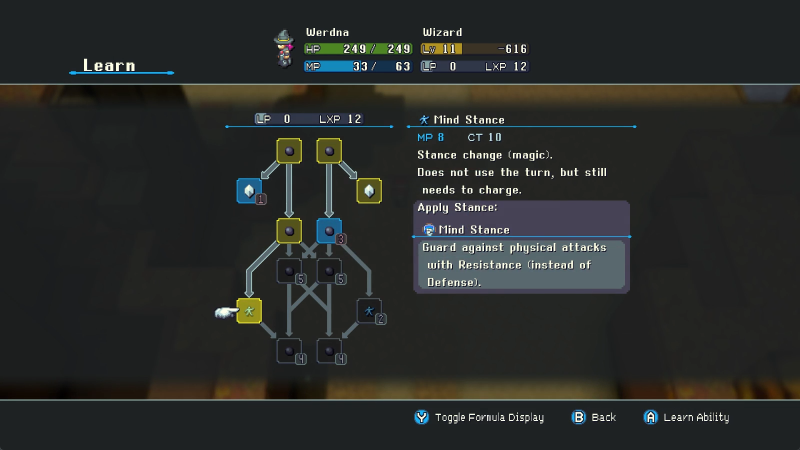
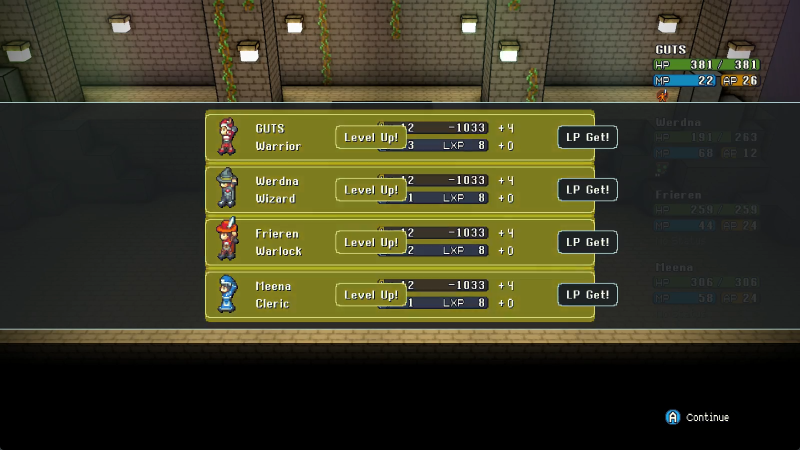
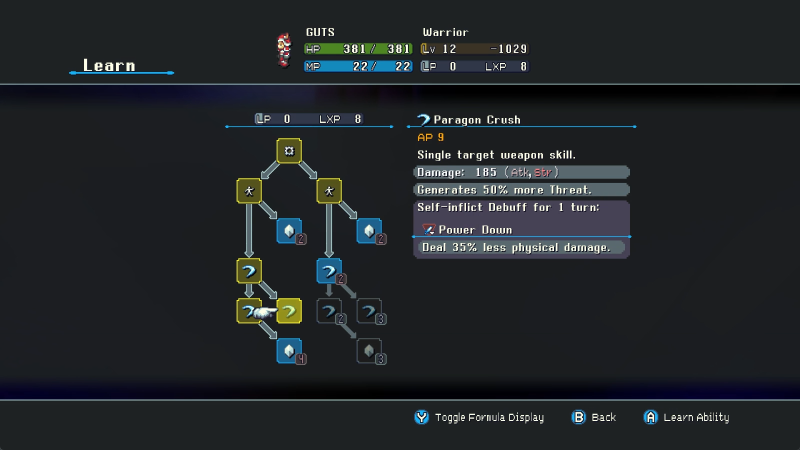
We get not only a level from this fight, but our first LP!
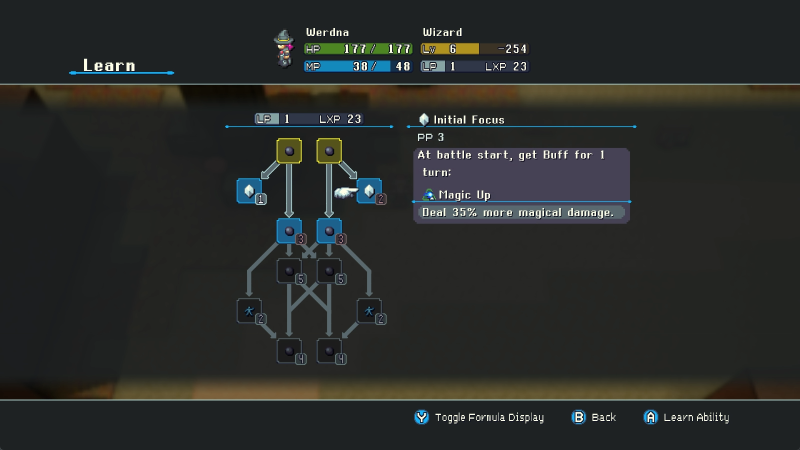
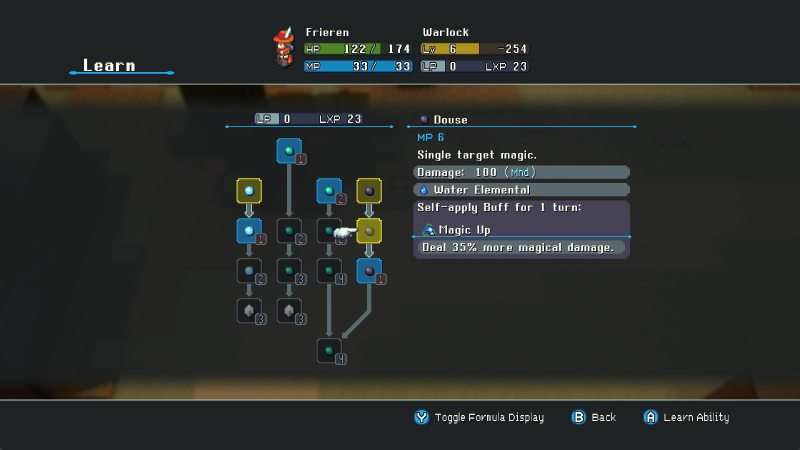
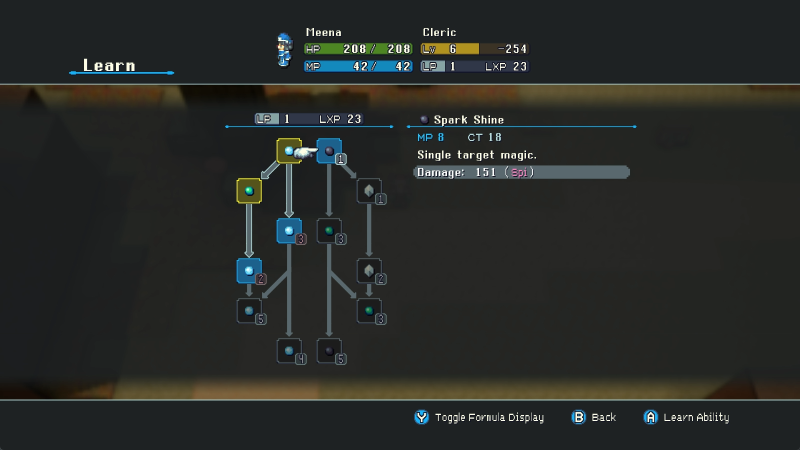
LP is spent to unlock new abilities and passives for your class, which I'll go over in the following posts covering each class. However, I want to draw attention to the LXP for the non-Rogue classes for Beb. See how she's got 10 LXP for the classes of her allies? That's vicarious LXP! Every time you gain LXP for any reason, all of your allies get a tiny bit of that LXP as well for free. It's not gonna make them a master in the class overnight, but it can let them shore up on passives or the like, and for mono-class runs it makes getting a more fleshed out repertoire a lot easier.

We made it to the cabin yaeey
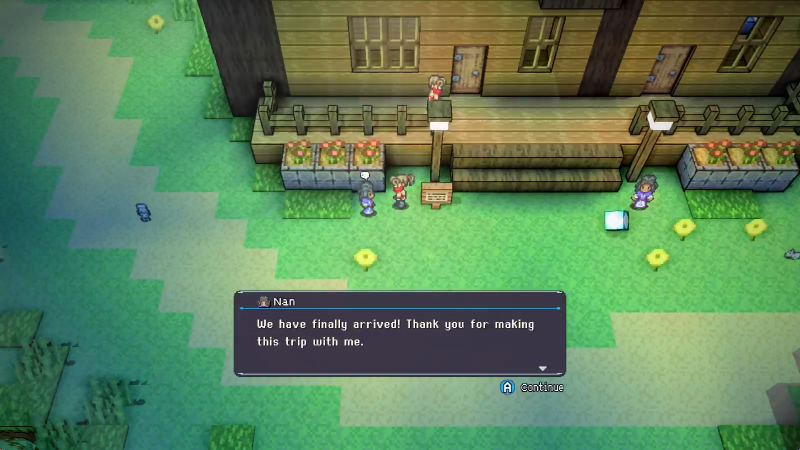
Nan gives us a free Tonic and Tincture as a reward forwalking with her checking in on her between amateur rock climbing attempts.
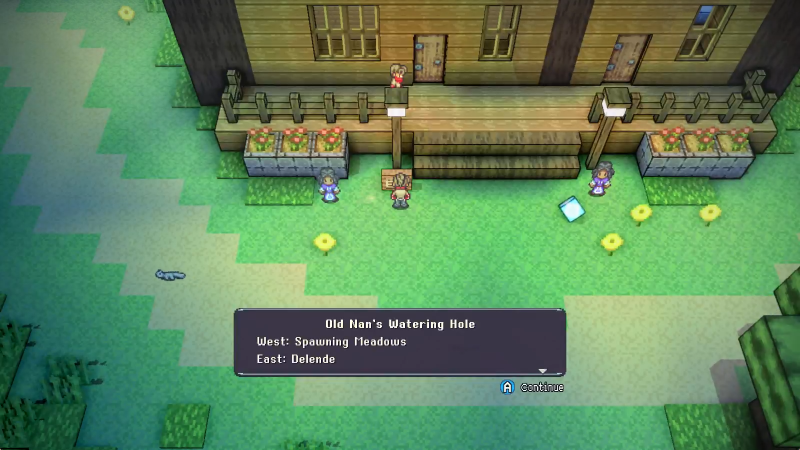
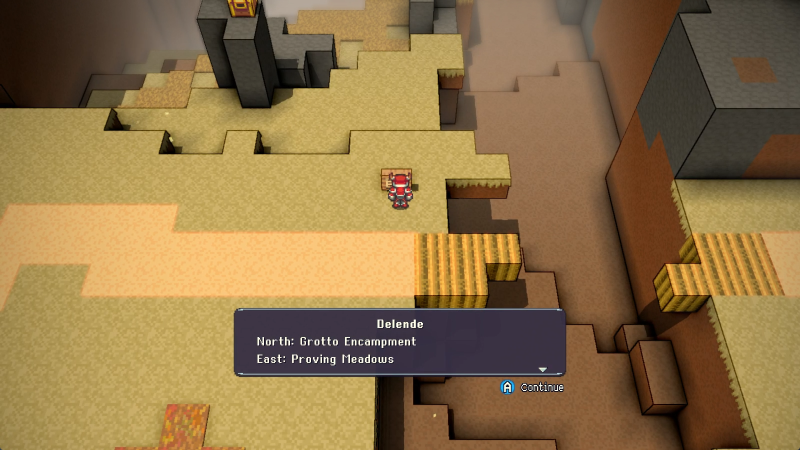
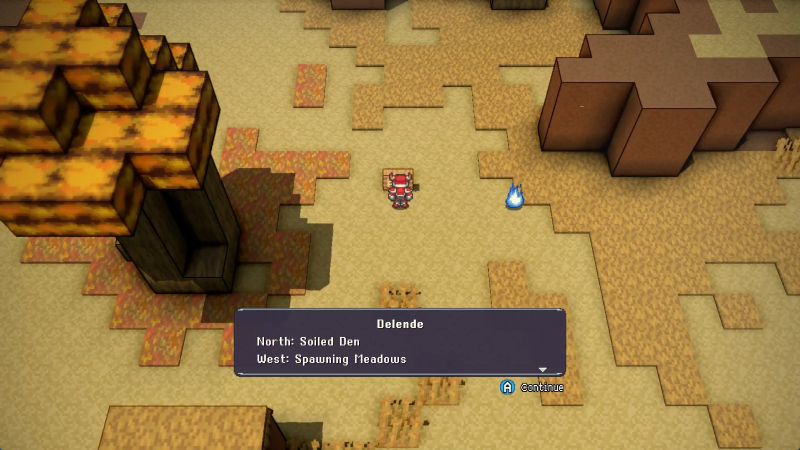
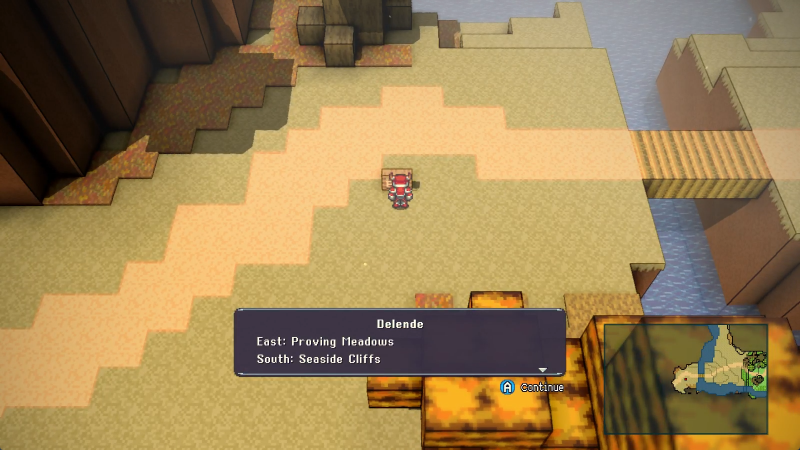
Delende is the next big area, and I'll be ending this update upon entering.
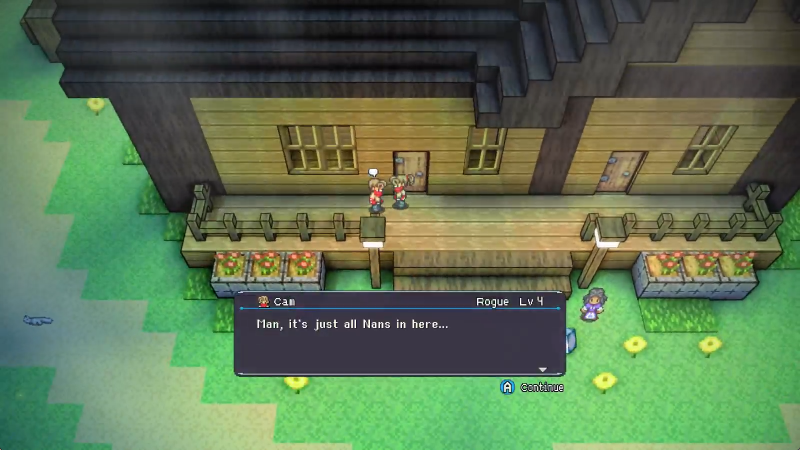
WE ARE LEVEL FIVE, YOU ARE LEVEL FOUR! THIS MEANS YOU ARE INFERIOR TO US!
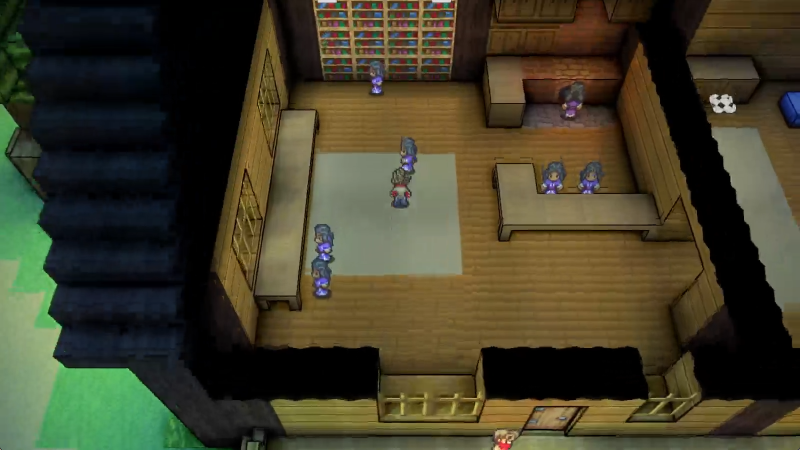
Yep, plenty of Nans in here. The two on the left and the one in the middle give tutorial advice I've already imparted to you by now.
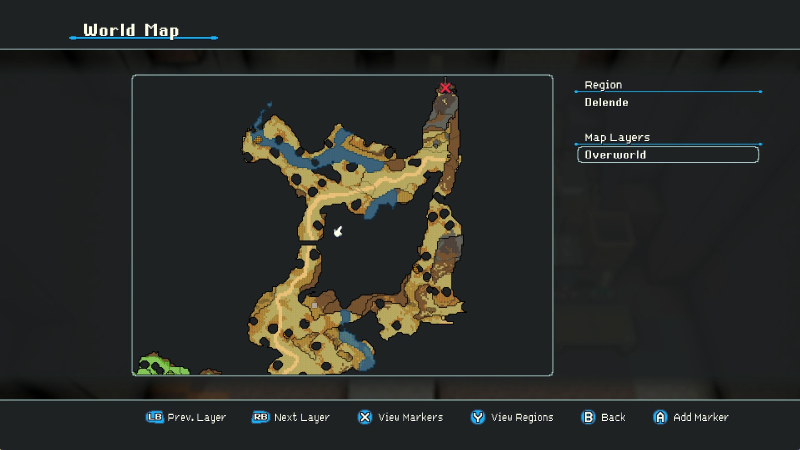
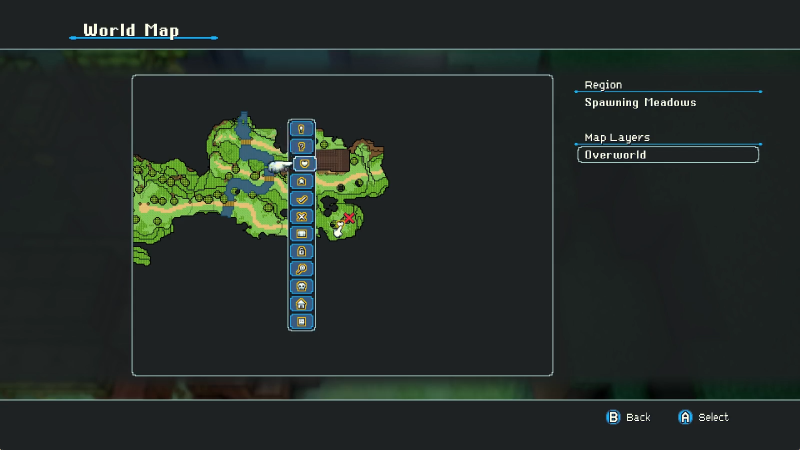
MAAAAPS
Maps are super super important in Crystal Project. As you can see even from the incomplete area we have mapped below, a map can put a lot of context on the area you're exploring, and as much as we've found extra silly junk here in the Spawning Meadows, A: there's STILL more to find here, and B: this area is small potatoes. This is the baby stage 1-1 "learn the buttons, fresh meat" area. I don't think I can properly impart how huge and sprawling this game is.
But, as Nan said before, sometimes you have to just go in blind. Some areas even hide their maps within behind special challenges, REQUIRING you to navigate them blind at first. It's the spirit of adventure!
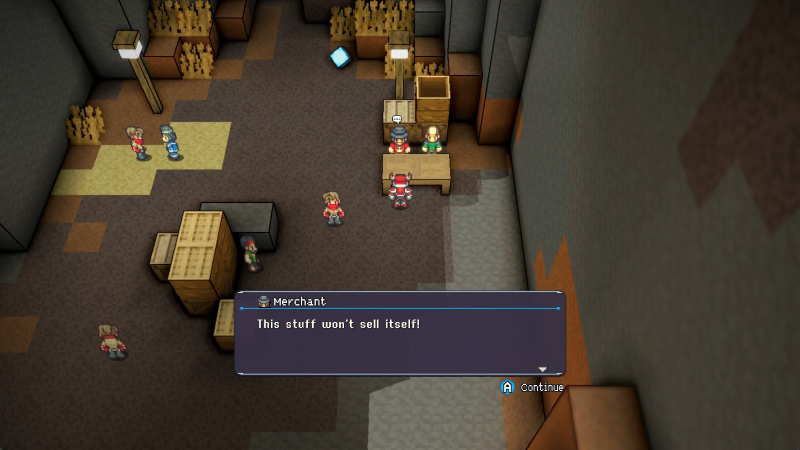
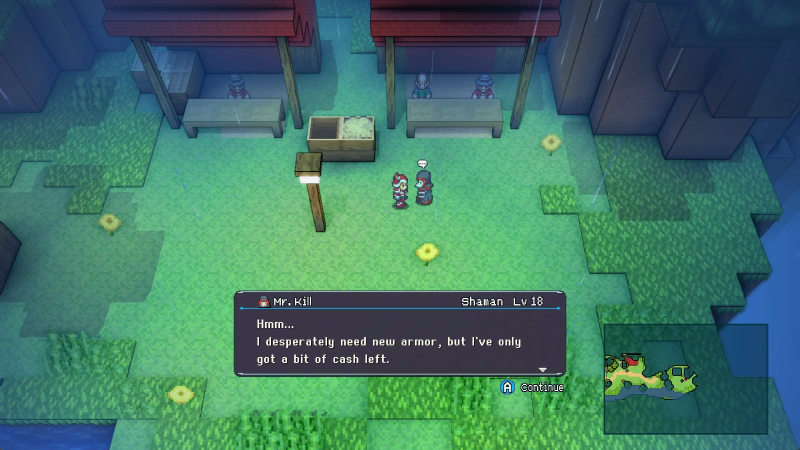
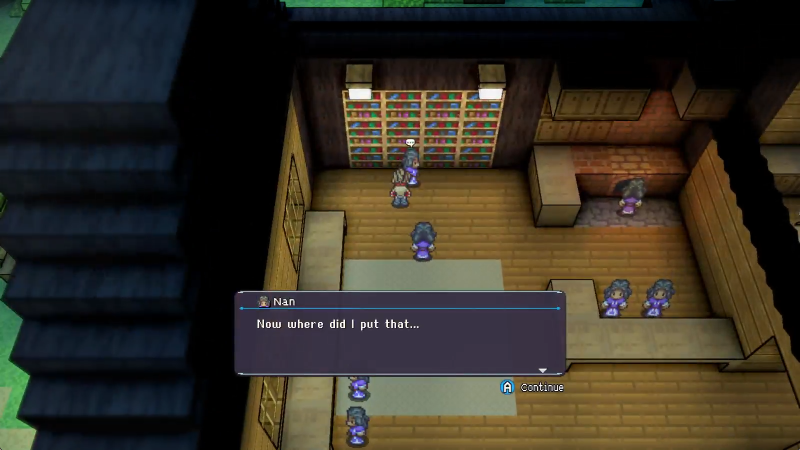
Anyway, the remainder of the Nans we'll talk to in here offer goods and services.
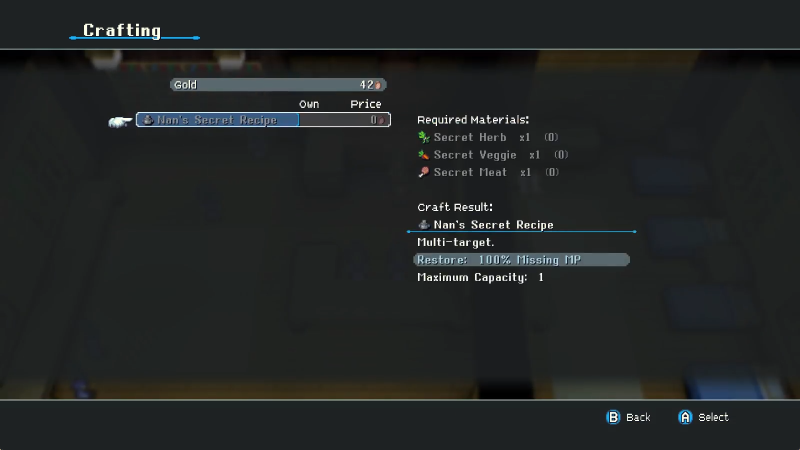
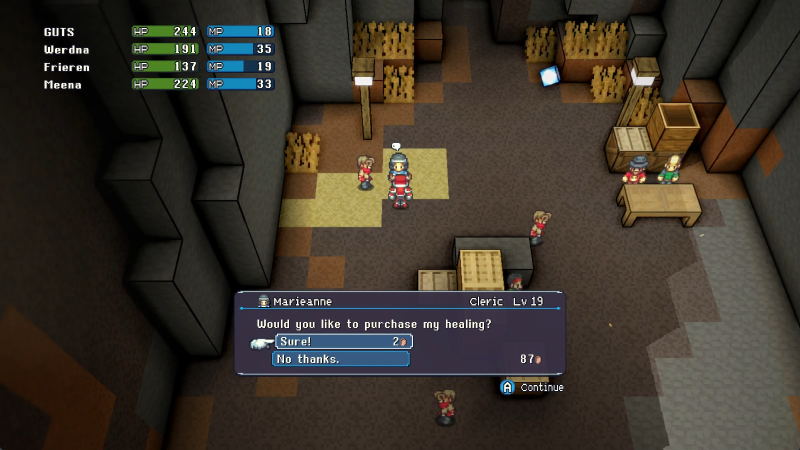
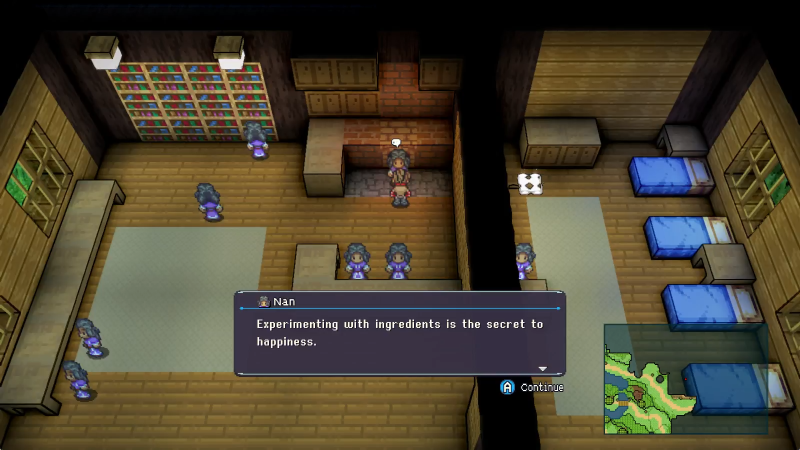
There are, effectively, two kinds of shops. A few, like this one here, will require you to bring certain items to craft something, usually with a cash cost (but not in this case). Nan's Secret Recipe is the uncontested champ of MP restoring consumables, but you gotta find the ingredients for it, and they're non-trivial to find.
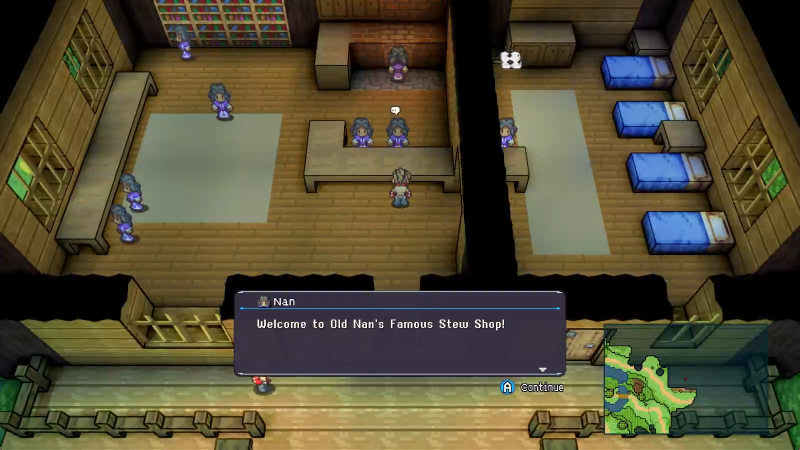
This Nan sells consumables, albeit not Tonics and Tinctures.
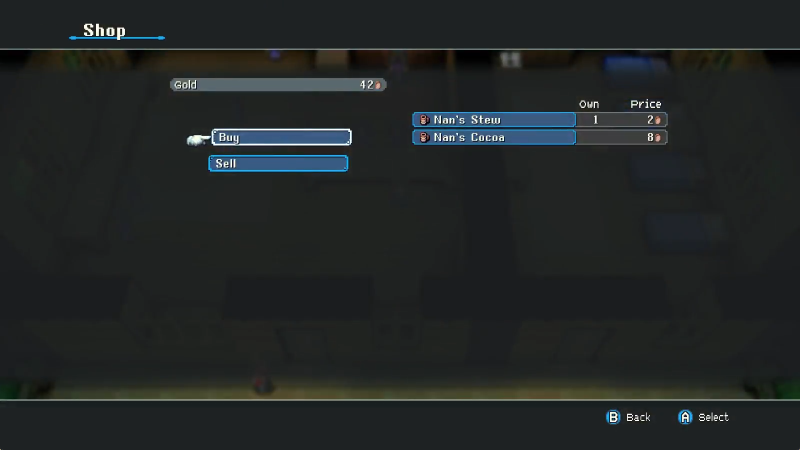
No, her wares are Stew and Cocoa, both very cheap but also very weak in terms of restoration. You CAN fill up on them, but... nah. Cash early on is tight enough without shilling out for consumables I'm likely never gonna use.

Allow me to demonstrate.
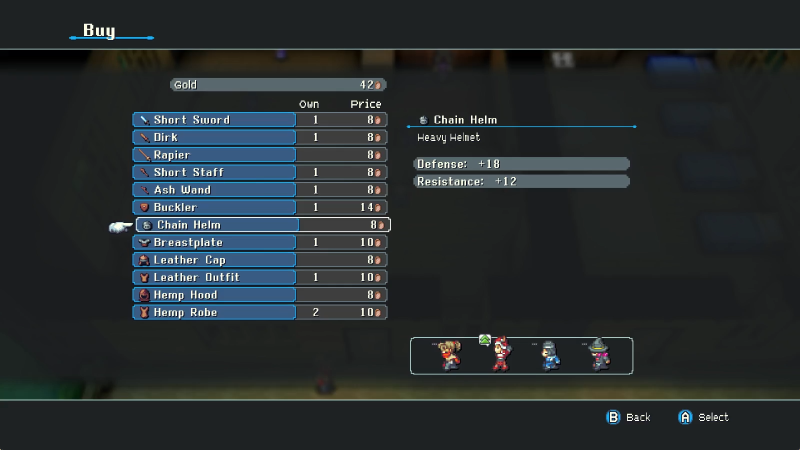
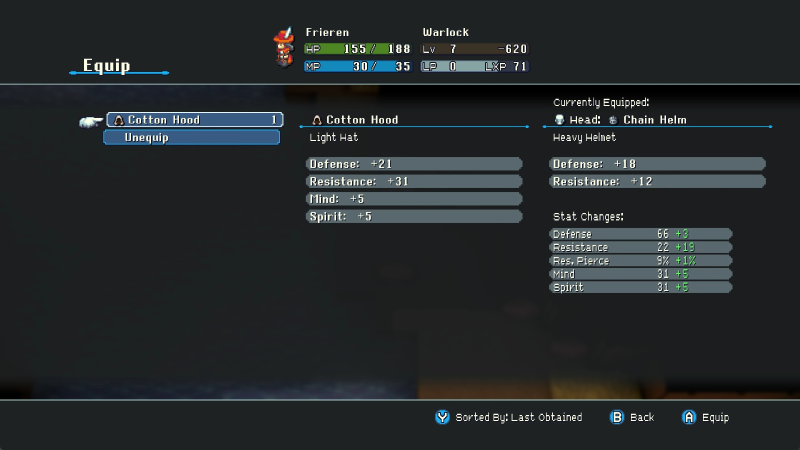
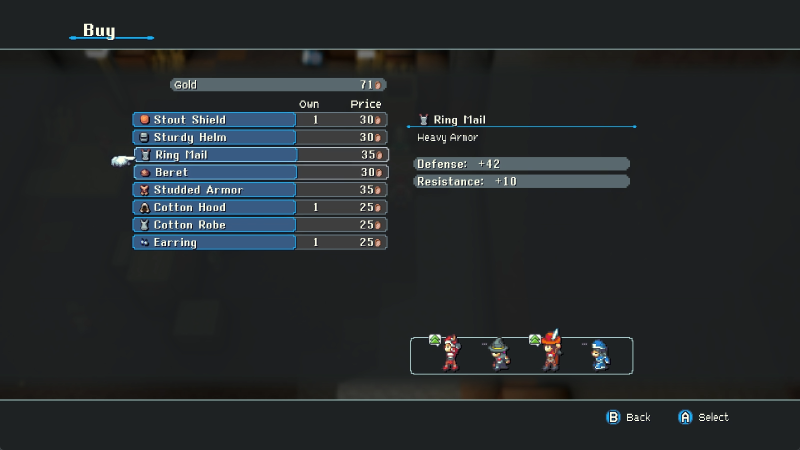
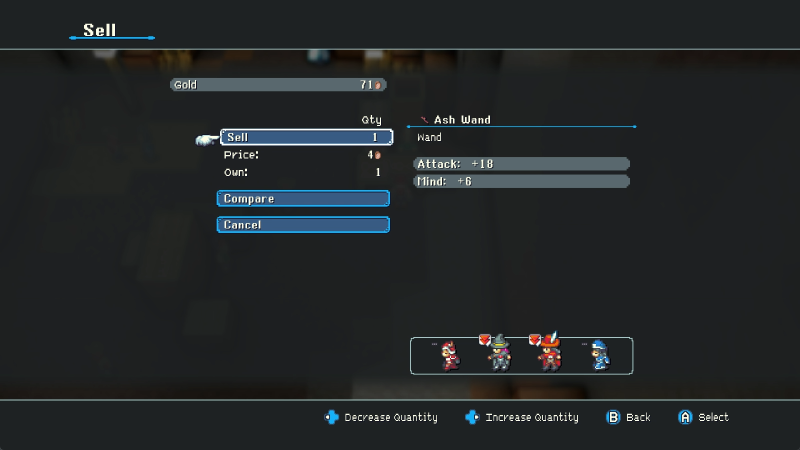
The gear sold here is identical to the starting equipment the team has, with the exceptions of the headgear (which I buy for everyone with just enough cash to make it). Technically, I could sell off my starting weapons, but recall that I don't plan to make this team my actual one for the playthrough, and will instead assemble a party based on what you, the posters, think we should do. Besides, resale is like 50% of MSRP or something. It's an RPG, you know this.
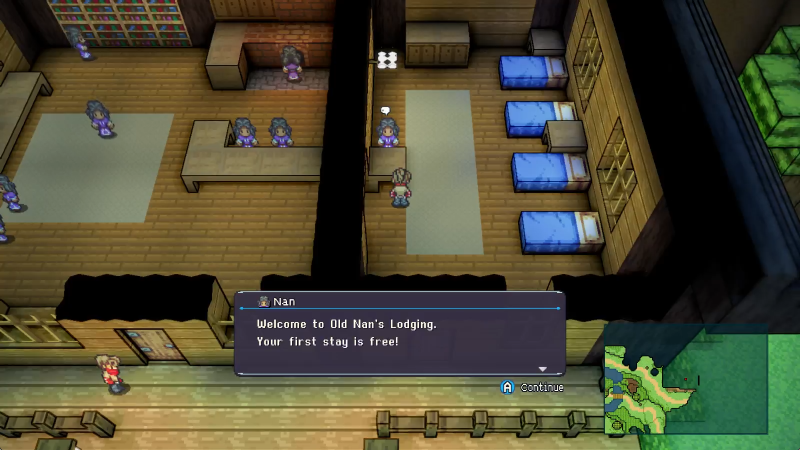
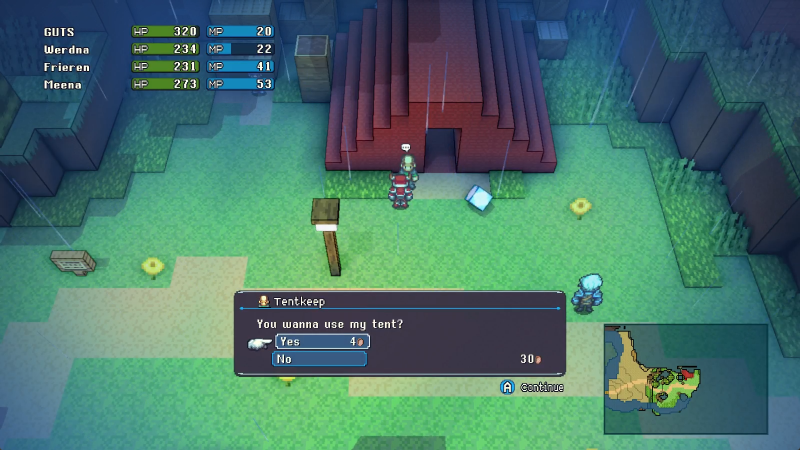
Oh boy, a free inn stay!
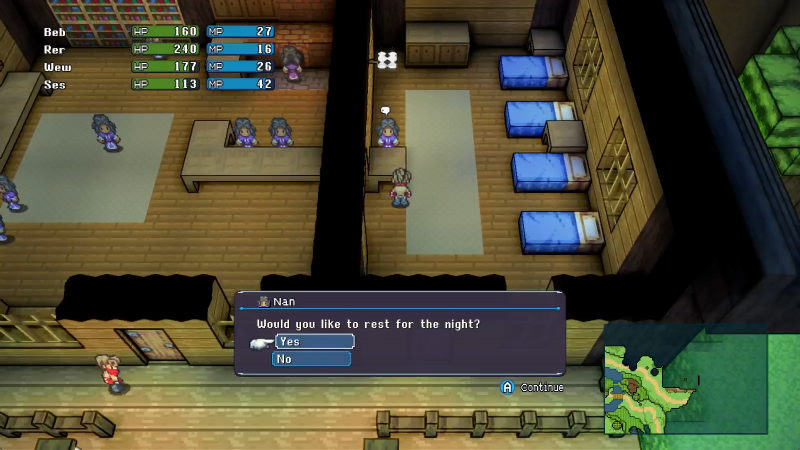
Nice of them to display the HP and MP everyone has. Inn stays also revive fallen party members, no need to seek out clergymembers for that.
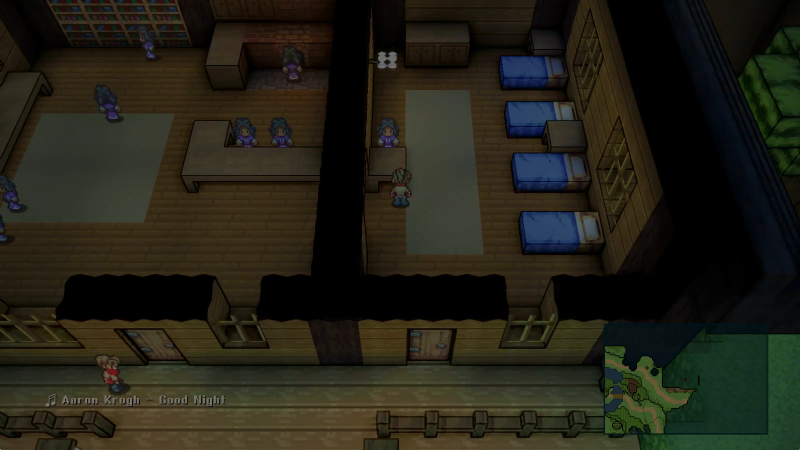
I sleep
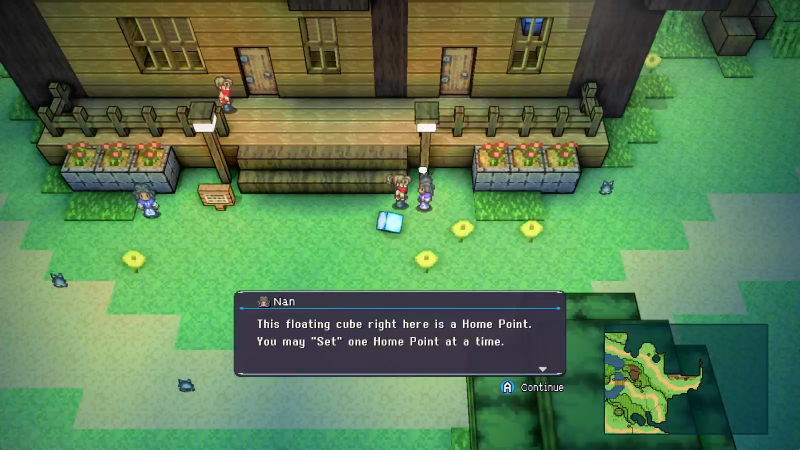
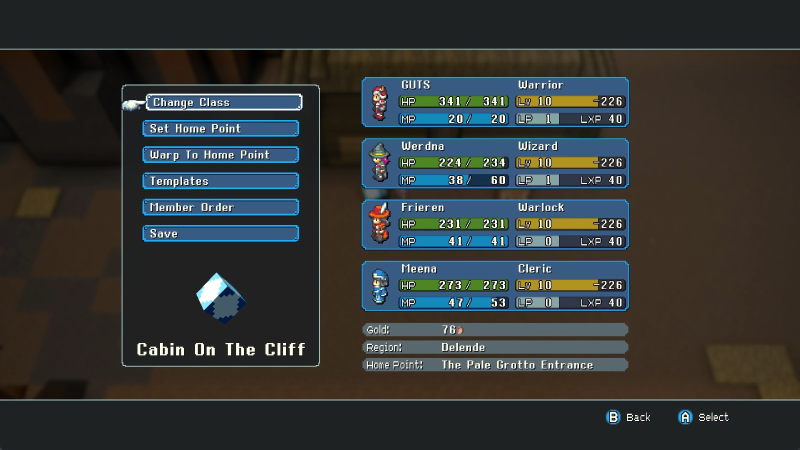
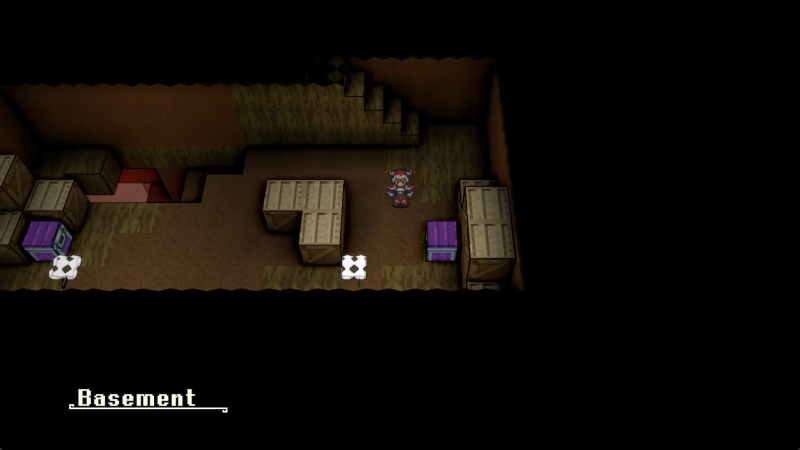
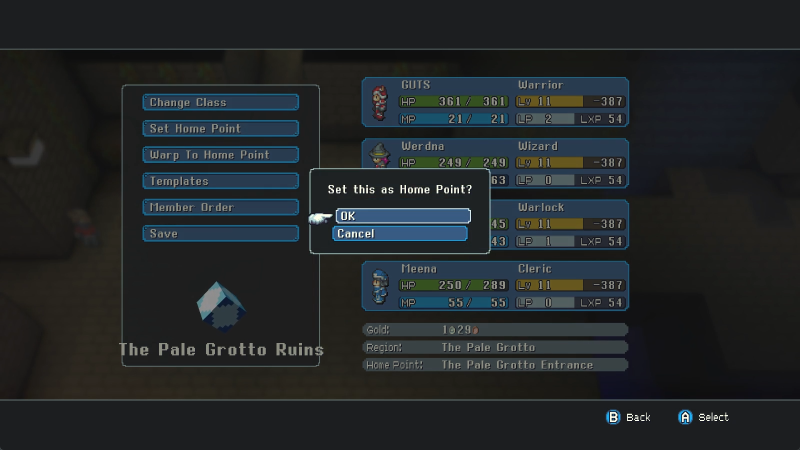
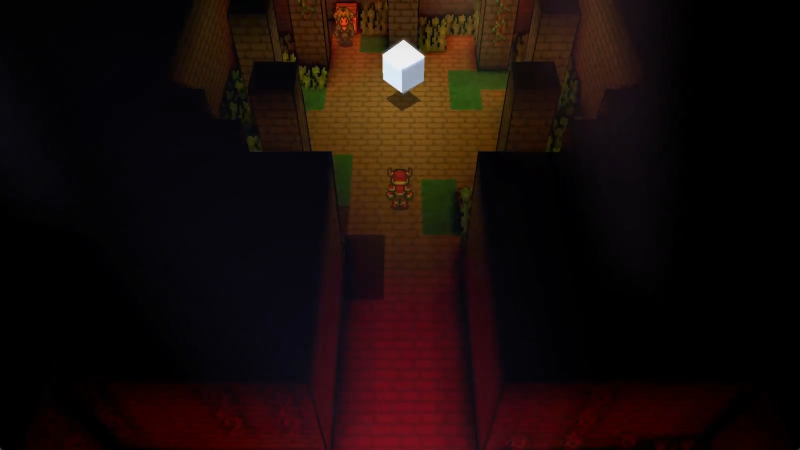
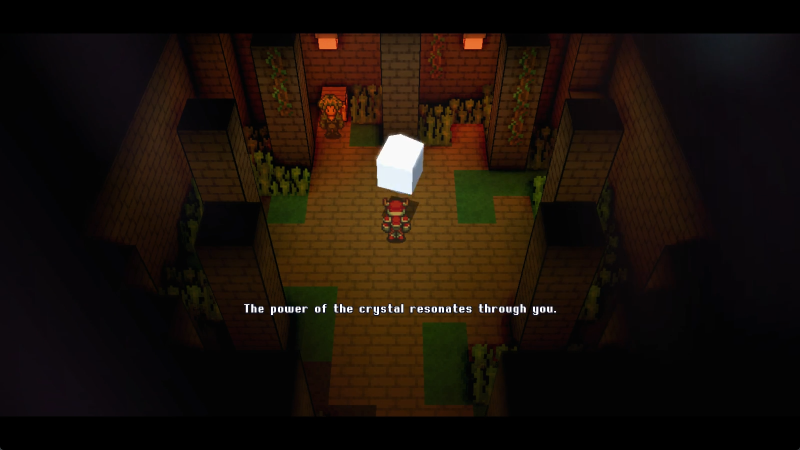
Morbid, but accurate. These wisdom cubes will serve as both save points for playing the game, and restore points should your team bite it in this or that encounter.
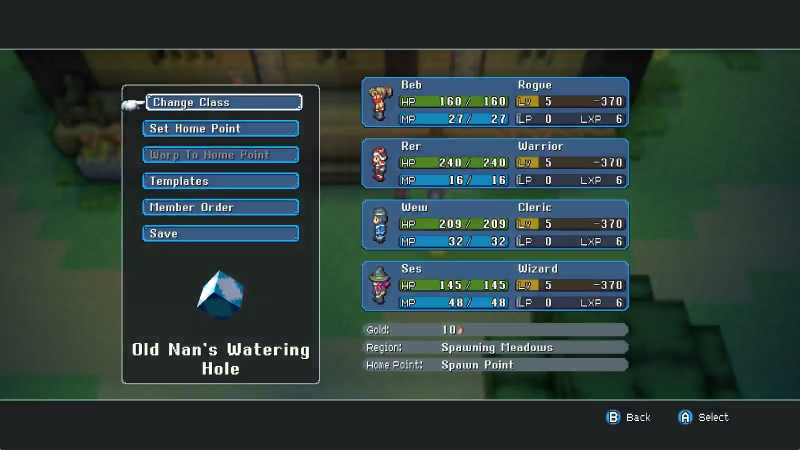
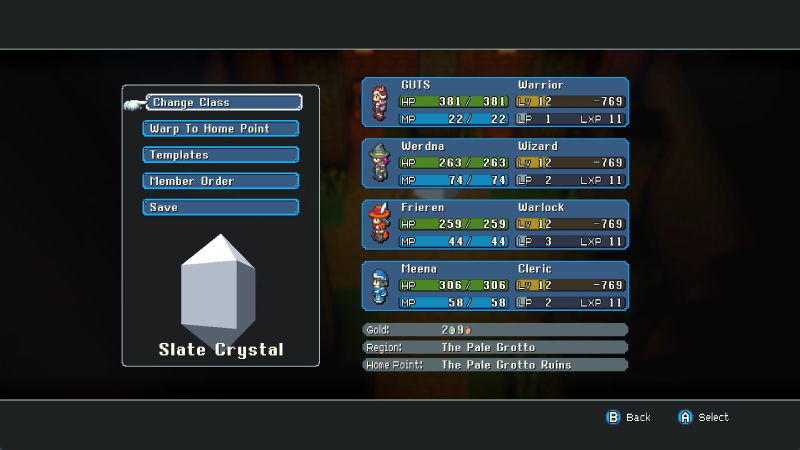
Additionally, you can change the class and sub-command of everyone in your party at Home Points, warp to your Home Point if you have a different one set, set up configurations for your team so you can mess with alternate strats as needed, and, of course, save the game. The autosave is pretty generous but you should all know by now not to rely on that alone.
The path to Delende is just up ahead, but we're not quite done here.
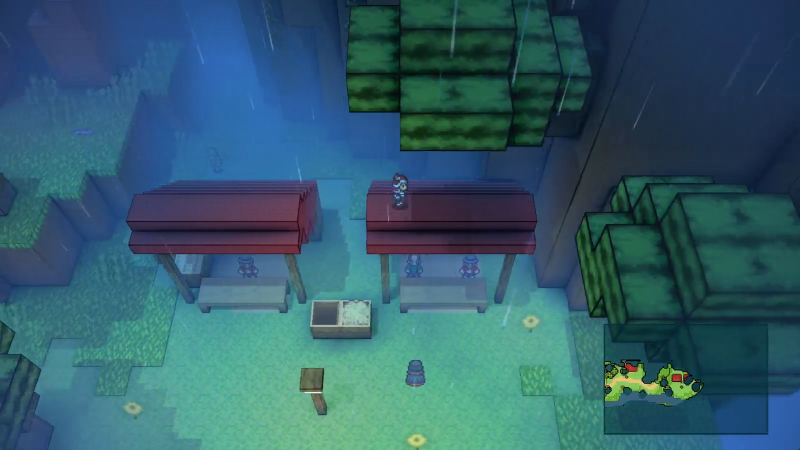
First up, climbing on the roof of the lodge.
This particular Nan also gives us another Tonic Pouch and explains their properties, but I beat her to it! Ha ha ha ha!
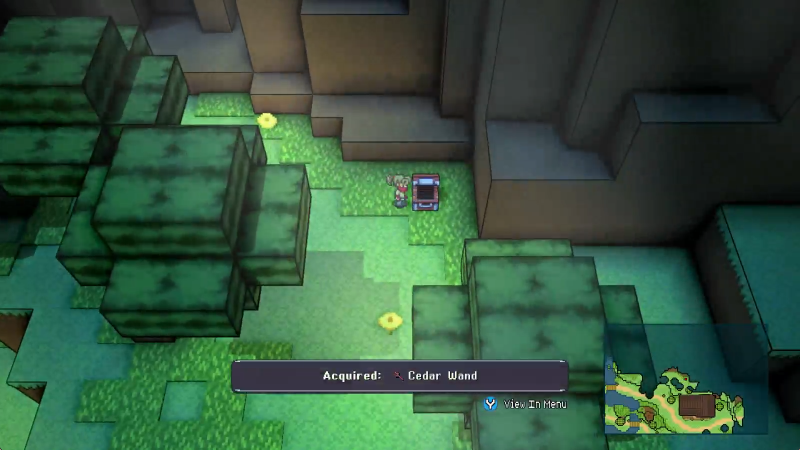
And a weapon upgrade for Wizards. Wands are one-handed weapons with pitiful Attack scores but plenty of Mind, obviously perfect for anyone hoping to use big pain blaster magic like Wizards.
Anyway, let's climb over this natural archway.
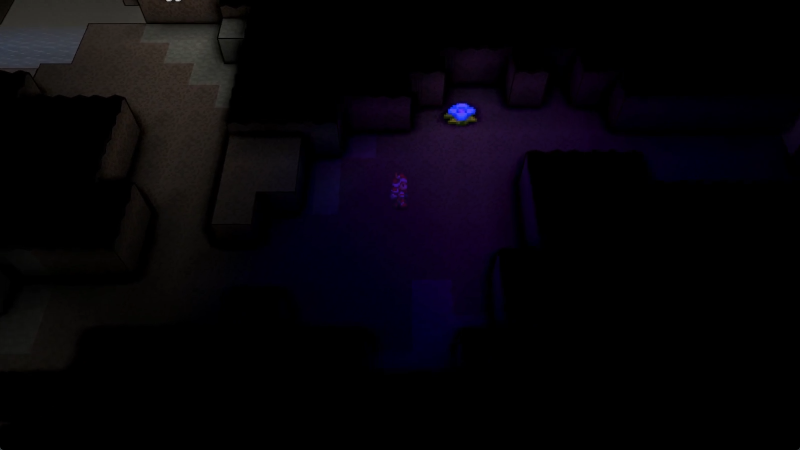
Cool clearing ahead of us, but first...
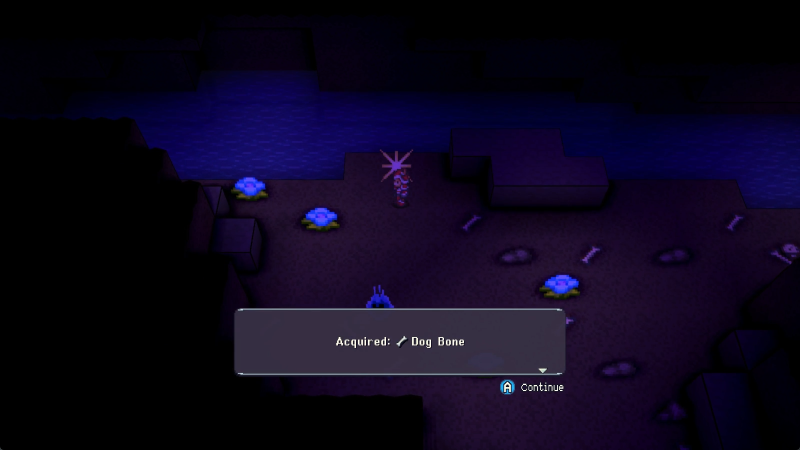
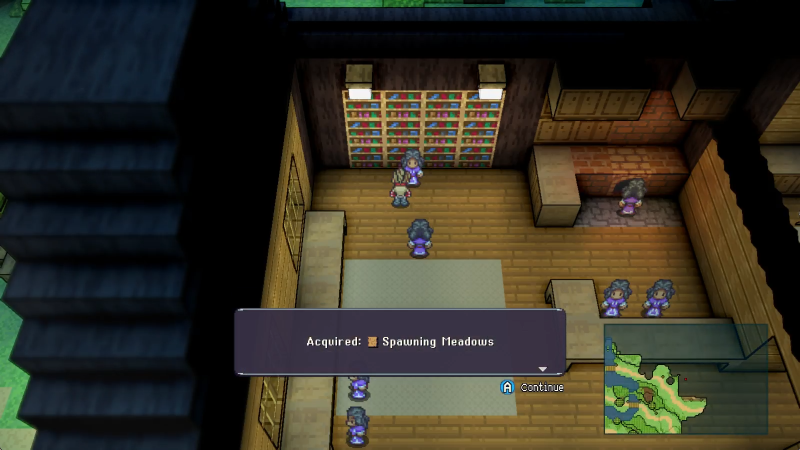
Hell yeah.
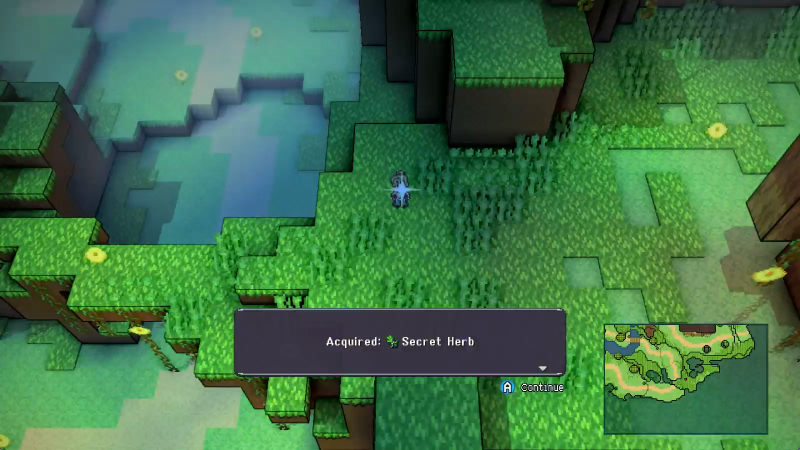
Coming to a secret recipe near you soon!
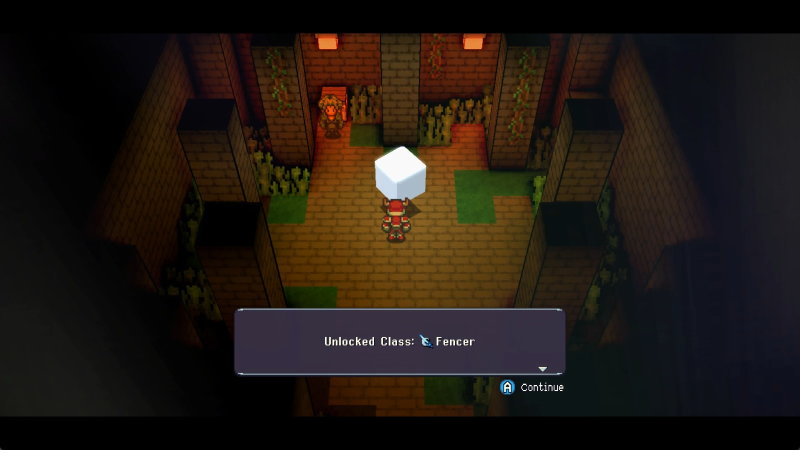
The clearing houses a telegraph of one of the classes we can find later, as well as a level indication of how late in the game they'll be. Don't get your hopes up for that any time soon.
Still, we may as well make a note of this on our map. We have a nice selection of stamps to work with, and can even stamp areas we haven't mapped yet (although doing so is hard if we're in an unmapped region since our own position is hard to make out).
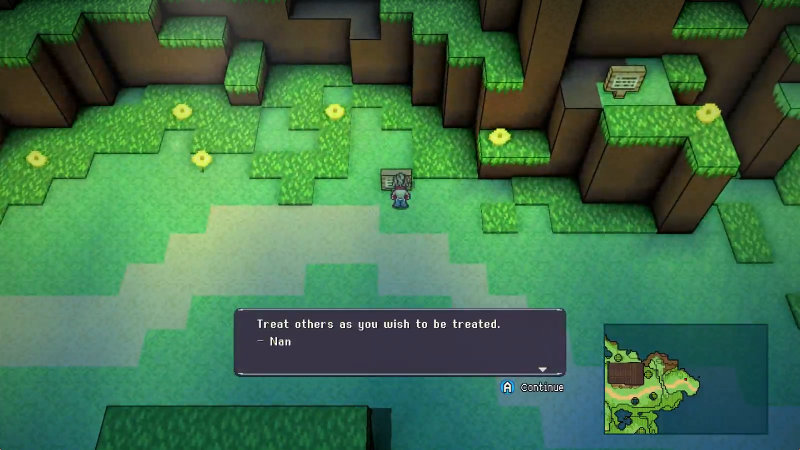
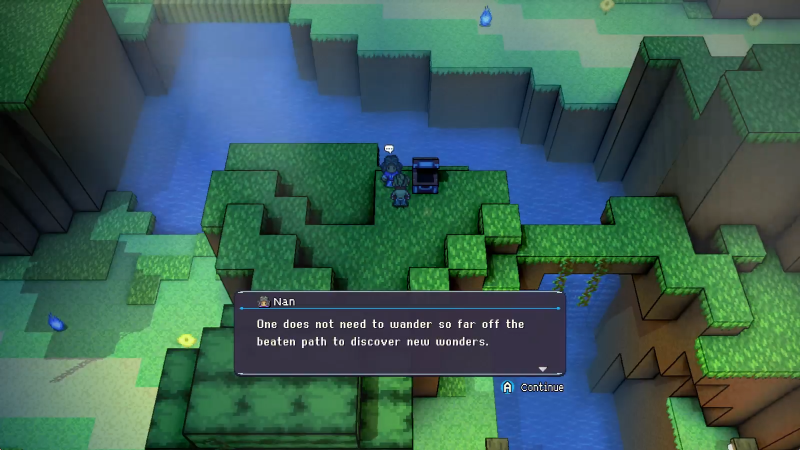
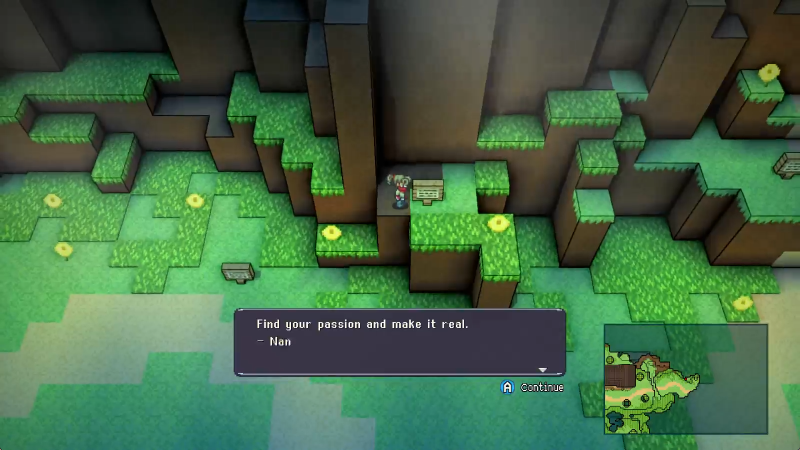
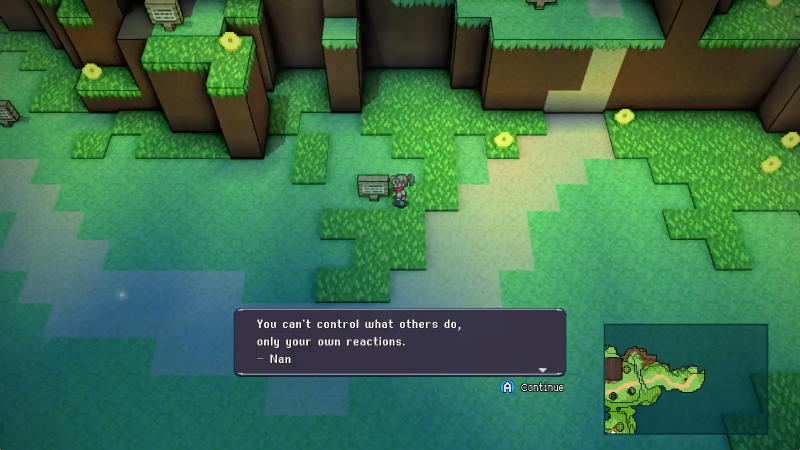
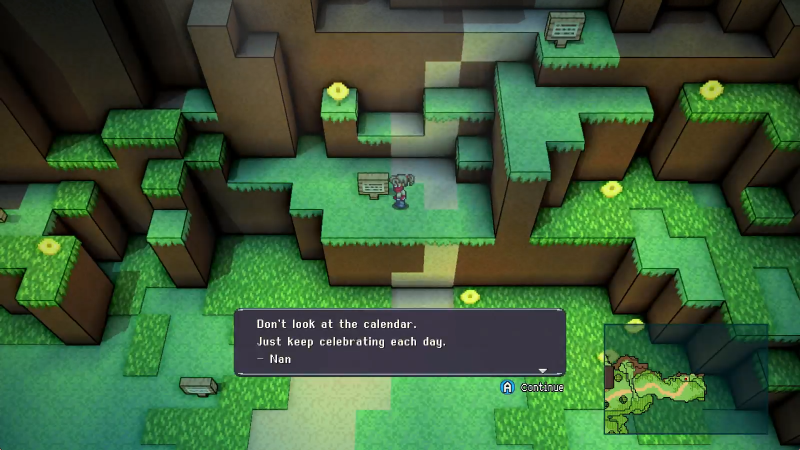
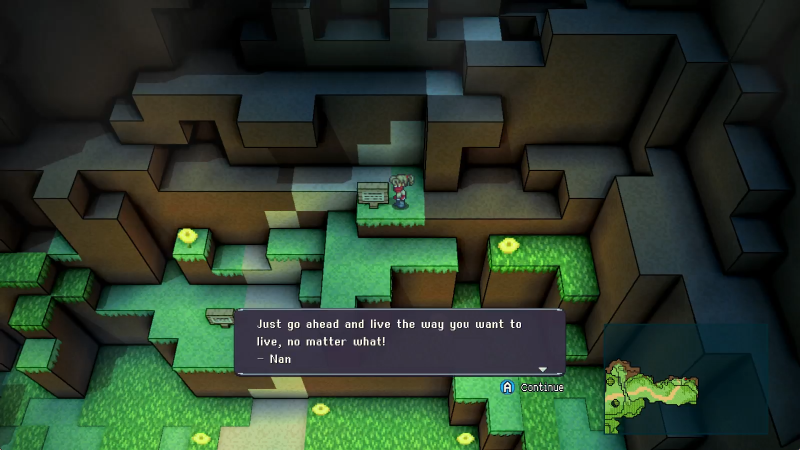
For the last part of the journey, there aren't any Nans, just signs with more of her aphorisms.
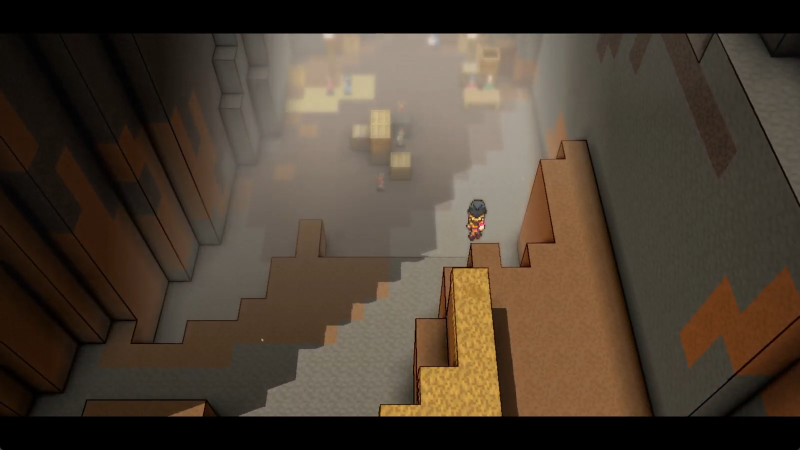
The path is also a lot steeper to climb, but by this point that should be no obstacle for you and it sure as hell isn't one for me.
That's not what any given antagonist of the vast majority of animes has taught me!
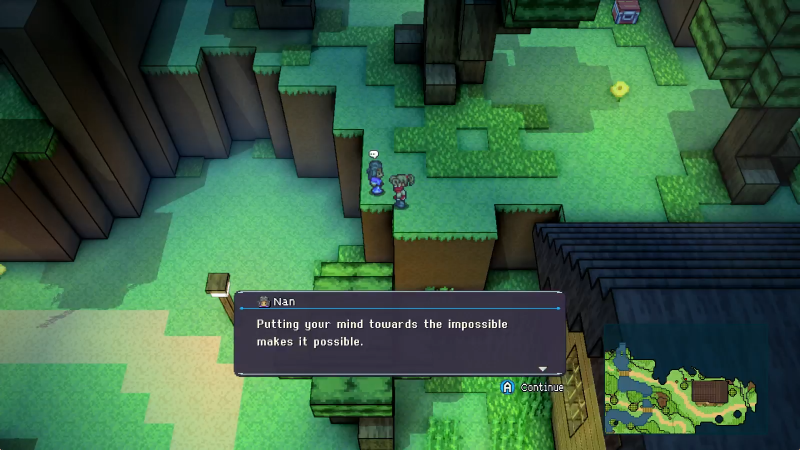
I'm kidding, of course. This is all good advice, if perhaps a strange way to start the game.
It's also a good way to encapsulate the flavor of the game. They aren't gonna tell you how to play. They're gonna dump you into a massive world, give you only enough info as you ask for, and then let you do whatever. It's great.
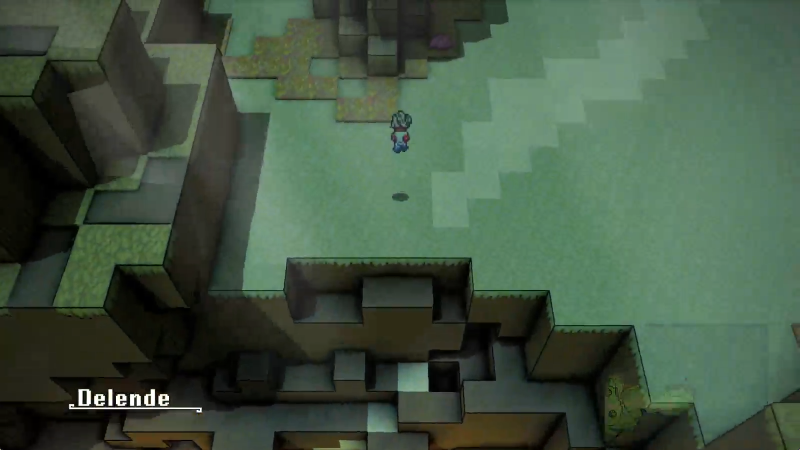
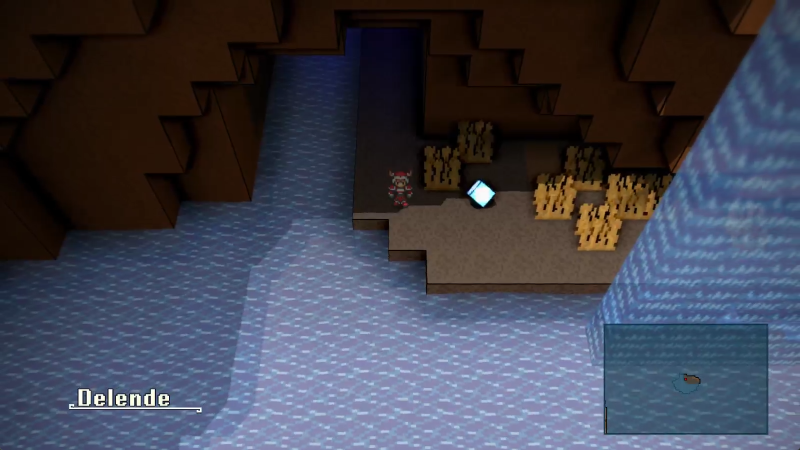
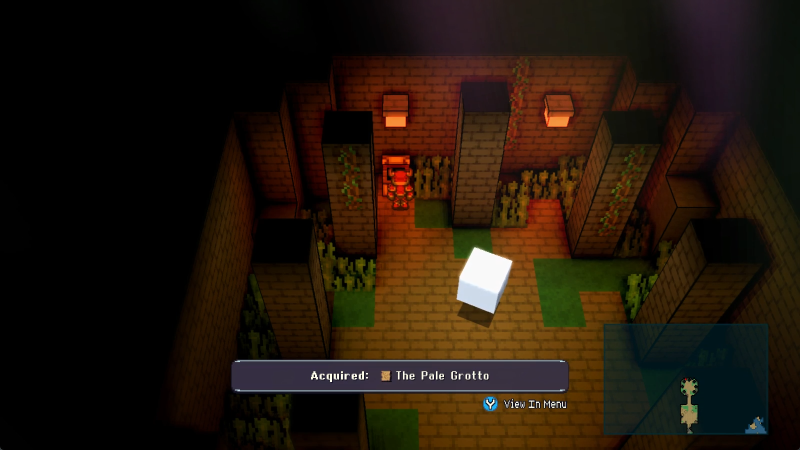
And to start that off, we enter the first real area of the game (with our map of Spawning Meadow fading away as we do), Delende.
Given how this game works, at this point, and the closing of every post, I'm going to put a little checklist of "cool stuff we can do", kinda like Yimothy's LP of Link's Awakening. I'll also allow you, the posters, to give suggestions for what loose ends we explore, and how to build our team. I'll happily state that most every class in the game is viable, if perhaps at different degrees, and more important that using the strongest classes is making sure you can have them function well together. For this post, I'll top it off with the checklist, and then the next six posts will cover the starting classes we can play as! Choose the coolest ones! Also: decide if you wanna see the expanded weapon compatibility mod.
TO DO:
Let's play Crystal Project!
Released in March of 2022 by the single person dev team of Andrew Willman (aka River Running Games), Crystal Project is effectively a love letter to the classic RPGs of the SNES era, but designed from the ground up to evoke a sense of first-time exploration of a vast and sprawling world full of secrets. Gameplay involves finding different crystals across the land of Sequoia, each of which imparts us with a new class, the abilities of which we'll use to build our four adventurers to handle any fights we come across. The most direct inspirations are FF5 for the combat, of course, and a few things for the overworld: Super Mario RPG style voxel-ish platforming, the huge amount of space and directionless wilderness one might expect of any given open-world title, and a few other things. Point being: this game is huge and it's a delight to explore and I want to show all of you that.
For the first update, I'm going to play through the intro section, Spawning Meadows, with this party to give you a good idea of how things work, but at the end of this post I will follow it up with a class list, since we start with six different classes, and I'd like YOU, the reader, to pick for our four characters a name, gender, and class each. Starting class isn't a huge huge deal, but, well, you'll see in a bit. Gender teeeechnically has some stat changes to it but only extremely barely (male characters get a slight bonus to HP, Spirit, and Luck, female characters get a slight bonus to MP, Speed and Agility, and even then it's hardly enough of one to care about).
Also: I'm considering running this mod and this mod only, for the LP. The long and short of it is that physical classes can, with a few exceptions, only use their attack skills with one or two compatible weapons (so for example, Rogues can only use daggers and rapiers, and even then they prefer daggers). This mod, done by a friend of mine, expands the list for each class to add one other compatible weapon for each class so limited (so Rogues would now be able to use rapiers with all of their skills, and swords with the ones that previously allowed rapiers). It doesn't give any extra proficiencies with those weapons, but it does open up the different classes a LITTLE more to freeform customization. Please tell me whether you want to use this mod or not.
Finally: difficulty selection! I've only ever played this game on Normal and I'm not about to change that up now, but you can tune it more one way or the other. Note that Hard says that "grinding will be necessary", but in my experience the game really gets difficult once you've hit level cap and are playing around with late/postgame, so grinding isn't an option there anyway. Still, it's there if you want it.
We'll start off with some quiet music and this quote, unattributed.
And then we descend from space into the first area of the game, Spawning Meadows.
Hello!
Oh, yeah, the music credits are always displayed bottom left when we encounter a new track. All the media assets for this game, be they spritework, effects, or music, are basically general use packages. Andrew Willman didn't really make anything save for some of the more unique sprites. If you want to listen along, the three main music artists in my experience are Vindsvept, Calbert Warner, and Aaron Krogh.
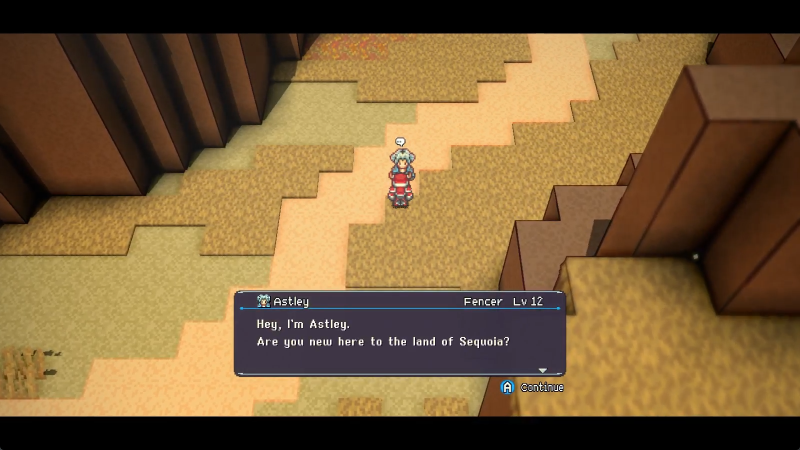
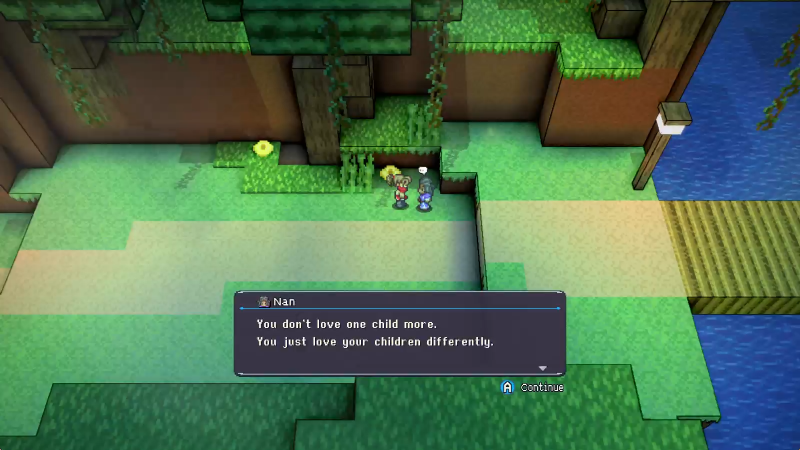
Nan said:Well, naturally, you've come to the right place! But you look positively famished. As if you're about to dry up and blow away! I invite you to come pay a visit to our lodge for a big helping of stew. There's nothing like a hearty bowl of stew for an empty stomach!
Don't worry, this isn't a very text-heavy game. Transcriptions won't be much longer than this, and very infrequent. The meat and potatoes of the game is exploration.
Speaking of, Nan heads off after the invitation...
And some directions. The path is basically the fundamental route for getting through Spawning Meadows, which is as barebones and tutorialist as an area gets.
You can follow along with Nan, and we will. We're just gonna...
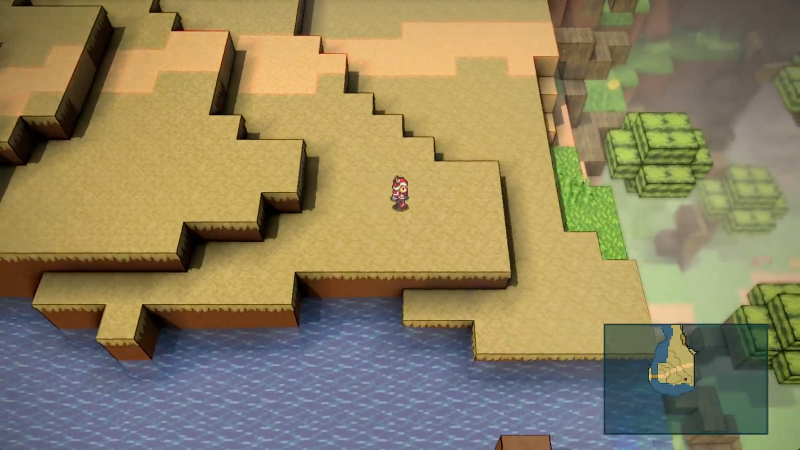
Take our time a bit first.
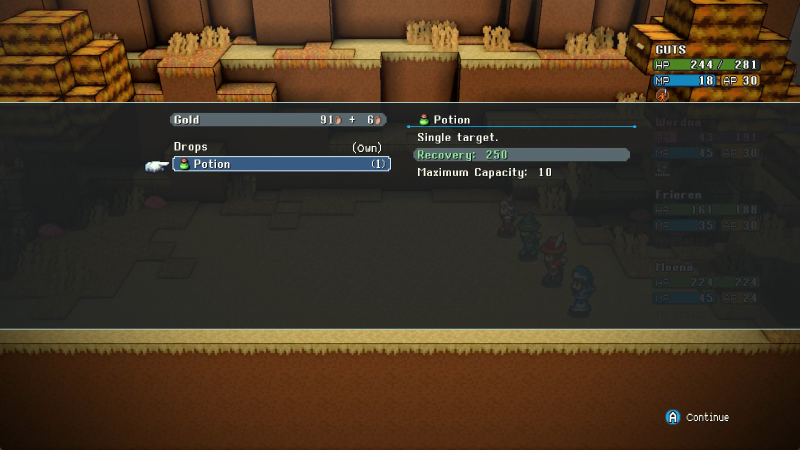
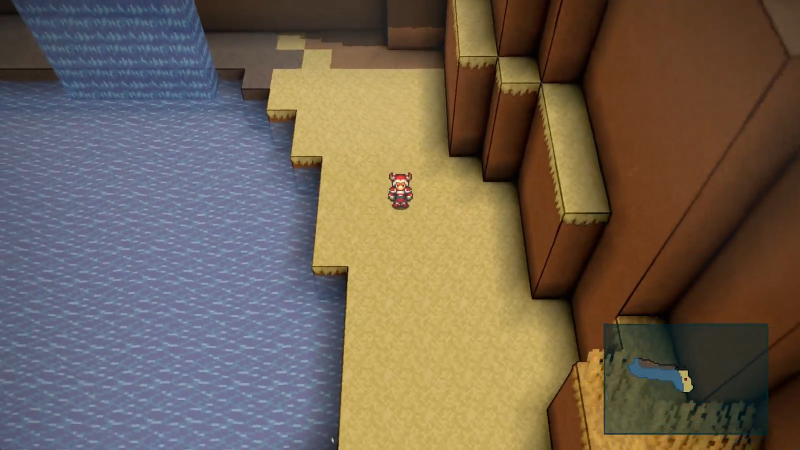
Tonics are basic healy items. They go for about 50 HP a pop.
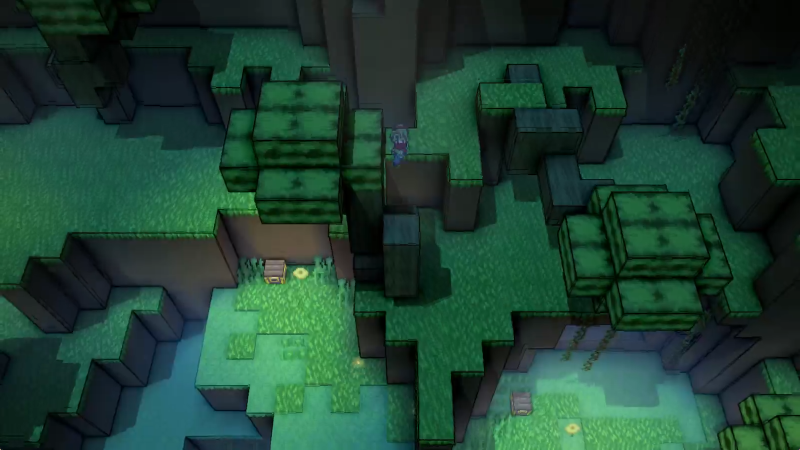
More useful to us is the treasure chest itself, which serves as a handy-dandy stepping stool to get to the upper level. Our jump can clear two blocks of height, but three is out of reach.
Our reward for doing this, at first, is... an inexplicably acquirable woodland creature. Great?
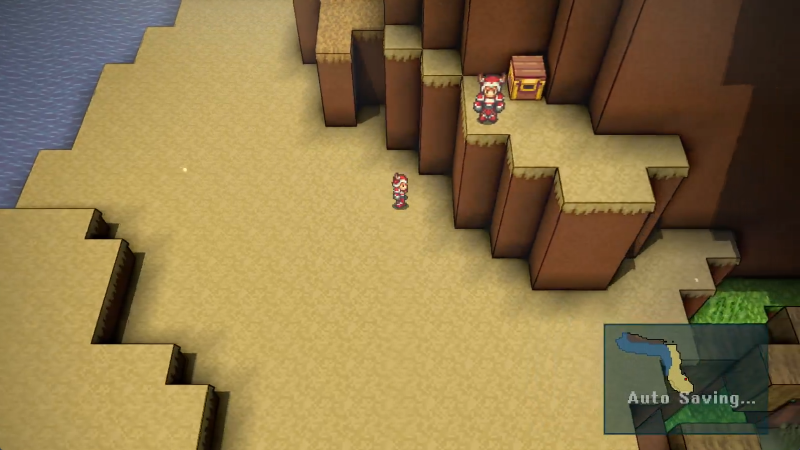
However, we're also able to run alongside the southern wall here to climb yet higher.
Also: sorry for the poor quality. I'm taking screenshots from my own recording of the game with OBS, the quality of which appears to have dipped somewhat. I'll look into fixing that up for the next update, but for the Spawning Meadows we're all just gonna have to deal with a bit of fuzz.
Our reward for climbing up this high is a fun new shield!
Ain't much, but it sure does the job. Appreciate the little guide down there for which party members can equip stuff and by how much they improve over their existing stuff.
I'm not gonna go over super-specific detail and use cases of all the gear we find, but if I happen across any especially exciting gear I will highlight what it's good for. Suffice it for now to say that Spawning Meadows' hardest-to-get treasures are primarily weapon/shield upgrades for the starting crew.
Oh, yeah, you can slightly rotate your view with the left and right bumpers on controller. Ain't know what the inputs are for keyboard, this just feels like a better game to play with a controller, y'know? You can use this like here to get a better look at areas that might hold secrets...
Like this!
Last bit before we actually go down the beaten path, I swear. This squirrel's route is clearly visible in the shot.
Way ahead of ya, Nan.
The blocky platforming isn't the only thing like SMRPG. NPCs are completely valid to use as platforms to reach hidden areas or just to hitch a ride if the situation works.
Even this early, we can use it to get up here a hair earlier than intended!
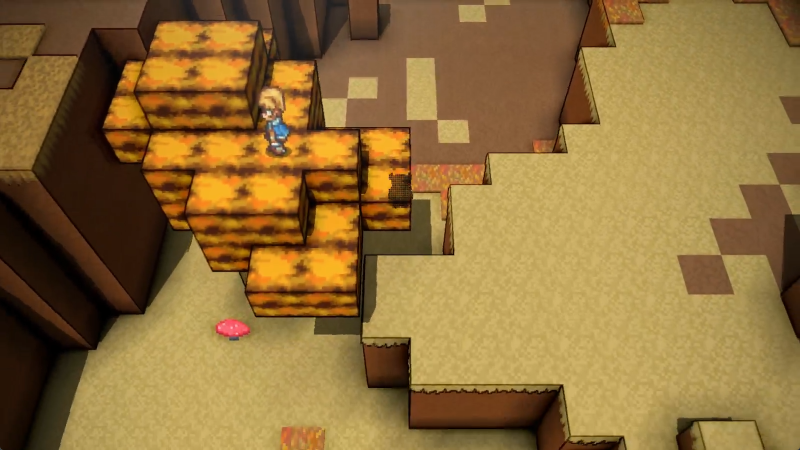
Tinctures restore MP, 20 per use. For your earlygame casters, that's roughly 3 more shots of whatever spells they've got.
The trees here can be climbed, but some of them might require some tricky triangle jumps to get to. They're possible in this engine, just very difficult.
From here, we can climb all the way over the path that Nan would ordinarily lead us down. We're still gonna walk that path with her, later, after I've had my fun treating the first area like a jungle gym.
Big axe. Axes like this one pack a decent amount of Attack and come in one or two-handed variants (this one being a two-hander) and have some Variance on the damage they deal. More on that once we get in a fight.
Yeah just to really drive it home: in no way are you expected to stick to the "main" route in this game. Almost everything can be sequence broken if you know how, although some parts are trickier than others, and sequence breaking doesn't help if you hit an encounter capable of pasting you before you act.
Suppose we head left from the Tincture box, though.
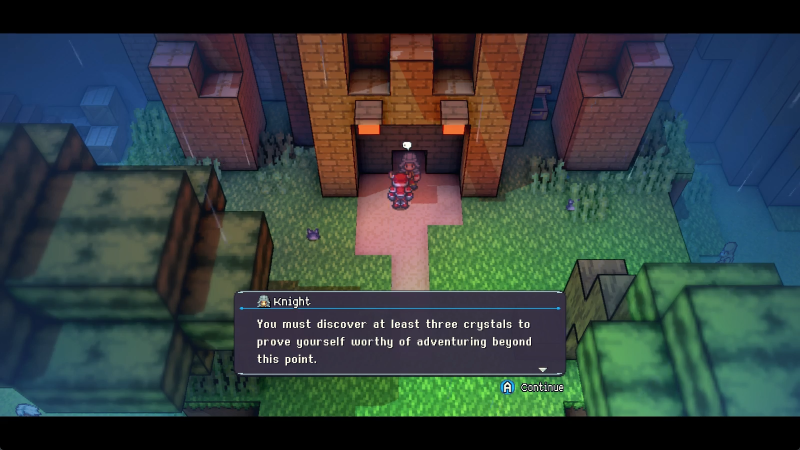
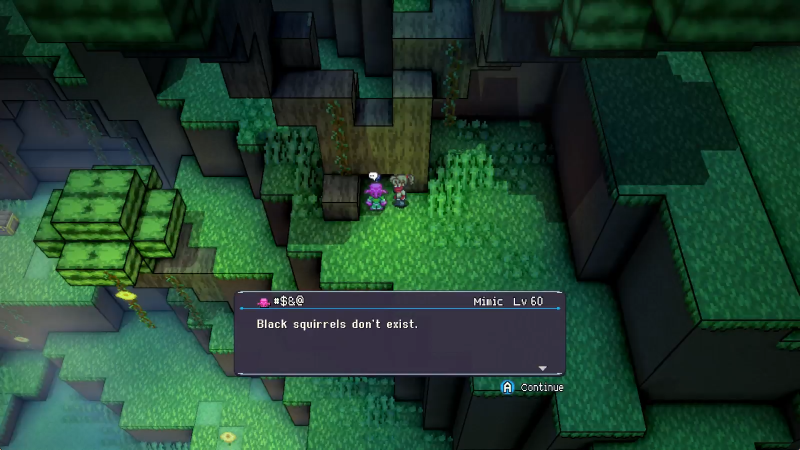
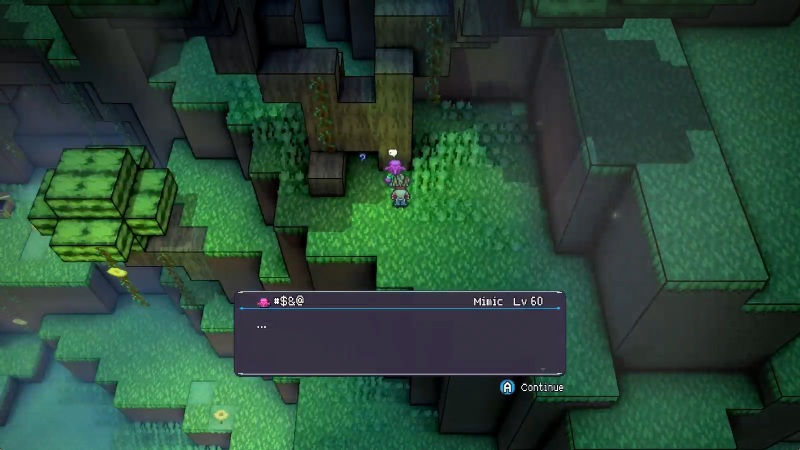
What
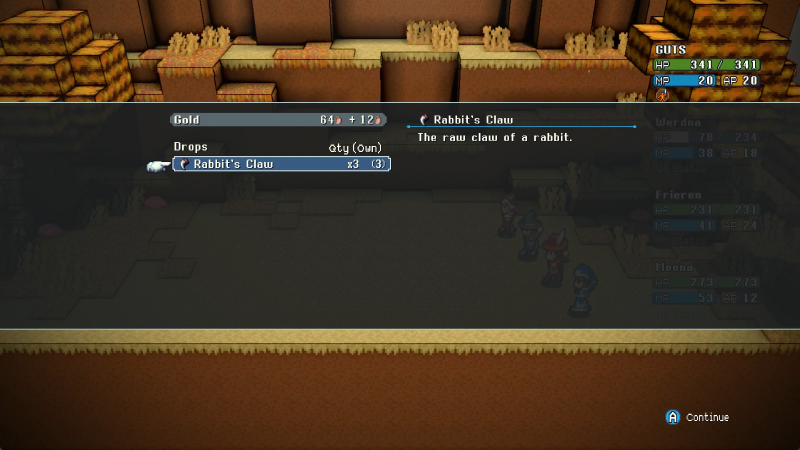
#$&@ said:You only have two. I'd need to see at least three for you to prove me wrong.
I... see? Okay. Sure. We can catch another black squirrel for you, you very normal person.
But first, more treasure!
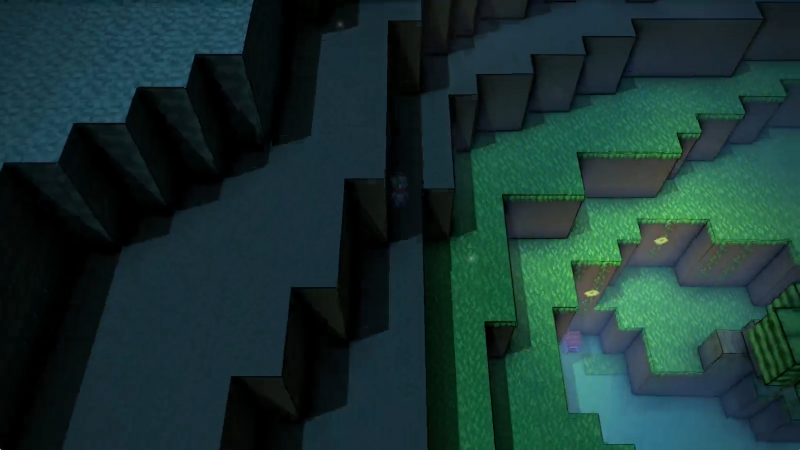
Unfortunately, the terrain here is a skosh too high to REALLY start sequence breaking, but this is hardly the roadblock you'd expect. But that's a later thing.
Still may as well show off what our height lets us see a bit, which isn't much.
A new block type or two is barely visible here, but they're far out of reach. Ah well.
First treasure over here is the basic revive item, restoring the target to a meager 1 HP. Unfortunately, we can't use items in battle. Use them specifically for restoring condition after tough fights.
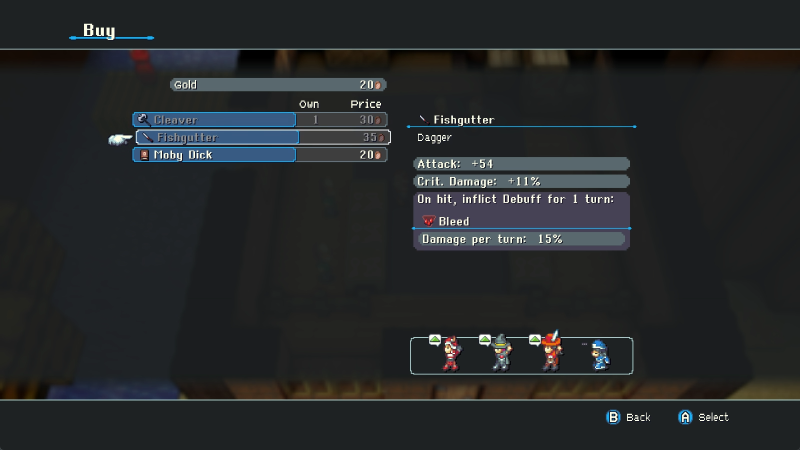
A dagger, hell yeah. Daggers afford the user extra damage when they score a critical hit (henceforth: crit). This makes them a favorite of any Dexterity-focused characters, naturally.
And our last necessary black squirrel.
Okay, back to Nan, I swear.
Grab some cash on the way.
I see? Well, moving on.
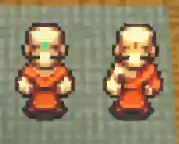
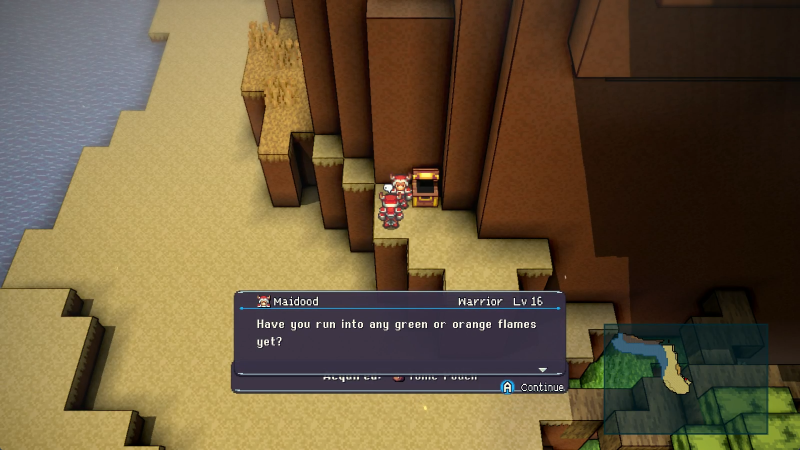
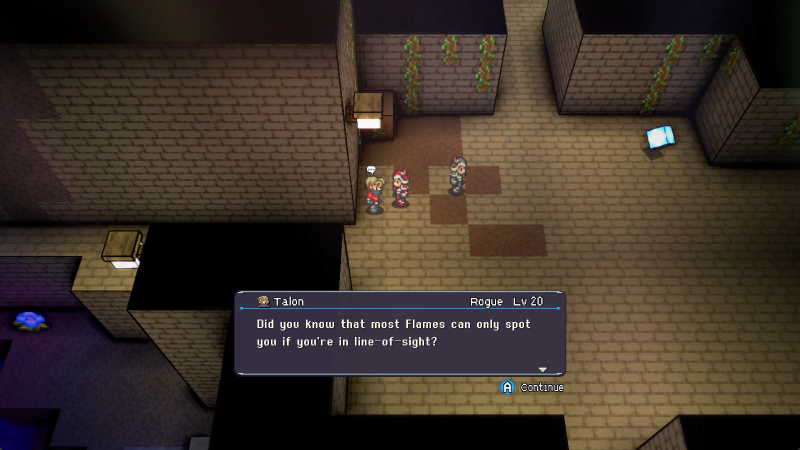
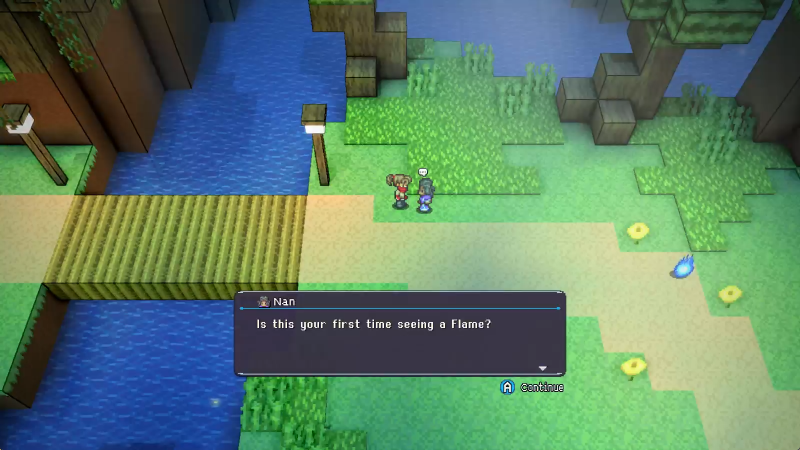
Nan said:Flames are nothing to be afraid of. Gather your courage and approach it.
On-field encounters but not random, you say? Yes please and thank you.
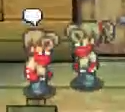
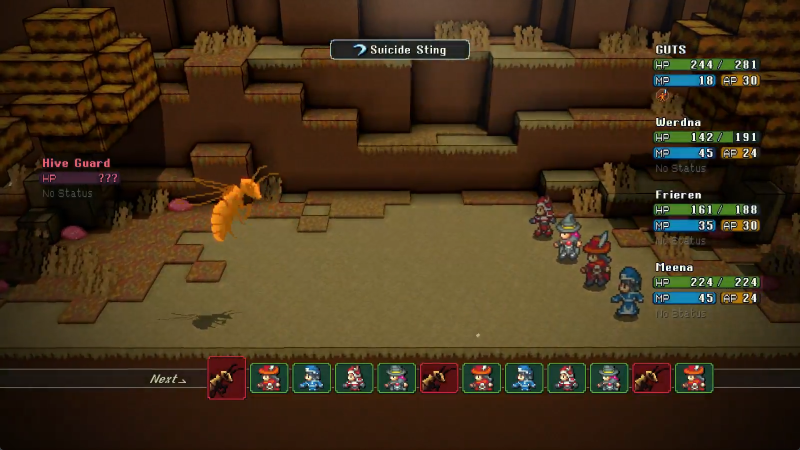
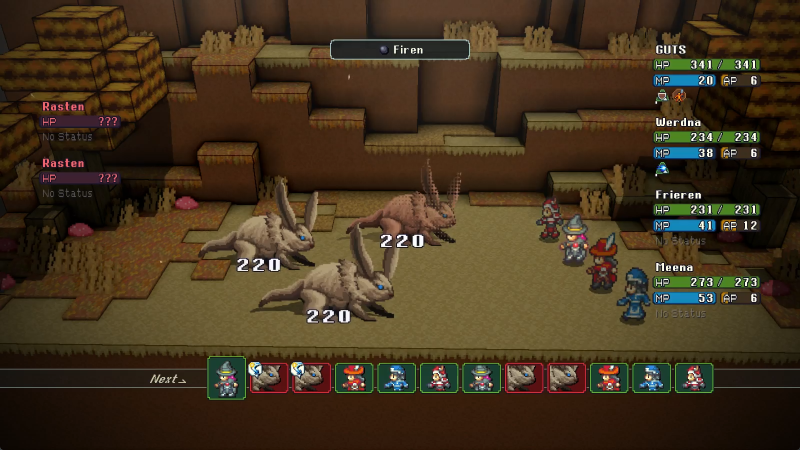
LEZ TUSSUL
So, here is the combat section of the game. Our Rogue, Beb, is up first, which makes sense, against a Slime that will be doing a basic Attack. Our stats on the right, theirs on the left (insofar as we can see them), actions and turn order on the bottom.
We can also see the turn order in more detail at any time. Basically, after every aut, everyone's TT goes down by 1, and when someone's TT hits 0, they can act. We'll explain it more later, but for now, it's a turn system.
We can also see the Slime's stats, as well as our own, at any time. Not just numeric stats either: should they have any passive traits worth noting, like resistances, special behaviours, and the like, we can also see that here.
In any event, the Slime is a complete non-issue. Beb and our Warrior, Rer, can do about this much damage trivially.
Note two things that occurred here. The first is the Slime's healthbar turned from green to pink. Even if we can't see enemy health at first, we can get a basic idea of their damage. An enemy whose healthbar is pink is at 50% or lower health, and if the healthbar is red they're at 20% or lower. My math might be off here but that's about where I remember it being.
Second is that Beb's AP went up. Just like magical characters use MP for their attacks, physical characters will usually use AP, which builds whenever they do a basic Attack, get attacked themselves, or start their turn, each for 6 AP total. The cap for AP is 30. There are exceptions to almost all of the information here, but as a general rule it's what you can rely on.
Anyway Rer manages to score a crit (as seen by the exclamation point) that overkills the hell out of the Slime, winning the day.
THROW YA HANDS UP IN THE AAAIIIRRR
Before...
And after.
XP is the gold one, LXP is the gray one. Both are very important.
Thanks it was really hard.
Way, WAY ahead of you. Now hold still please.
Thanks. (There's stuff up here, but I got distracted and retraced earlier steps so I didn't find any. But still.)
Considering we have to jump at least once to get to this point I'm not especially sure we NEED this info but yes, jump height depends on button hold length.
I'm a good learner.
More juice. We don't need it yet, but hey, it's there.
Had I not been distracted earlier, we could've gotten that shiny thing already. Doh well!
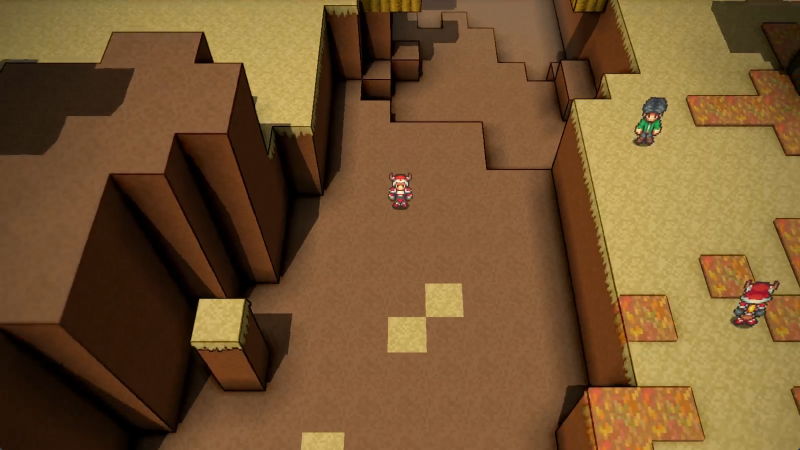
Oh yeah, in case it isn't clear, there's multiple Nans. It's more obvious if you follow the one leading you on the walk instead of immediately pissing off into the trees like we did.
This is getting out of hand! Now there are two of them!
After defeating an enemy at least once, any future encounters with that enemy will display their HP at all times.
Oh, and don't ask what the formula is for successful stealing. I have no actual idea.
Stealing can get you special items from bosses but it's absolutely not required to win the game, and even if you miss a "unique" steal there's a place to get those items later. Stealing is still easier for those, of course, otherwise why even offer the option?
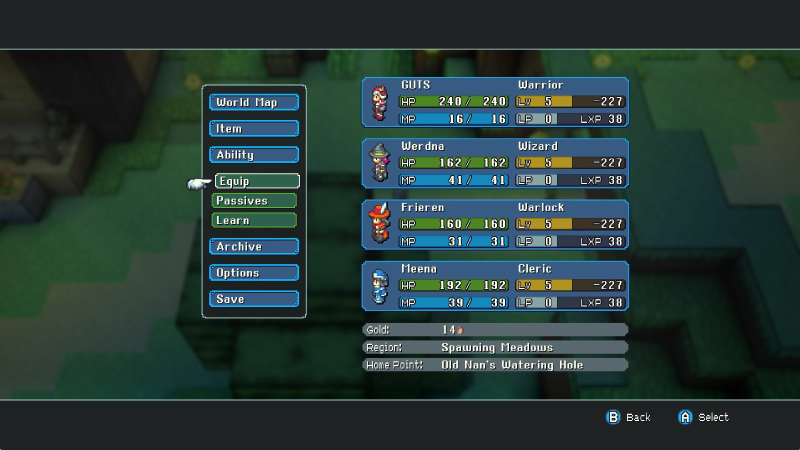
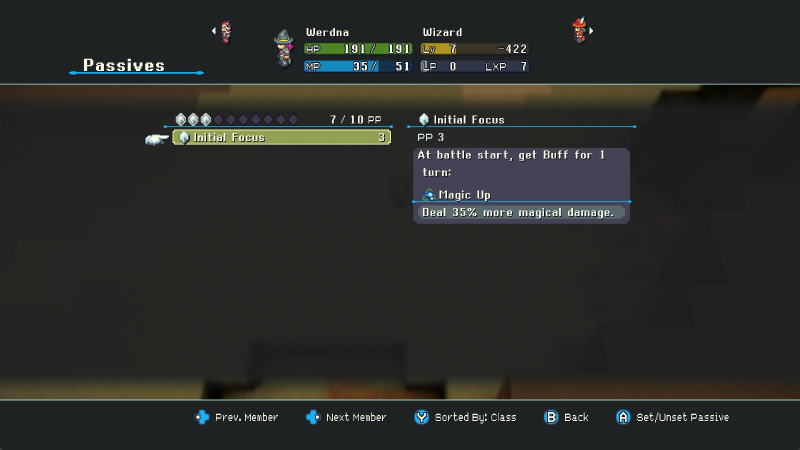
More stats! Bigger stats!
Each class not only applies modifiers to the stats the character has accrued over time, it also uses those same modifiers as stat growths when you gain a level. So Ses the Wizard is going to naturally build up a lot more Mind than Rer, even if she was to later change to Warrior herself. We can mess with this later, but it's the guideline for how stats on level work right now. Similarly, the three initial levels everyone started the game with are all in their initial class, forming their core stats.
I am very glad none of you have any issues about letting me climb on your heads and use them as springboards.
By the way, the lodge is just offscreen to the right. We're not going there yet, of course.
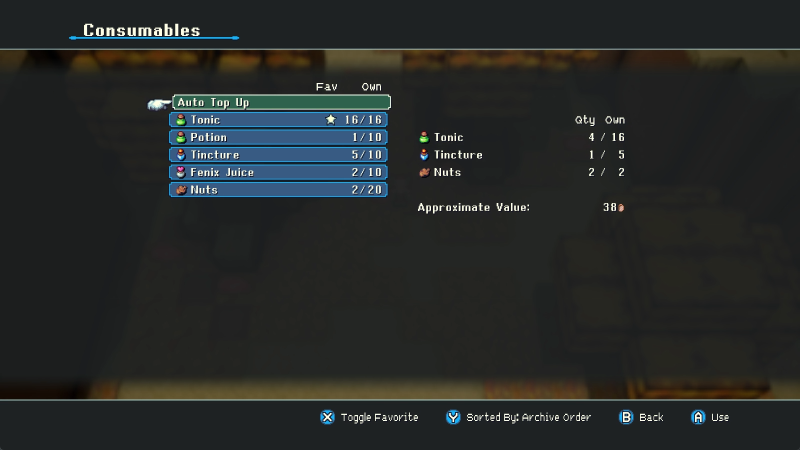
Pouch! These expand how many of the indicated items we can hold. They're nice. They stack, too.
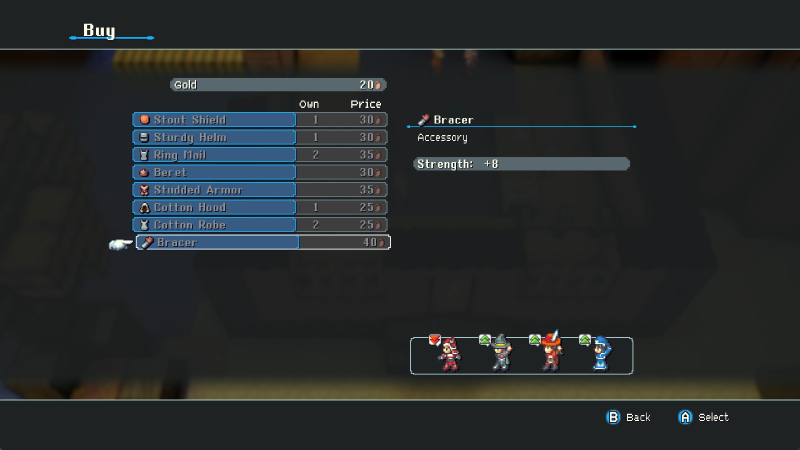
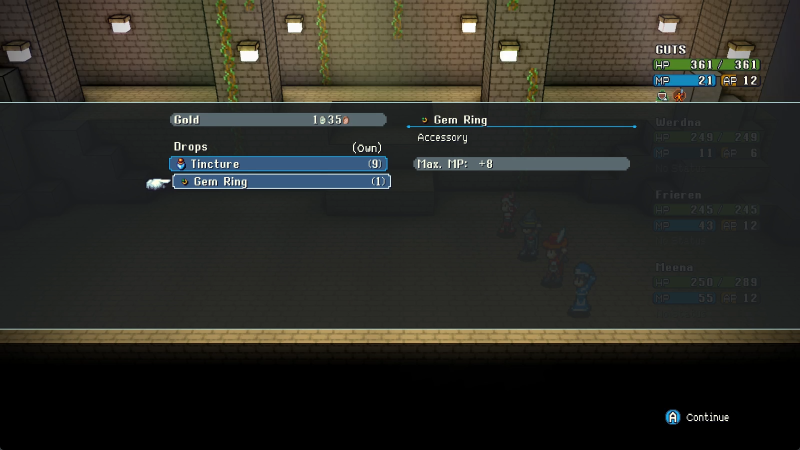
Accessory!
Since nobody has an accessory yet and everyone can equip it, they are all of the opinion that it makes them universally stronger. We are, of course, ignoring their clamoring.
Weirdly true! Lots of secrets in Crystal Project can be found in areas you'd consider extremely familiar once you've gotten into the game proper!
Anyway I've ALMOST found all the secrets in Spawning Meadows. Which is funny because Nan here is only at the halfway point of her personal jog.
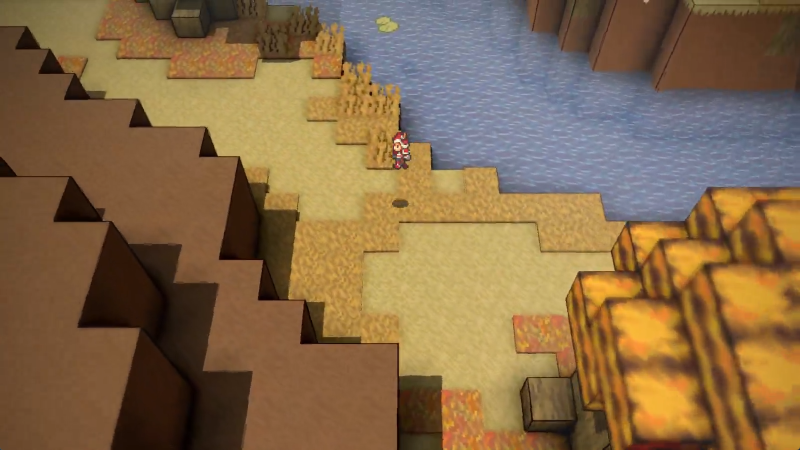
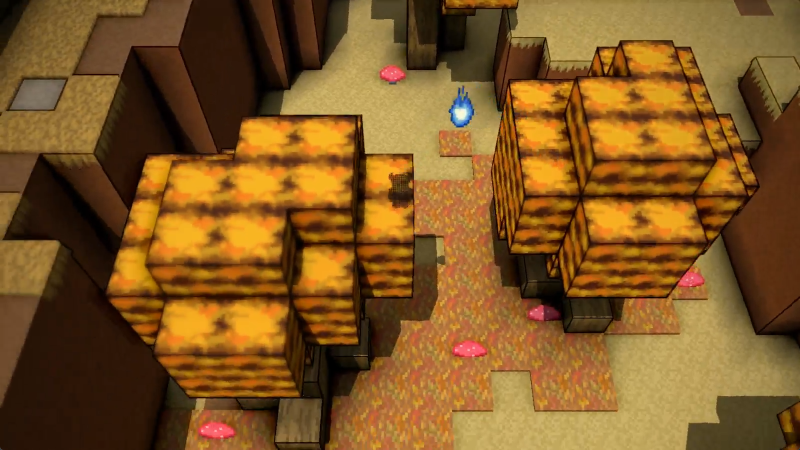
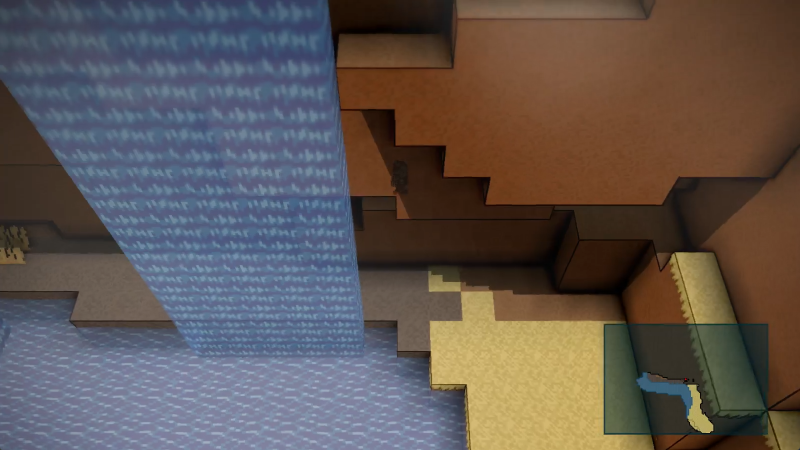
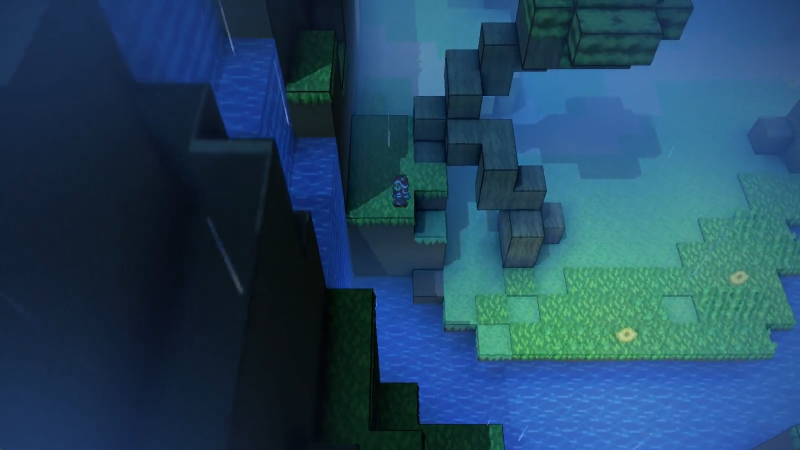
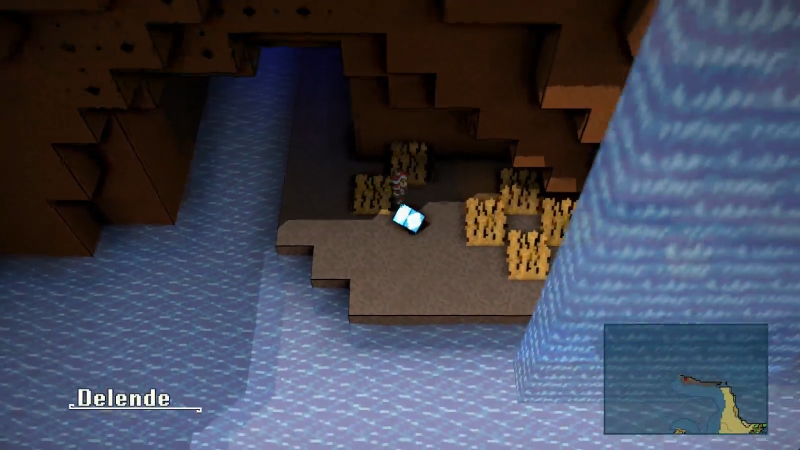
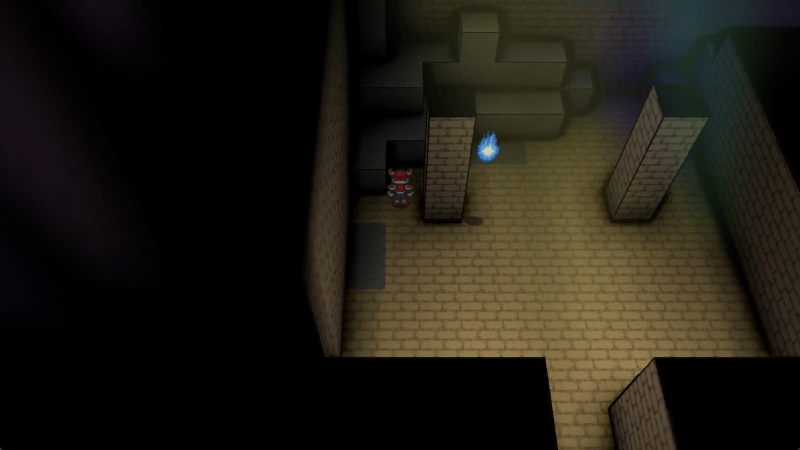
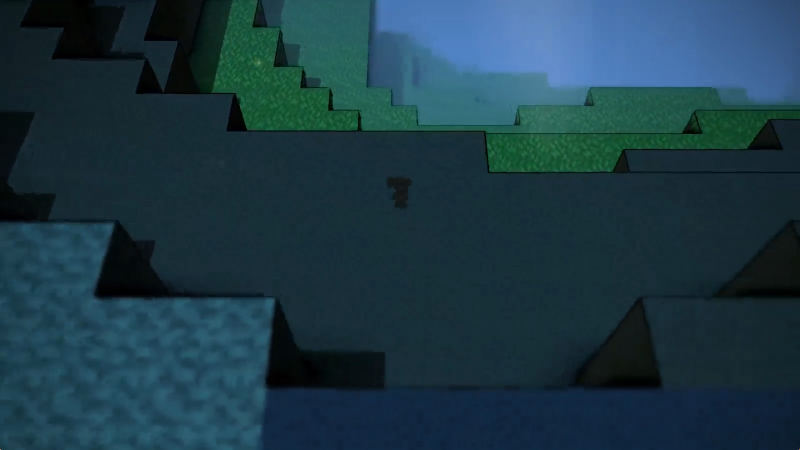
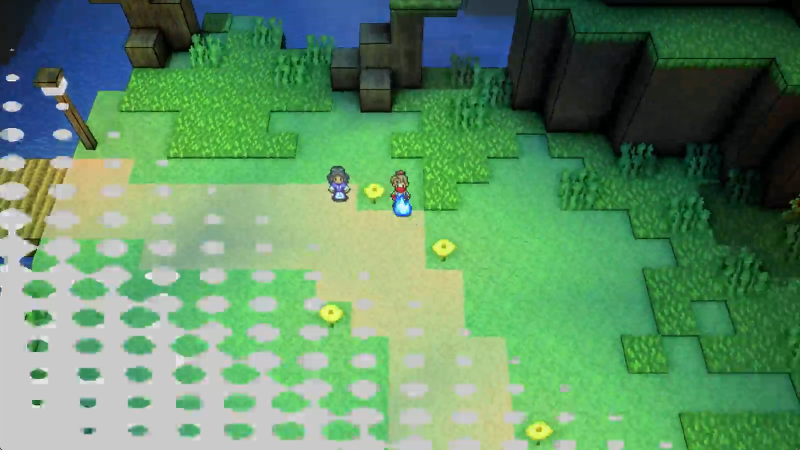
You might be wondering if we or the Flames can swim, incidentally.
The answer to both is "not right now". Some Flames can handle water better than others, and right now we can only handle water that's a single block deep.
Anyway, back to this waterfall for a bit.
DO YOU MIND
This fight poses absolutely no threat to us. It's a shame Rer can't drop the Slimes instantly with a crit, but oh well.
Our Cleric, Wew, elects to do a bit of self-care here, letting me show off the costs of his Cure spell. MP is self-explanatory, but the CT, or Cast Time, of their spell effectively adds the total listed to their TT for the spell actually going off. For simplification, any spell that wouldn't resolve instantly is given a Turn marker to indicate how many turns must first pass before it actually casts. See also that Wew's action here is bumped down the turn order at the bottom, indicating that whatever Ses does will go first.
While any such action is queued up, the character in question will have a speech bubble with the ability's icon above them. So Ses will do her basic wand smack, and then...
Wew self-heals for more than enough to deal with his wounds.
Technically I opened this before the fight, but with such a small window of visibility that I decided to wait until after to really review it. Staffs like these are important for healers, since many healing spells, including Cure, scale with Spirit, which staffs offer in abundance. They're always two-handed and have the best Attack score of the caster-focused weapons, although not so much as to invalidate actual physical weapons (usually).
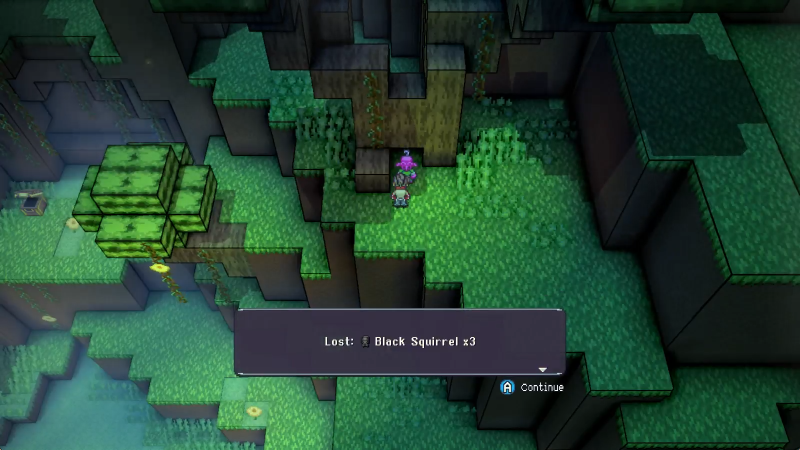
Right, before I forget, let's prove the existence of black squirrels.
We did it!
And that's it.
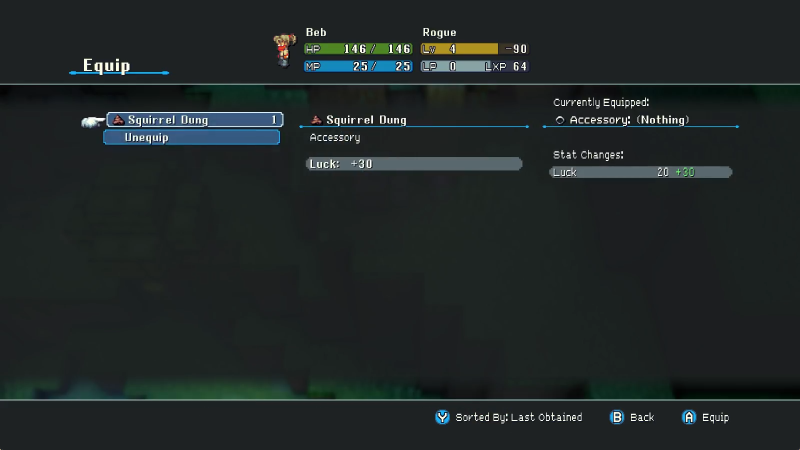
#$&@ just steps out of the way and refuses to say another word to us, letting us climb into the tree to obtain the reward...
...Great?
Okay. Sure.
Luck, as a stat, is Weird. Very few abilities use it directly, but basically, the higher the user's Luck, the more often the RNG will throw them a bone any time something with random chance would be checked. So if you have a long string of, off the top of my head, missed hits, failed crits, failed steal attempts, failed status effect inflictions, or low Variance hits with things like Axes, a higher Luck score will drastically improve the odds of that not happening on subsequent attempts. In effect, higher Luck actualizes the Gambler's Fallacy more in your favor.
Oh right stew or something.
No point climbing on your head, I can't reach anywhere cool if I do.
New enemy. Wisps are super-basic healer enemies.
Their Cure spell is exactly the same as the Cleric's, right down to the CT.
They have Tinctures, that's nice.
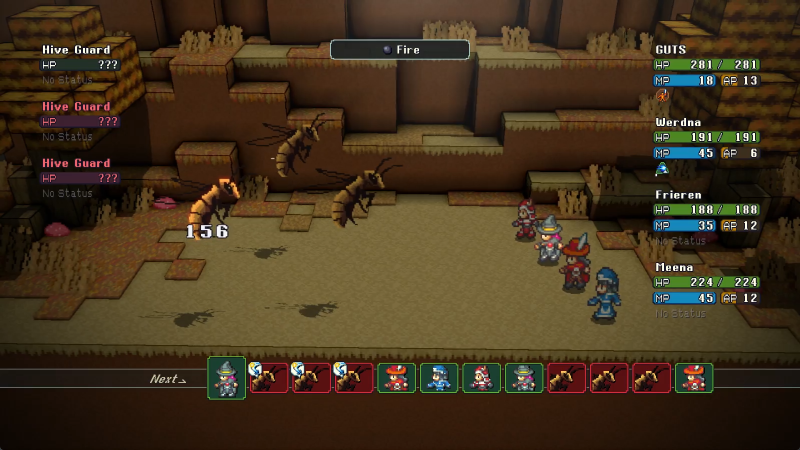
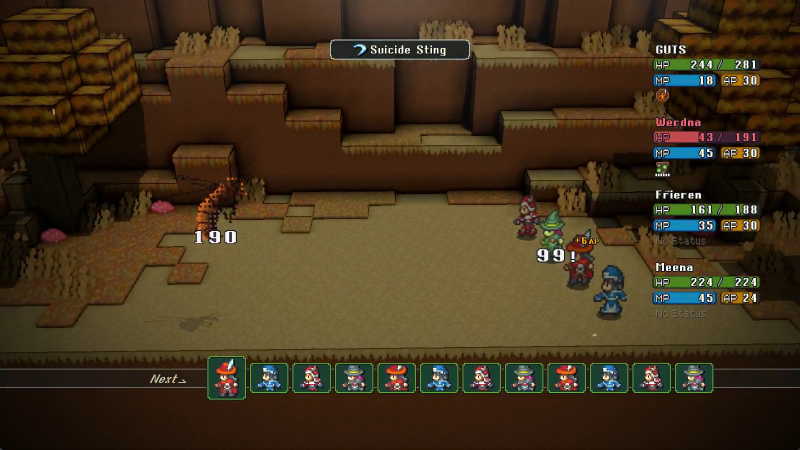
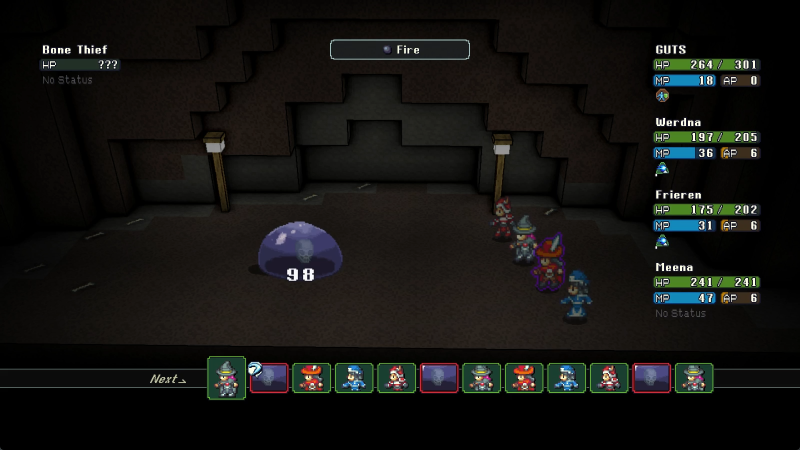
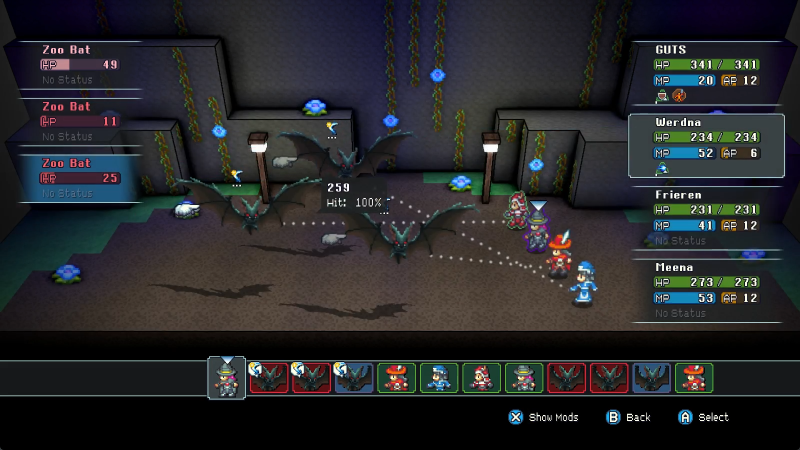
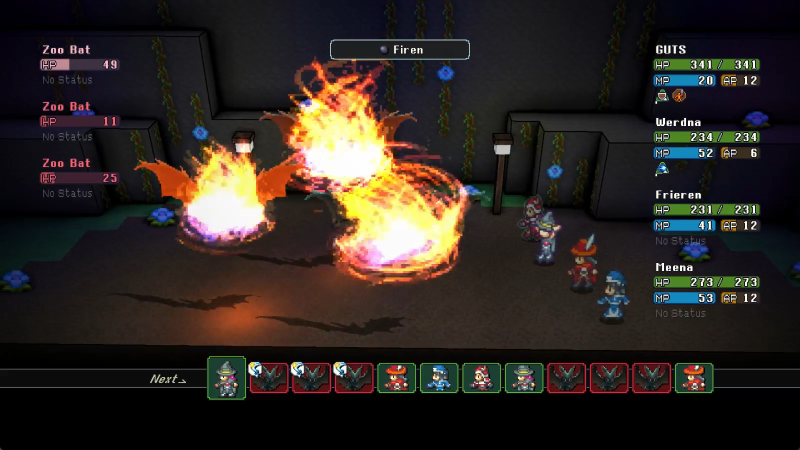
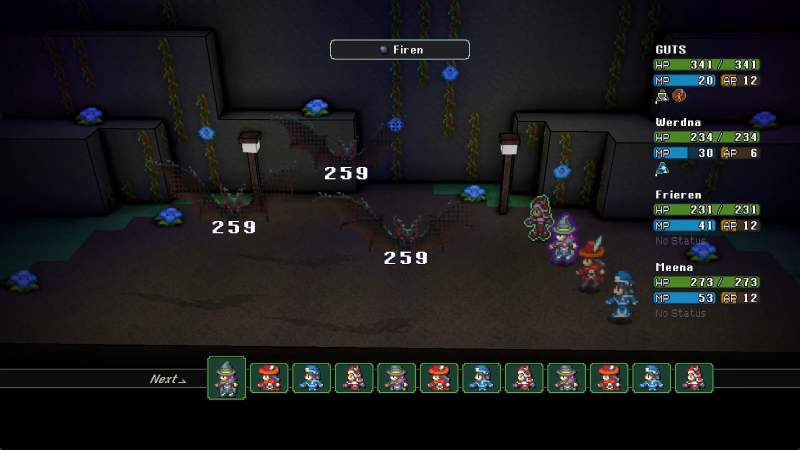
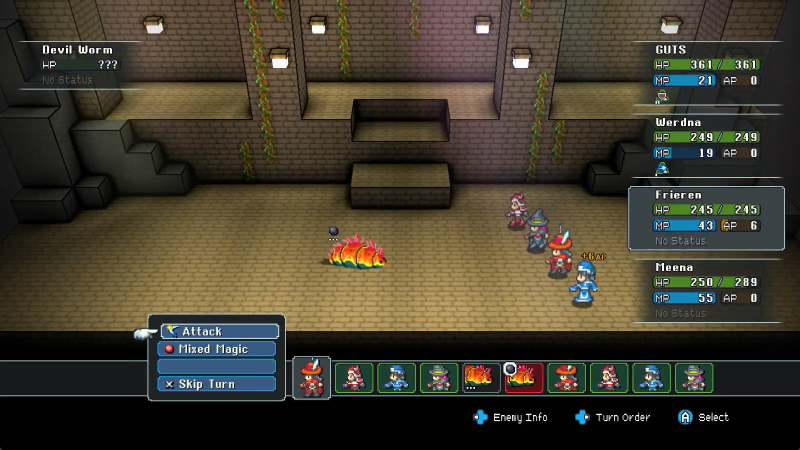
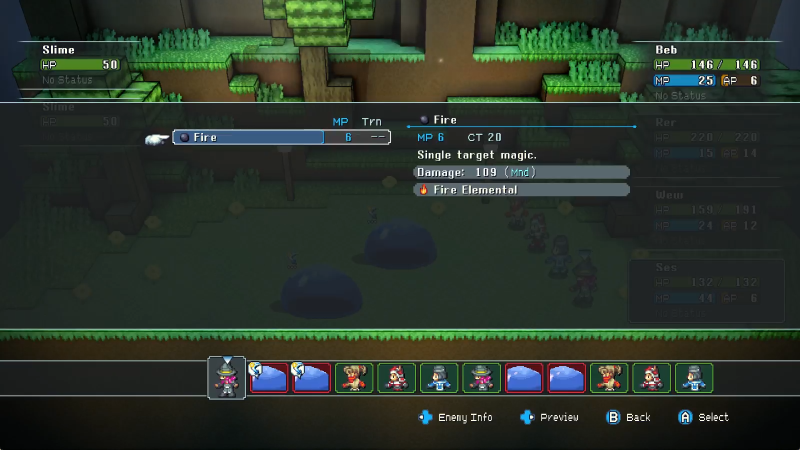
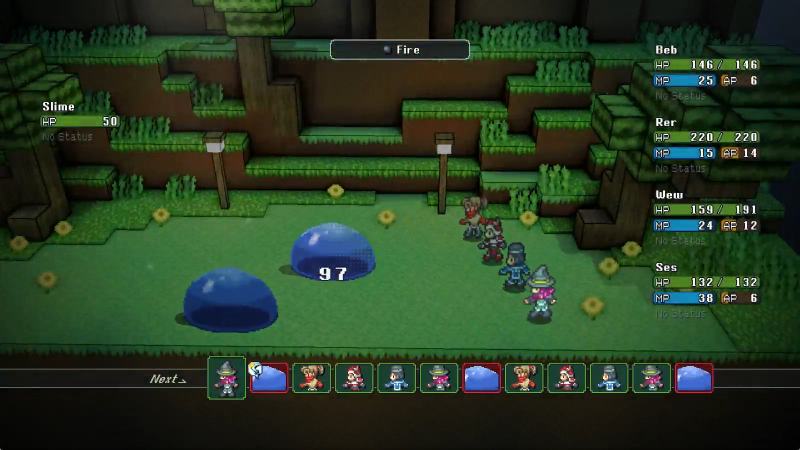
For the sake of being thorough, here's a Fire spell courtesy of Ses. Because the CT isn't significant enough to cost any turns, it goes off instantly. However, that CT still applies to her turn, making her later actions come up slower.
Oh yeah it also does massive huge damage early on, more than enough to obliterate any enemies here or in the next area.
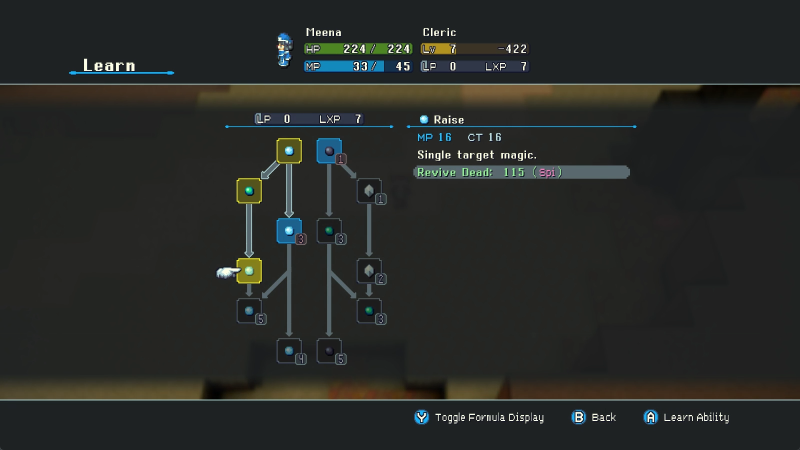
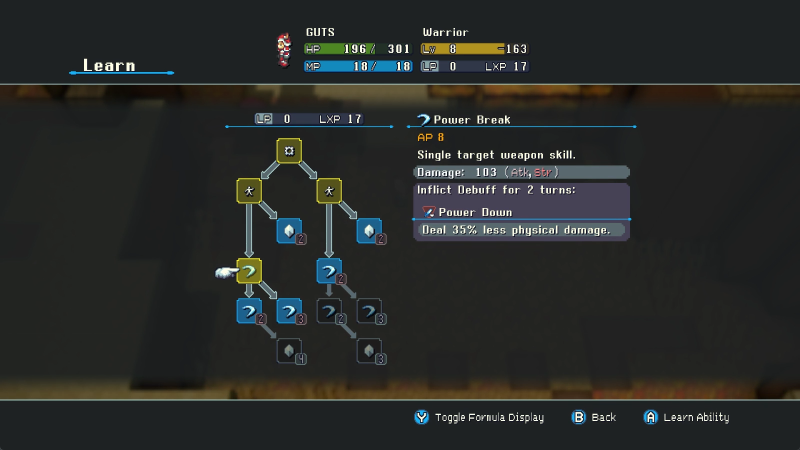
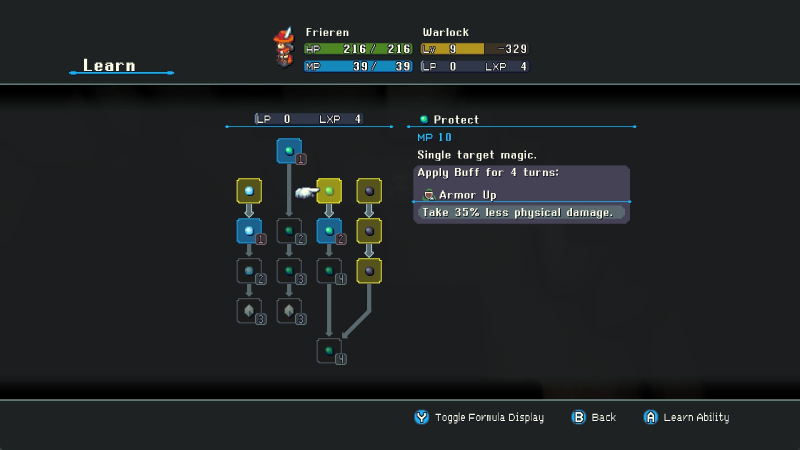
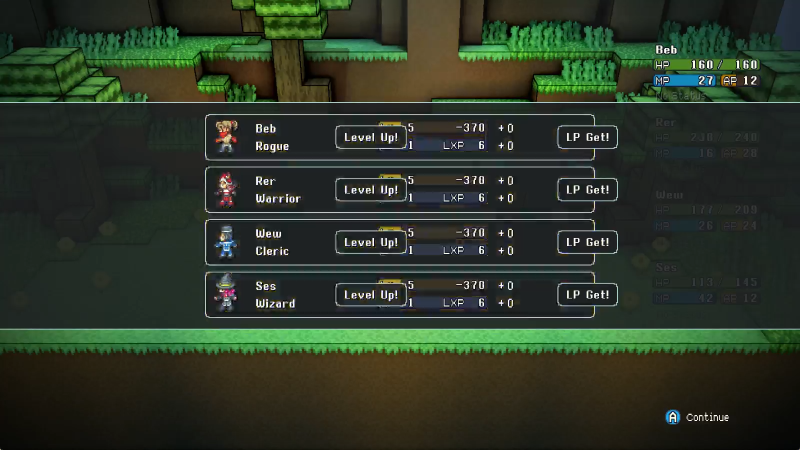
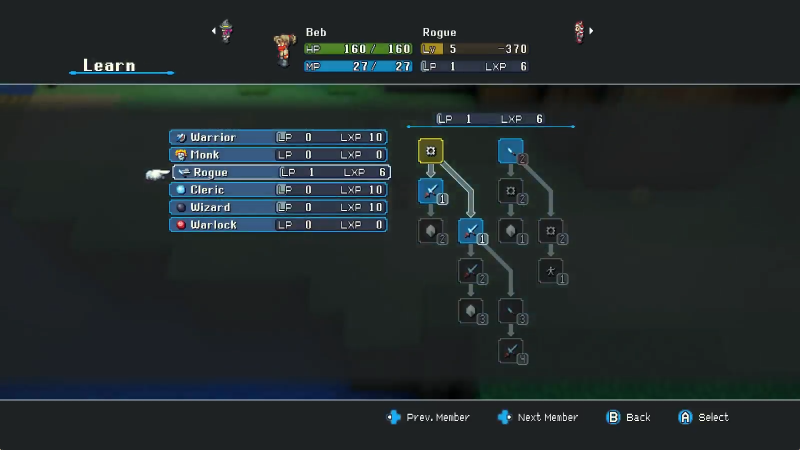
We get not only a level from this fight, but our first LP!
LP is spent to unlock new abilities and passives for your class, which I'll go over in the following posts covering each class. However, I want to draw attention to the LXP for the non-Rogue classes for Beb. See how she's got 10 LXP for the classes of her allies? That's vicarious LXP! Every time you gain LXP for any reason, all of your allies get a tiny bit of that LXP as well for free. It's not gonna make them a master in the class overnight, but it can let them shore up on passives or the like, and for mono-class runs it makes getting a more fleshed out repertoire a lot easier.
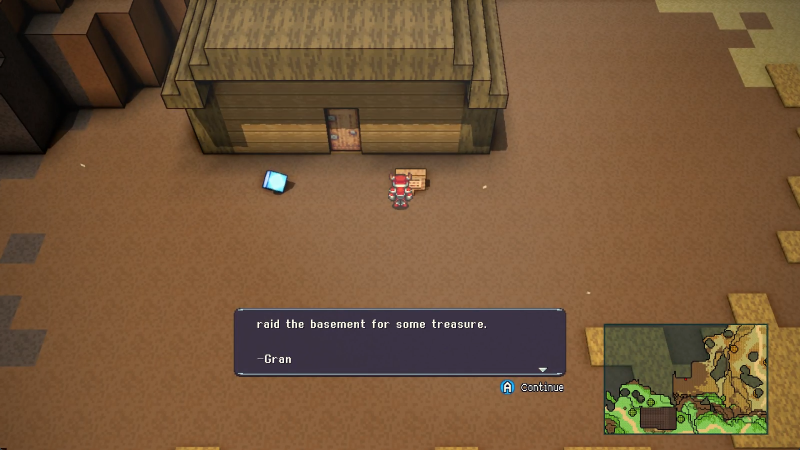
We made it to the cabin yaeey
Nan gives us a free Tonic and Tincture as a reward for
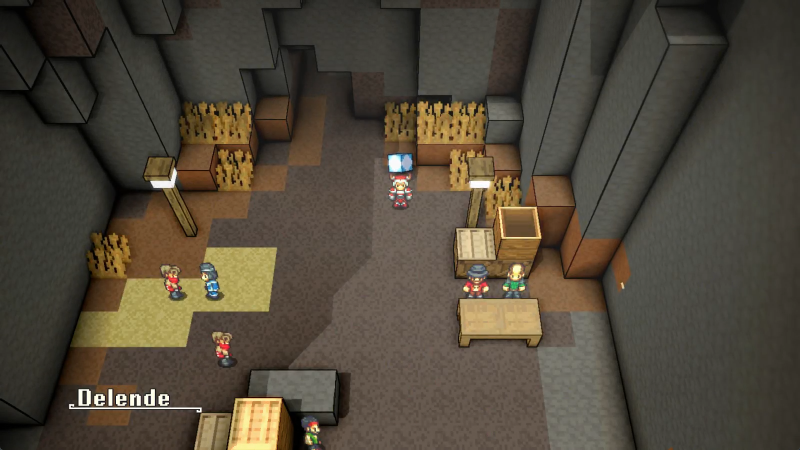
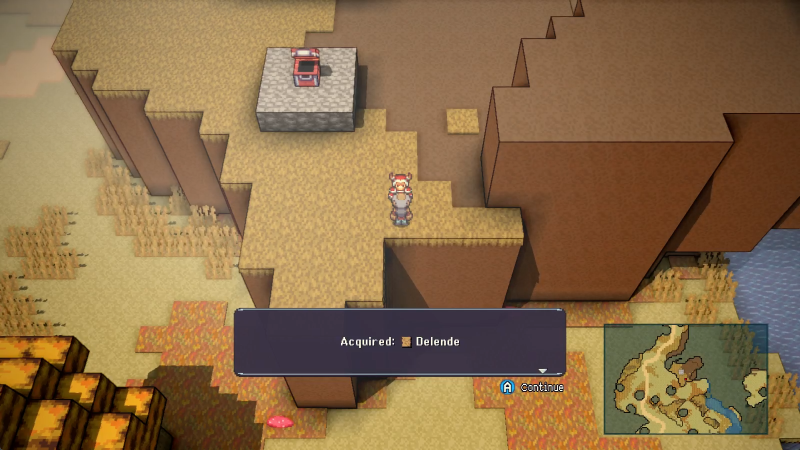
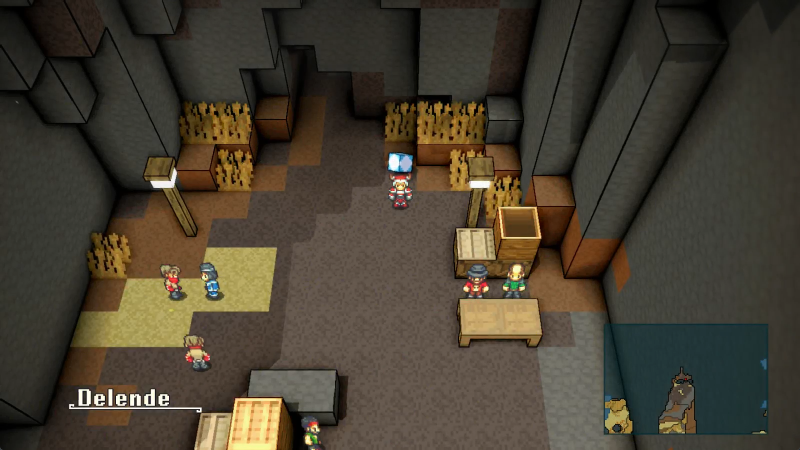
Delende is the next big area, and I'll be ending this update upon entering.
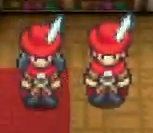
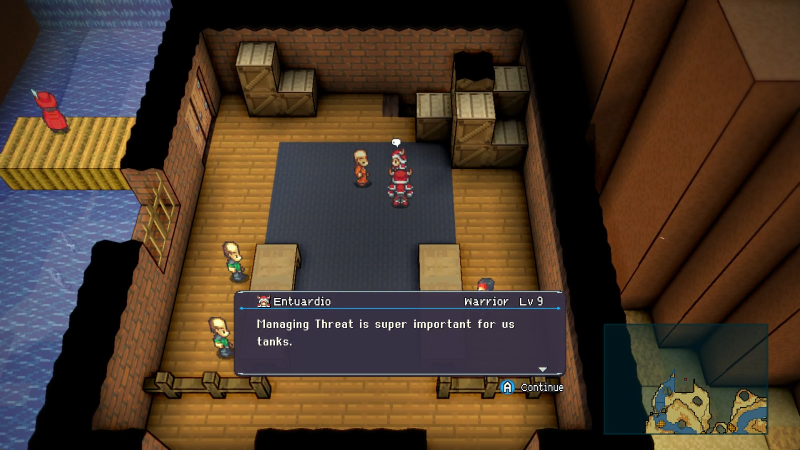
WE ARE LEVEL FIVE, YOU ARE LEVEL FOUR! THIS MEANS YOU ARE INFERIOR TO US!
Yep, plenty of Nans in here. The two on the left and the one in the middle give tutorial advice I've already imparted to you by now.
Nan said:Aha! Here you go!
It can be good to have a map on hand while exploring. But if you don't have one, don't worry! Sometimes the best adventures are had while exploring blind. And any area you see in a region while you don't have a map will be filled in automatically later when you do get the map.
MAAAAPS
Maps are super super important in Crystal Project. As you can see even from the incomplete area we have mapped below, a map can put a lot of context on the area you're exploring, and as much as we've found extra silly junk here in the Spawning Meadows, A: there's STILL more to find here, and B: this area is small potatoes. This is the baby stage 1-1 "learn the buttons, fresh meat" area. I don't think I can properly impart how huge and sprawling this game is.
But, as Nan said before, sometimes you have to just go in blind. Some areas even hide their maps within behind special challenges, REQUIRING you to navigate them blind at first. It's the spirit of adventure!
Anyway, the remainder of the Nans we'll talk to in here offer goods and services.
There are, effectively, two kinds of shops. A few, like this one here, will require you to bring certain items to craft something, usually with a cash cost (but not in this case). Nan's Secret Recipe is the uncontested champ of MP restoring consumables, but you gotta find the ingredients for it, and they're non-trivial to find.
Nan said:Help yourself to a warm bowl of stew. Your first bowl is complimentary.
And please feel free to stock up for the journey ahead. As they say: never go adventuring without a plan to fill your stomach.
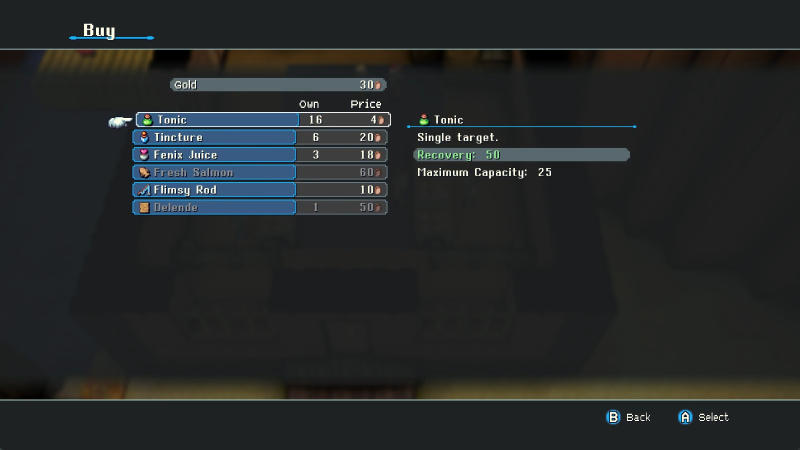
This Nan sells consumables, albeit not Tonics and Tinctures.
No, her wares are Stew and Cocoa, both very cheap but also very weak in terms of restoration. You CAN fill up on them, but... nah. Cash early on is tight enough without shilling out for consumables I'm likely never gonna use.
Allow me to demonstrate.
The gear sold here is identical to the starting equipment the team has, with the exceptions of the headgear (which I buy for everyone with just enough cash to make it). Technically, I could sell off my starting weapons, but recall that I don't plan to make this team my actual one for the playthrough, and will instead assemble a party based on what you, the posters, think we should do. Besides, resale is like 50% of MSRP or something. It's an RPG, you know this.
Oh boy, a free inn stay!
Nice of them to display the HP and MP everyone has. Inn stays also revive fallen party members, no need to seek out clergymembers for that.
I sleep
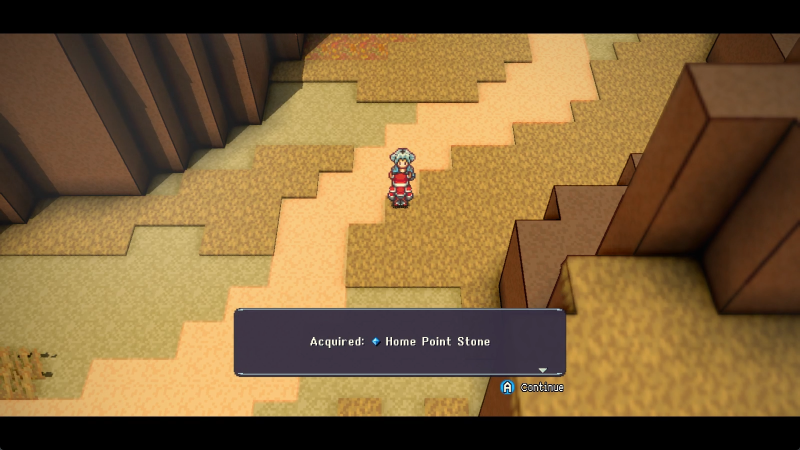
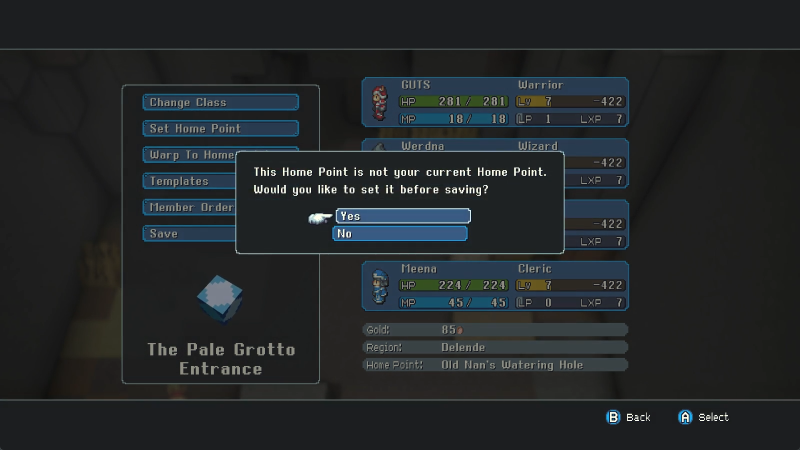
Nan said:Your "Set" Home Point is the place you'll return to after you save and quit. You'll also safely return to your Home Point after you and all your friends die. Death is nothing to be afraid of. Death comes knocking on my door each day. Death loves people my age.
Morbid, but accurate. These wisdom cubes will serve as both save points for playing the game, and restore points should your team bite it in this or that encounter.
Additionally, you can change the class and sub-command of everyone in your party at Home Points, warp to your Home Point if you have a different one set, set up configurations for your team so you can mess with alternate strats as needed, and, of course, save the game. The autosave is pretty generous but you should all know by now not to rely on that alone.
The path to Delende is just up ahead, but we're not quite done here.
First up, climbing on the roof of the lodge.
This particular Nan also gives us another Tonic Pouch and explains their properties, but I beat her to it! Ha ha ha ha!
And a weapon upgrade for Wizards. Wands are one-handed weapons with pitiful Attack scores but plenty of Mind, obviously perfect for anyone hoping to use big pain blaster magic like Wizards.
Anyway, let's climb over this natural archway.
Cool clearing ahead of us, but first...
Hell yeah.
Coming to a secret recipe near you soon!
The clearing houses a telegraph of one of the classes we can find later, as well as a level indication of how late in the game they'll be. Don't get your hopes up for that any time soon.
Still, we may as well make a note of this on our map. We have a nice selection of stamps to work with, and can even stamp areas we haven't mapped yet (although doing so is hard if we're in an unmapped region since our own position is hard to make out).
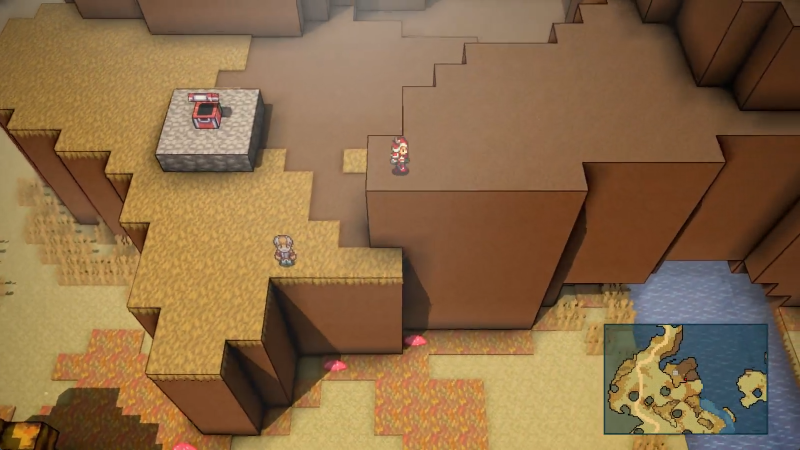
For the last part of the journey, there aren't any Nans, just signs with more of her aphorisms.
The path is also a lot steeper to climb, but by this point that should be no obstacle for you and it sure as hell isn't one for me.
That's not what any given antagonist of the vast majority of animes has taught me!
I'm kidding, of course. This is all good advice, if perhaps a strange way to start the game.
It's also a good way to encapsulate the flavor of the game. They aren't gonna tell you how to play. They're gonna dump you into a massive world, give you only enough info as you ask for, and then let you do whatever. It's great.
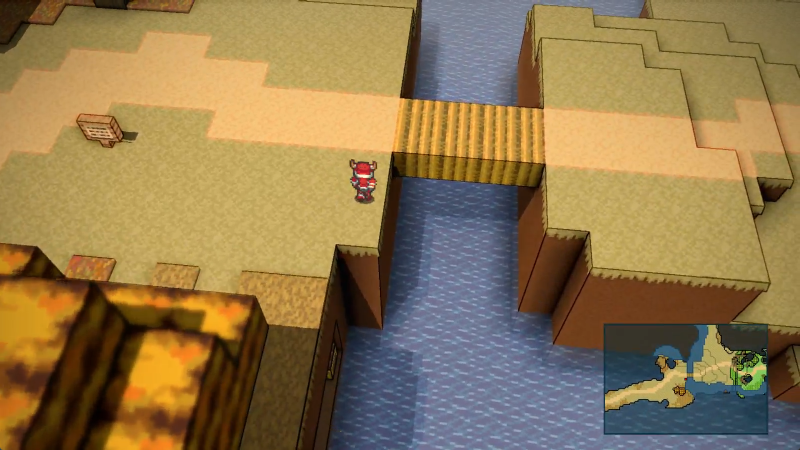
And to start that off, we enter the first real area of the game (with our map of Spawning Meadow fading away as we do), Delende.
Given how this game works, at this point, and the closing of every post, I'm going to put a little checklist of "cool stuff we can do", kinda like Yimothy's LP of Link's Awakening. I'll also allow you, the posters, to give suggestions for what loose ends we explore, and how to build our team. I'll happily state that most every class in the game is viable, if perhaps at different degrees, and more important that using the strongest classes is making sure you can have them function well together. For this post, I'll top it off with the checklist, and then the next six posts will cover the starting classes we can play as! Choose the coolest ones! Also: decide if you wanna see the expanded weapon compatibility mod.
TO DO:
- Build the perfect starting team.
- Explore Delende.
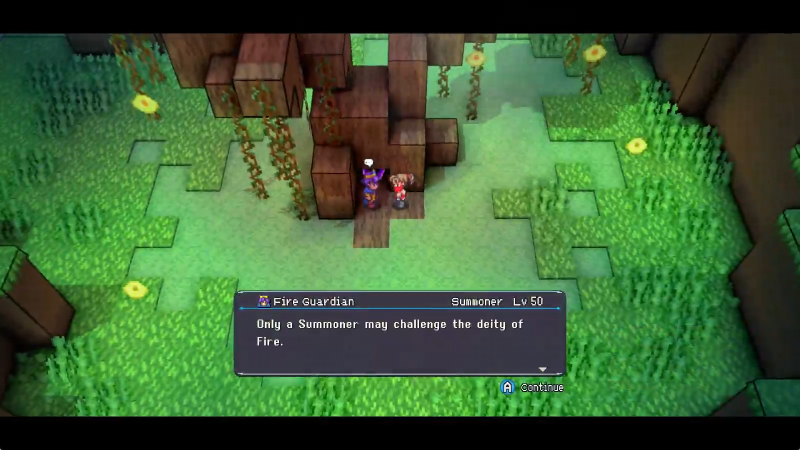
- Find the Summoner class.
- Challenge the Deity of Fire.
- Try to find another route out of Spawning Meadows.
Last edited: